0

Kids Crafts: My Pet Rock

This is a fun and easy project to entertain kids on a hot Summer’s day and, depending on the supplies you have on hand, it could even be free.  
For this project you’ll need:
  • some rocks
  • spray primer (optional)
  • acrylic paint
  • googley eyes (never optional)
  • a couple of kid-friendly paintbrushes
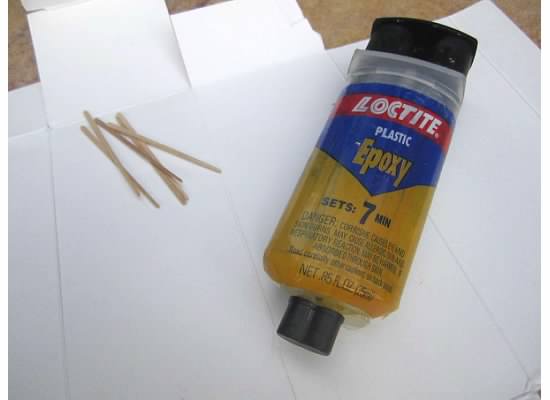
  • tacky glue
  • some chil’ren

Start out by collecting some rocks.  
This comes as naturally as breathing to my 5-year-old niece so luckily after a day of adventurin’ I already had a pocketful of rocks to start with.  If you can’t find any “good” rocks, you can always buy some at a craft store.  
Next, using a spray primer lightly coat both sides of the rocks. 

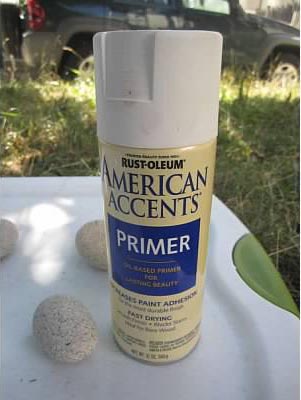
This helps the paint to adhere to the rock’s surface and allows bright colors to show up better on darker colored rocks. 
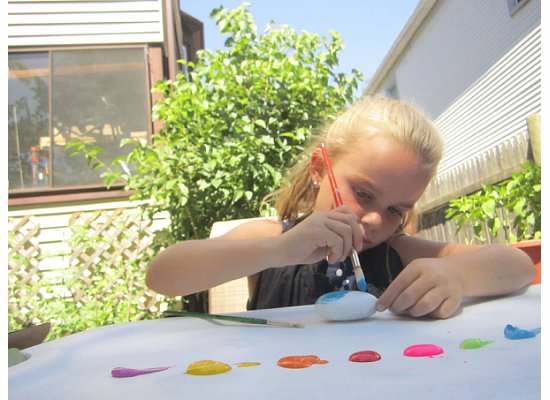
Once the primer is dry (about a 1/2 hour on each side) put some aprons on some kids (some that you know preferrably), put out some paint and let them get creative.  

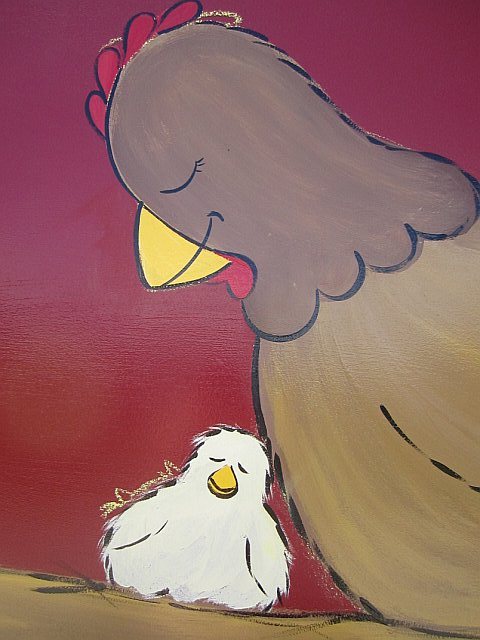
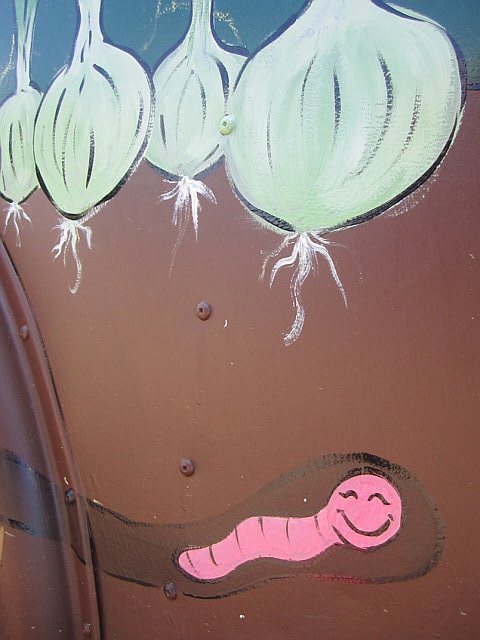
Encourage the kids to paint monsters with big mouths, stripes, polka dots, animals they like, flowers…anything that gets their imaginations going.  

 
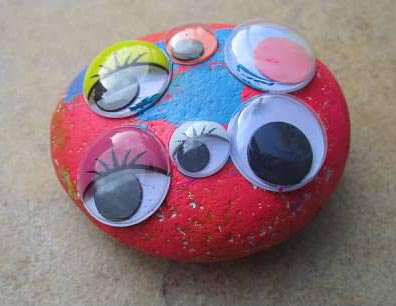
If there are globs of paint on a rock, the googley eyes may be able to stick right to it.  If not just glue ’em on.

Acrylic paint is non-toxic and washable before it’s dry.    

And now, if your little people really love you, they might just give you one of the rocks they just painted.  I was lucky enough to have this rock gifted to me.  “She’s a girl on this side and a boy on the other”….obviously.

2

trash to treasure: twine-wrapped planter

I accidentally broke my favorite purple pot (aka my only purple pot) and just couldn’t bear to throw it out.  I considered gluing it back together but some of the pieces shattered so there would be holes all over it and the dirt would fall out.  Then I considered smashing it into little pieces and making some sort of mosaic out of it but then I remembered that I don’t like mosaics.  (No offense if that’s your thing, it’s just not for me.)  I also thought about taking a bite out of it like the girls on that TV show but my heart’s just not in it.

The only thing left was to fix it and figure out a way to cover the crack and make it super adorable- and I did just that.

Here’s how:

For this project you will need the following items:

  • a broken pot (or lamp or decorative vase or a little trash can, etc)
  • twine
  • glue gun/glue sticks
  • epoxy

Start off by washing your broken pot in hot soapy water.  **Careful to not burn and/or cut yourself!!**  This will remove any oils or dirt from the pot and make the epoxy hold better.

Next, mix your epoxy and add a generous amount to the break in your pot.  You should wear gloves during this and work in a well ventilated area, this stuff is smelly.   Put your pieces back together.

**You can put globs of the epoxy on since the seam doesn’t need to be beautiful because we’ll be covering the whole thing with twine.   Smear the extra epoxy around with a toothpick after putting the pieces back together to make a water-tight seal.

Now let your epoxy dry.  Mine says it takes 7 minutes to set.  

 Now you’re ready to start wrapping your newly fixed pot in twine.  I turned my pot over and started from the bottom.

 Begin by gluing the end of the twine to your pot and start wrapping, gluing the twine to the pot as you go.  

 I put a dot of hot glue about every 3-5″ on the entire pot.  This string’s not going  anywhere!!

When you’re done wrapping, throw a plant in there and you now have a custom, hand-wrapped planter to wow your friends with.  I’d recommend keeping this pot inside as rain or snow will get the string wet and it could possibly get moldy and gross.  And we wouldn’t want that.    

Thanks for reading!
0

Happy Critters Custom Playground Painting

This custom 24″x36″ painting was made just for Vivian who turned 2 last weekend to bring more color to her “not too pinky-girly” nursery and came to me my favorite way, through word of mouth advertising.

Included in the painting are Vivan’s favorite stuffed animals, herself and of course, a girl’s best friend, her dog, Milo.   

Vivan wasn’t home to see the painting in person when I dropped it off but luckily her Mom shot me this adorable play-by-play of when she first saw it:

I wanted to let you know about Vivian’s reaction when she first saw your painting.  She saw it as soon as she walked into her room yesterday afternoon, and did a total double-take.  Then she pointed at Dolly in the picture and said her name, and went to grab the actual Dolly from her toy bin so she could hold her just like she is in the picture.  Then she pointed at each of her “friends” in the picture and named them, and also pointed out Milo.  I asked her if she liked the picture, and she said, “Yesssss!””


Reactions like that make this job even sweeter, if that’s possible.

And, as if that weren’t enough, piggy-backed on top of all that sweetness was this painting also done for Vivian commissioned by the original word-of-mouth advertiser, the customer I painted Ryan’s Safari for.
Little V is a second generation Chinese-American, this is her birth animal, the tiger and her name written in Chinese characters.  It was painted to coordinate-with but not necessarily match the playground painting in order to keep the room from looking too “theme-y” (which is definitely a word) and topped off with a distressed white frame.

Thanks for stopping by and please don’t hesitate to contact me with questions if you’d like your own custom nursery artwork!  


…don’t be a stranger, ya’hear?