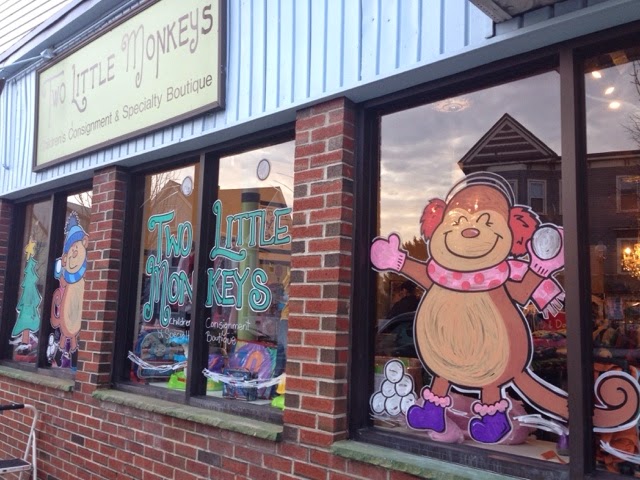
 Winter window season is in full swing around these parts.
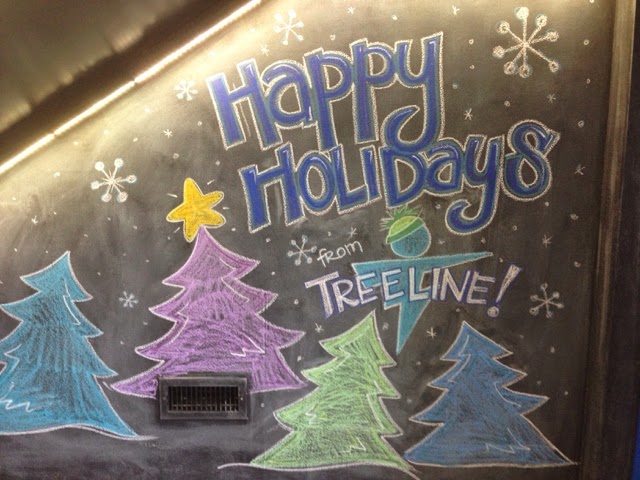
 …over at Treeline:

And down at Petsi Pies:


 Winter window season is in full swing around these parts.
 …over at Treeline:

And down at Petsi Pies:

Halloween window painting at Magpie Kids in Somerville, MA.
My little busy bee and her ladybug friend.
Buggy Bugs giving hugs in front of the photo backdrop I painted for the Halloween Party at Magpie Kids.
Photo cred: Allana of http://www.arsmagnastudio.com.
…Which means of course that THOUSANDS of people are going to see my signs!!! I can’t wait. It starts at 3pm and goes to 7:00 there are games and performances and a cooking contest and of course PRIZES!!
Maybe I’ll see you there. I’ll be the one taking selfies with all of the signs. 🙂
Happy Fluff Fest!!!
You can see pictures of all of my little babies at my gallery page: mandeemade.shutterfly.com and you can learn more about Fluff Fest at the Union Square Main Streets website.
Well, the end of August is here and Sam the Pickle Man knows what that means…it’s time to grill!!
Good Morning and happy first day of National Pickle Month! To kick off this month-long pickle party I went over to Grillo’s Pickles, my local pickle store, painted their window, ate way too many pickles and talked about world pickle domination.
Travis Grillo, Chief Pickle Officer, started making and selling pickles in 2008 using his family’s 100 year old recipe. He was slingin’ them out of a pickle cart at the Park Street T stop 2 for $1 and now has made his way into Whole Foods all over New England, Fenway Park and at his very own pickle store.
The store is located in Inman Square, Somerville (on the Cambridge/Somerville line which I hear is referred to as “Camberville” but I’m not buying it) at 1075 Cambridge Street and they are definitely worth a trip.
Go over, check out the window, have some pickles (try the hot ones they’re AMAZING!) and tell them Mandee sent you! Happy Pickle Month!!

Next, arrange your 3 bouquets of fall foliage and begin snipping them off of the main branch with your wire cutters. Arrange the new seperate pieces so that you have 2 equal bouquets (if you plan on making 2 wreaths…which I did because I have a double front door.)
Take your freshly googelied squashes and arrange them at the base of your fallin’ foliage until you are satisfied and hot glue them into place.
**Note: my squashes are made of styrofoam which means they basically melt when the come in contact with hot glue. Turn your glue gun to the lowest setting if you have that option or put the glue on the wreath first and allow it to cool for about 3-4 seconds before placing your squash so that it doesn’t turn into a puddle.**

Included in the painting are Vivan’s favorite stuffed animals, herself and of course, a girl’s best friend, her dog, Milo.
Vivan wasn’t home to see the painting in person when I dropped it off but luckily her Mom shot me this adorable play-by-play of when she first saw it:
“I wanted to let you know about Vivian’s reaction when she first saw your painting. She saw it as soon as she walked into her room yesterday afternoon, and did a total double-take. Then she pointed at Dolly in the picture and said her name, and went to grab the actual Dolly from her toy bin so she could hold her just like she is in the picture. Then she pointed at each of her “friends” in the picture and named them, and also pointed out Milo. I asked her if she liked the picture, and she said, “Yesssss!””
Reactions like that make this job even sweeter, if that’s possible.
And, as if that weren’t enough, piggy-backed on top of all that sweetness was this painting also done for Vivian commissioned by the original word-of-mouth advertiser, the customer I painted Ryan’s Safari for.  Little V is a second generation Chinese-American, this is her birth animal, the tiger and her name written in Chinese characters. It was painted to coordinate-with but not necessarily match the playground painting in order to keep the room from looking too “theme-y” (which is definitely a word) and topped off with a distressed white frame.
Thanks for stopping by and please don’t hesitate to contact me with questions if you’d like your own custom nursery artwork!
…don’t be a stranger, ya’hear?