


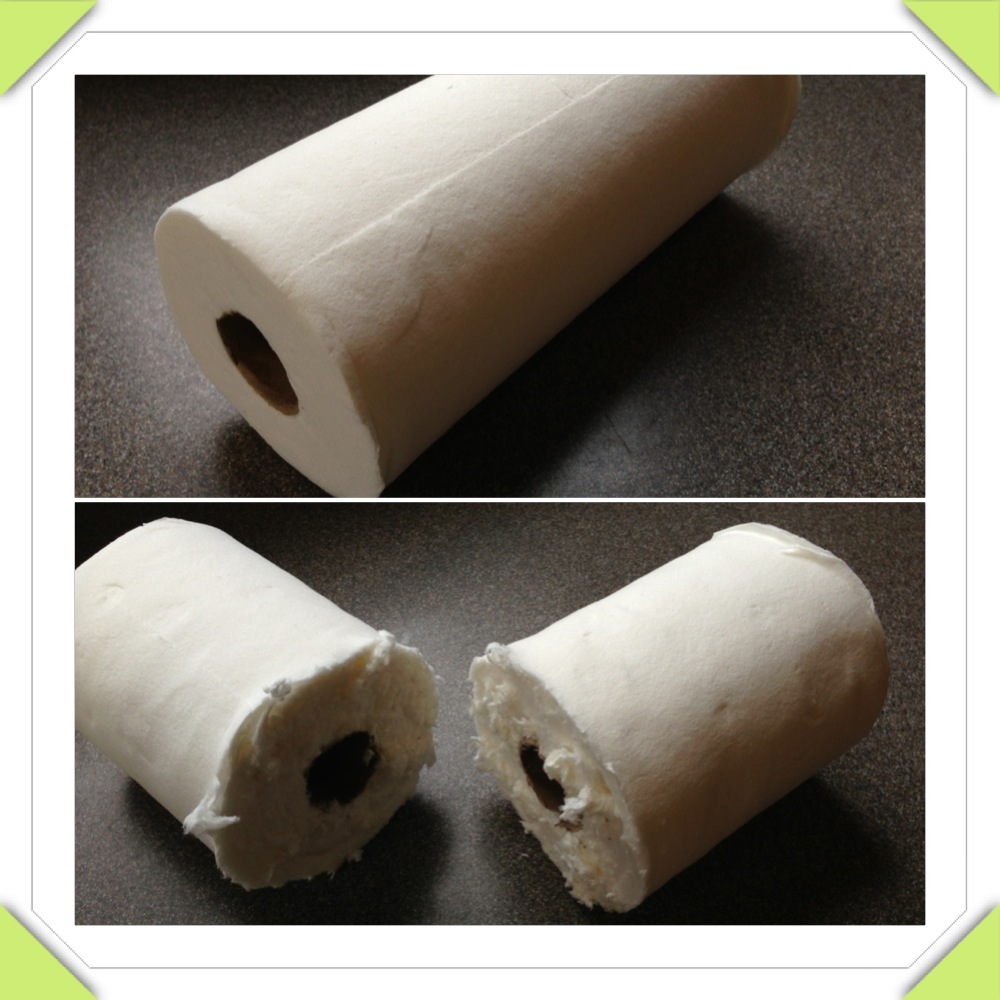


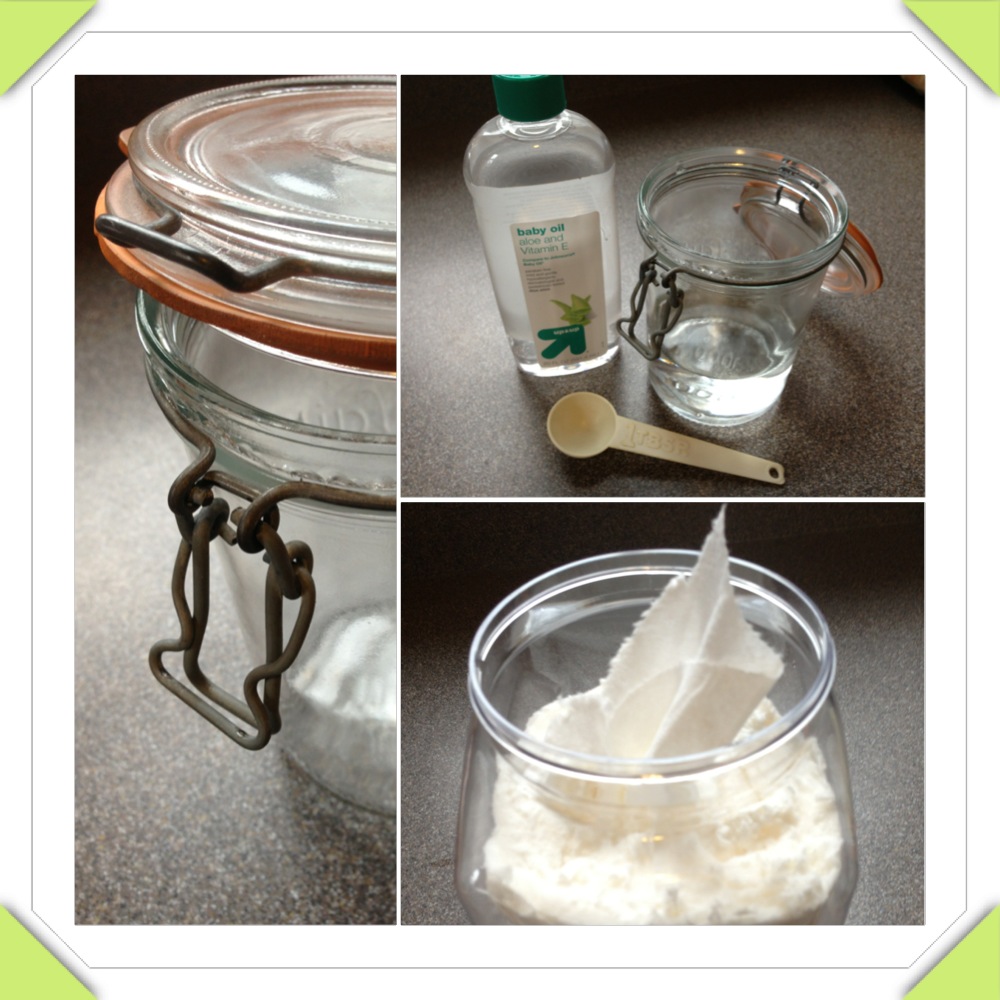
Put the half roll of papertowels into the Rubbermaid, pour the mixture of the entire roll and let sit for at least 15 minutes to get them completely wet and you’re done! You’ve made your first batch of butt wipes. These are not only a nice way to cut down on the amount of chemicals being used to clean little Juniors rear end but they’re also economical. For this roll of 88 wipes the total price was $.98!! You just can’t beat that!!

Well, if you’re Liz, you go halfsies on a sweater with your best Dude and make an incredible half-Hannukah/half-Christmas sweater that is so amazing that you just can’t help but stare at it and keep saying, “oh my God, it’s a full menorah when you’re side-by-side! I can’t believe it!” Well played Rosenberg, well played.

 Part of it feeling more real is that my Mom completed the crib set that she made for us for the baby shower and it came out cuter than I could have ever imagined! We got the fabric from my friend Aurora’s store, Fabric Bliss, which is located in Denver but they have a very easy-to-navigate online shopping feature. I emailed Aurora and told her that I was looking for something “dainty but not girly, that coordinates but doesn’t match, has a vintage feel and it can’t be pink!” Immediately she wrote back and suggested the Seaside collection from October Afternoon.
 And it’s beyond perfect!!

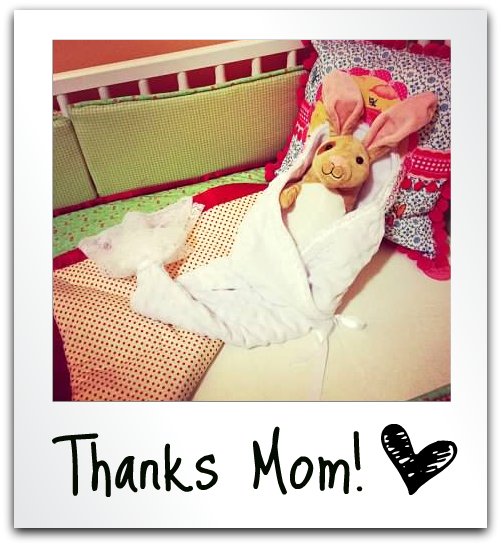
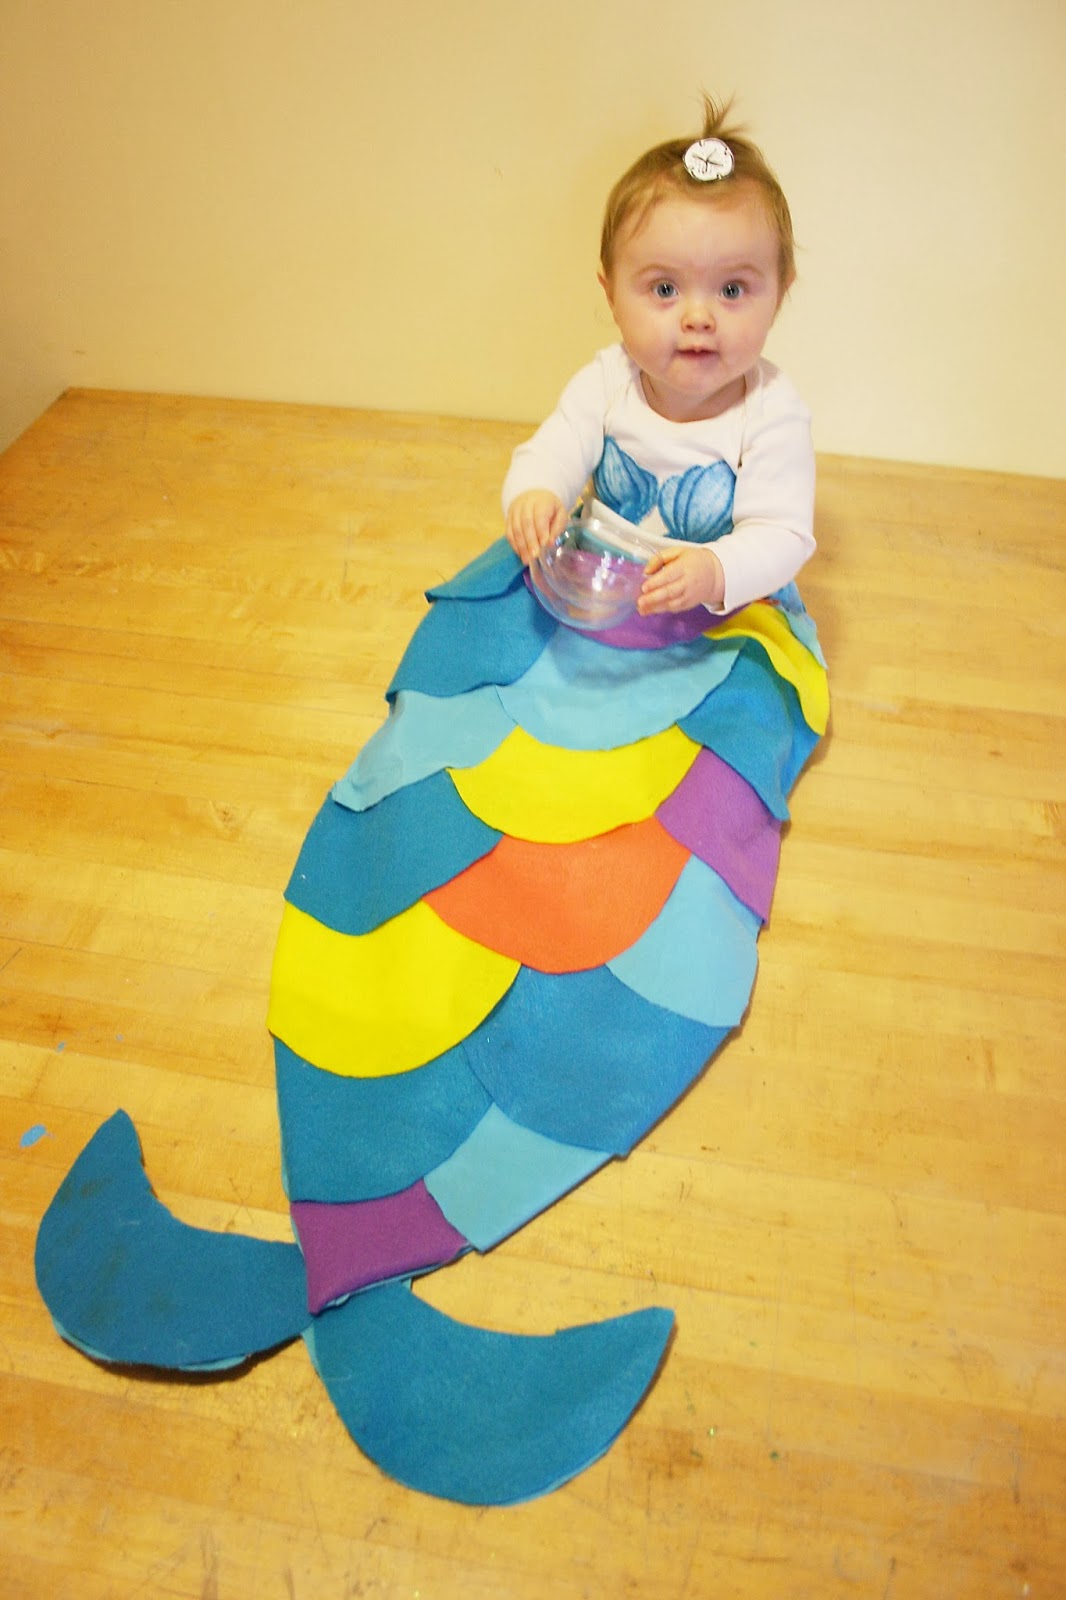
My Mom also made this precious mermaid-tailed receiving blanket (her own design) and I can’t get enough of it! Thanks Mom!! You’re the greatest!


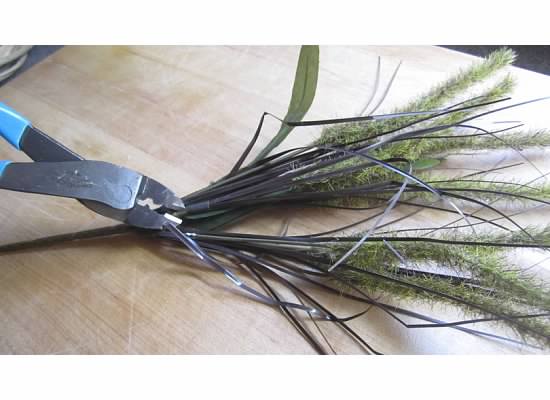
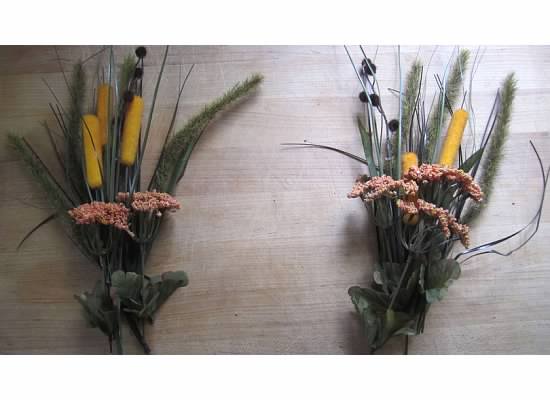
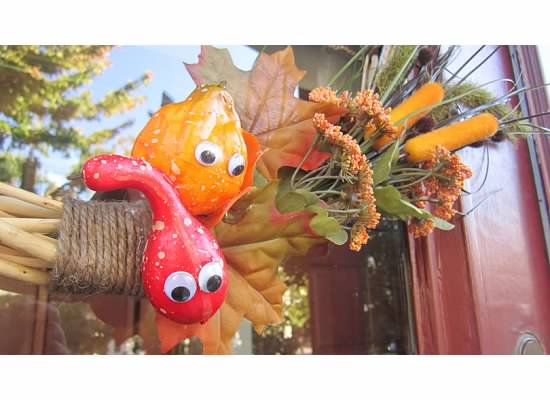
Next, arrange your 3 bouquets of fall foliage and begin snipping them off of the main branch with your wire cutters. Arrange the new seperate pieces so that you have 2 equal bouquets (if you plan on making 2 wreaths…which I did because I have a double front door.)


Take your freshly googelied squashes and arrange them at the base of your fallin’ foliage until you are satisfied and hot glue them into place.
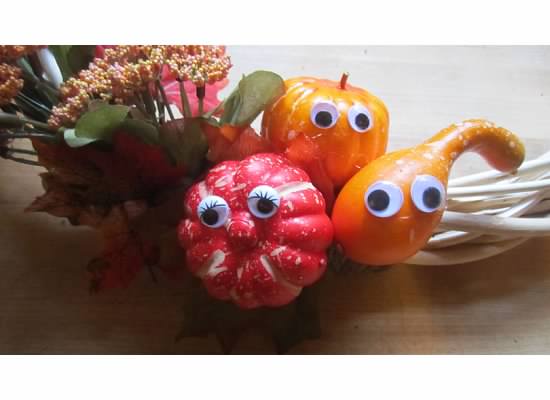

**Note: my squashes are made of styrofoam which means they basically melt when the come in contact with hot glue. Turn your glue gun to the lowest setting if you have that option or put the glue on the wreath first and allow it to cool for about 3-4 seconds before placing your squash so that it doesn’t turn into a puddle.**


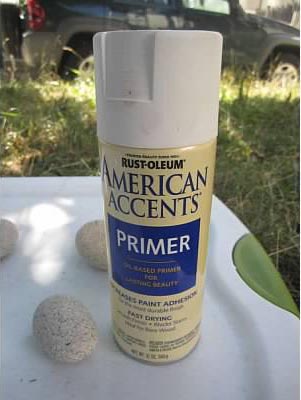

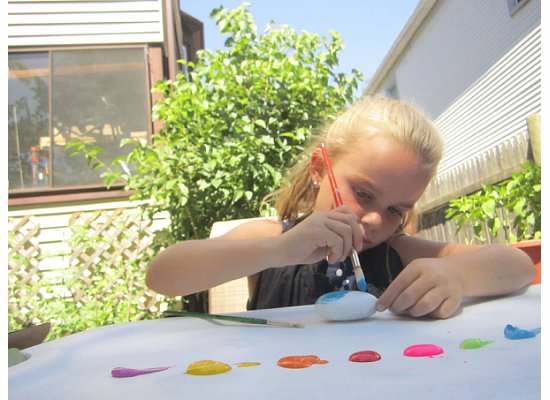 Once the primer is dry (about a 1/2 hour on each side) put some aprons on some kids (some that you know preferrably), put out some paint and let them get creative.
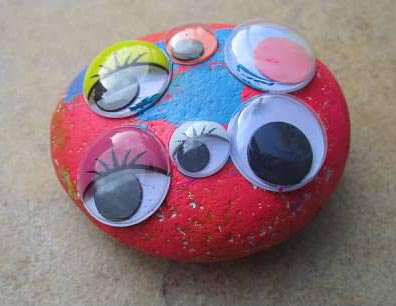
If there are globs of paint on a rock, the googley eyes may be able to stick right to it. If not just glue ’em on.

And now, if your little people really love you, they might just give you one of the rocks they just painted. I was lucky enough to have this rock gifted to me. “She’s a girl on this side and a boy on the other”….obviously.

I accidentally broke my favorite purple pot (aka my only purple pot) and just couldn’t bear to throw it out. I considered gluing it back together but some of the pieces shattered so there would be holes all over it and the dirt would fall out. Then I considered smashing it into little pieces and making some sort of mosaic out of it but then I remembered that I don’t like mosaics. (No offense if that’s your thing, it’s just not for me.) I also thought about taking a bite out of it like the girls on that TV show but my heart’s just not in it.
The only thing left was to fix it and figure out a way to cover the crack and make it super adorable- and I did just that.
Here’s how:
For this project you will need the following items:
Start off by washing your broken pot in hot soapy water. **Careful to not burn and/or cut yourself!!** This will remove any oils or dirt from the pot and make the epoxy hold better.
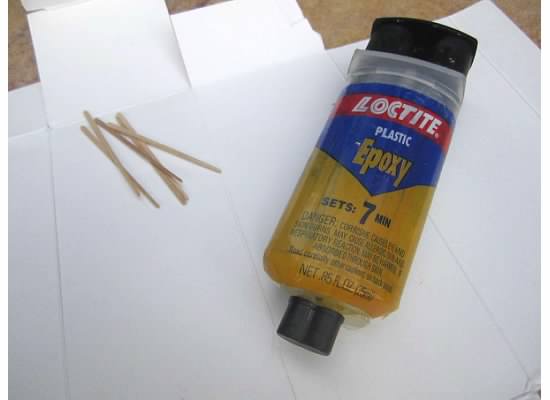
Next, mix your epoxy and add a generous amount to the break in your pot. You should wear gloves during this and work in a well ventilated area, this stuff is smelly. Put your pieces back together.

**You can put globs of the epoxy on since the seam doesn’t need to be beautiful because we’ll be covering the whole thing with twine. Smear the extra epoxy around with a toothpick after putting the pieces back together to make a water-tight seal.


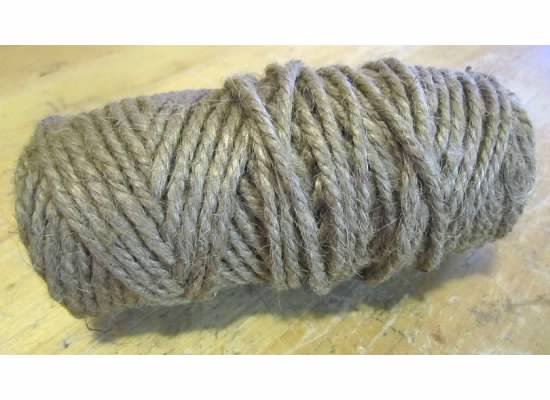
Now you’re ready to start wrapping your newly fixed pot in twine. I turned my pot over and started from the bottom.

Begin by gluing the end of the twine to your pot and start wrapping, gluing the twine to the pot as you go.

I put a dot of hot glue about every 3-5″ on the entire pot. This string’s not going anywhere!!


I have almost all of my best ideas while r-u-n-n-i-n-g out of the door to catch the bus to get to work. (Usually at the exact moment I run out of time to actually do anything about it.)
 Last week as I was throwing things in my bag in an effort to leave only 4 minutes after I was supposed to- it hit me, “I should make some custom earrings to wear with this outfit.”
Of course! I’m 4 minutes late leaving to catch the bus that only comes once an hour, I ran out of time to make my lunch and already nixed that, my hair is a mess and I don’t think I brushed my teeth but of course- of course there’s time for custom earrings. Why wouldn’t there be?
I grabbed some cheap silver hoops from my collection and embroidery floss from a friendship bracelet I was making for a friend and ran out the door to chase after my bus.


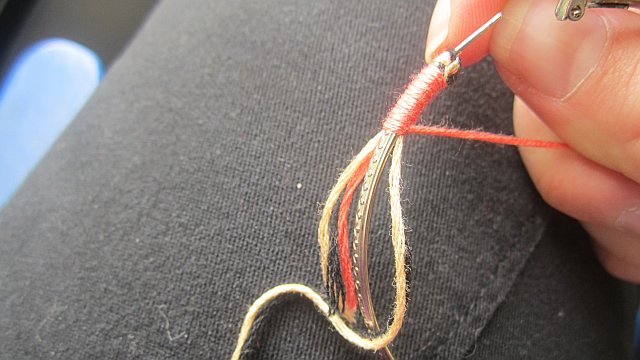
Switch colors and wrap with each color to create your design.
At the end, quadruple knot the floss, cut as close as possible and you’re done!


With limited space in my small city yard every inch counts so each Spring I am faced with a decision: do I want pretty flowers or a functioning vegetable garden? I envision myself having friends over for dinner and quickly running outside with my schears to an adorable, and lovingly attended to, little vegetable garden- I’d grab fresh herbs for the potatoes, pluck some peppers and lettuce for the salad and maybe bring in some grape tomatoes for my friends to snack on before dinner. They just love that. Then, after dinner we’d all get in my spaceship and go visit Unitron, the home of the last living unicorn. In other words, it’s not going to happen.
What did happen however is this- a triple-decker half veggie/half flower tower of compromise. I’m taking baby steps to becoming the world’s best hostess by growing only the greens to my future salads and I still have room for flowers!
Here’s how I did it:
First, I invited Liz over who did everything. (This was an important step because Liz is wicked good at this stuff and because I have a cast on my right arm up to my elbow right now.)
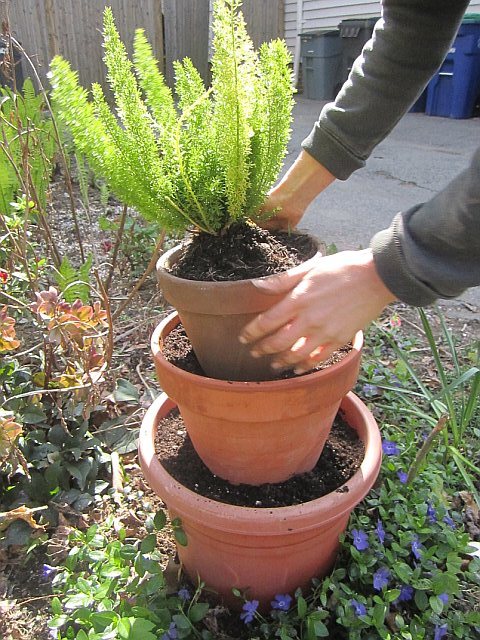
Next, we took pots from the pot graveyard on the side of my house and selected 3 in decending sizes. (These don’t have to match perfectly, as you can see.)

Pick a sunny spot in your garden to place the biggest pot- we nestled ours right into this Vinca Minor- and fill with soil until just below the top.
Add a small dowel or bamboo rod into the largest pot and thread themiddle pot onto it burying the pot about an inch into the soil of the largest pot. 
Then trim the dowel until about 3-4″ is showing to be inserted into the smallest pot.
And finally, you are ready to plant your Garden of Compromise. Liz and I decided on some green lettuce, purple lettuce, white & purple flowers, 2 small cascading plants and topped the whole thing off with a ponytail fern.
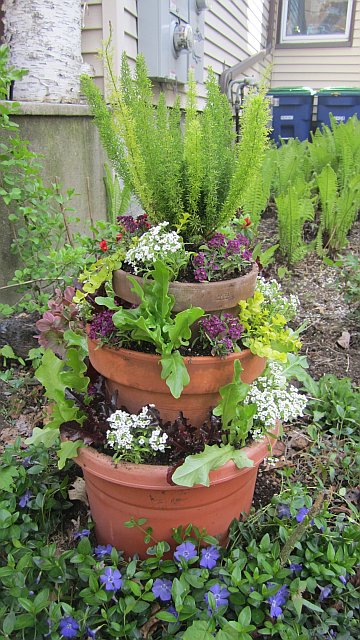

Thanks Liz!! ❤ ❤ ❤

