2

Make Me: St. Patrick’s Day Rainbow Cupcakes

It is said that every Leprechaun has a pot of gold, hidden deep in the Irish countryside.  The most popular hiding place for this pot of gold is, of course, at the end of a rainbow.
These delicious little rainbows do not have pots of gold at the end of them but they do have icing on top of them and they are, thankfully, far less ellusive than real rainbows.   They’d be a perfect addition to any St. Patrick’s day celebration.
Here’s how to make them. 
First, collect your supplies, you’ll need:

-yellow cake batter
-food coloring
-paper baking cups
-icing

Begin by preparing your cake batter according to your recipe. 

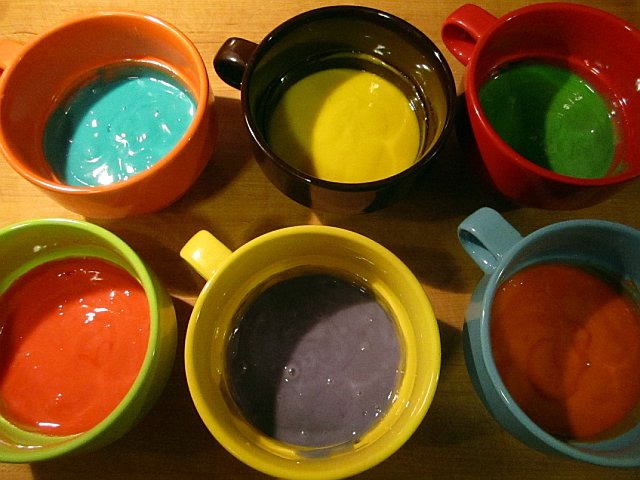
Next, seperate the cake batter evenly into 6 containers.

Then dye each cup of batter a different color of the rainbow.  I like to use Wilton gel food coloring, it makes beautiful, rich colors.  I would highly recommend using them instead of the liquid food coloring from the grocery store. 

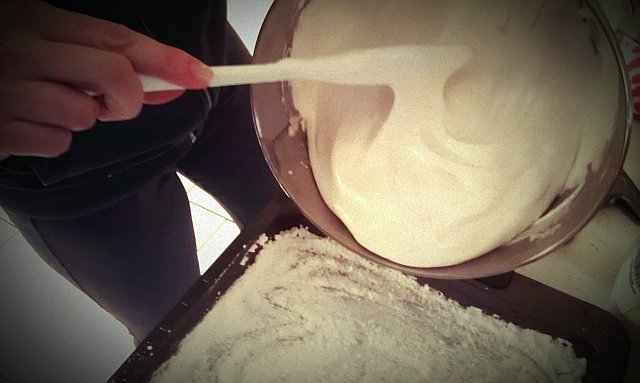
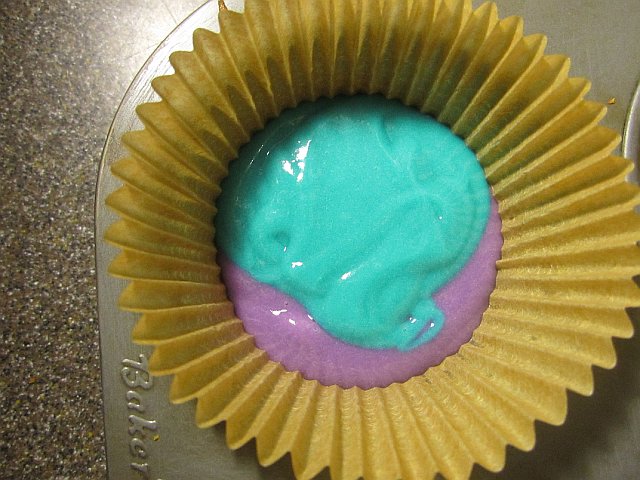
Now begin layering batter into your prepared muffin tin purple first. 
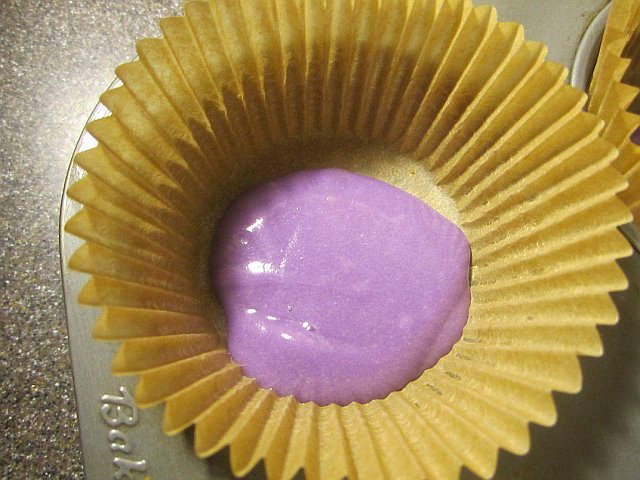
Then do the same with the blue…
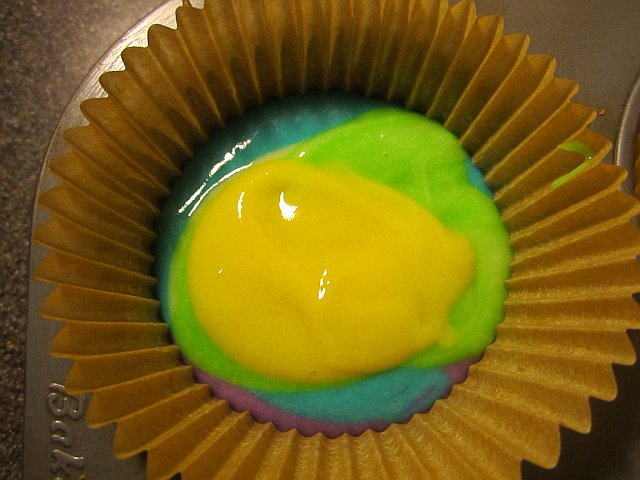
And the green…
Slap on some yellow…
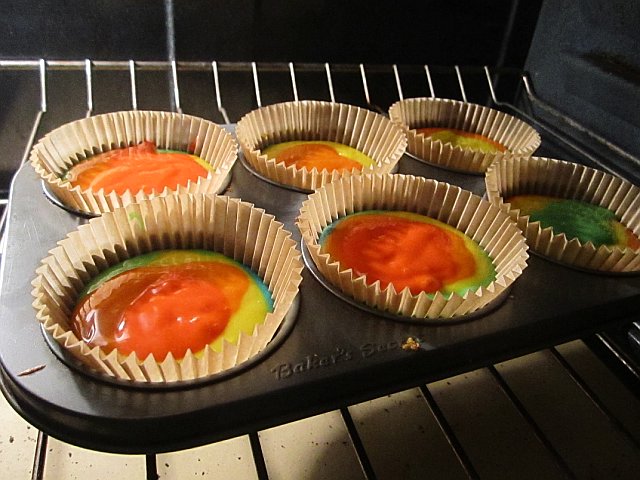
Add a dollop of orange…

And finally top it off with a spoonful of red.

Bake cupcakes according to recipe.

Remove from oven and let cool. 

Once cooled, the outside of the cupcake will look like this.  Meh, nothin’ special.

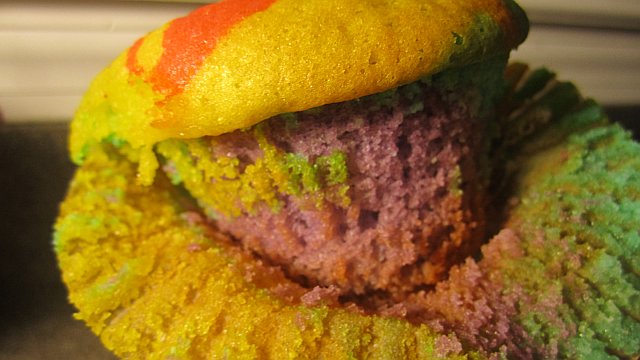
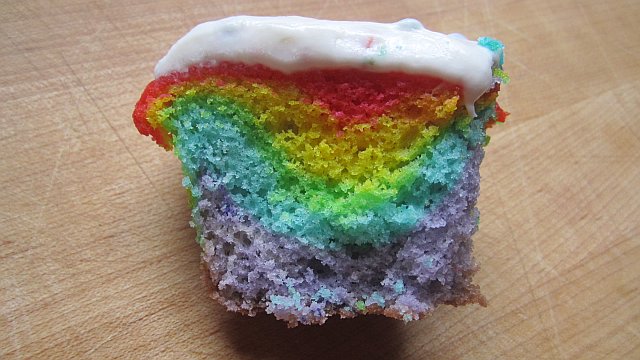
But crack ‘er open and you have a vibrant and delicious rainbow surprise!

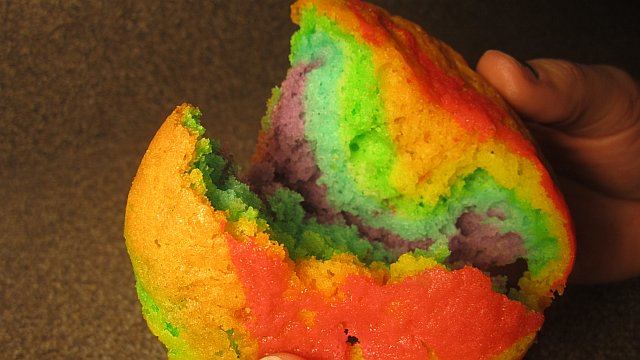
My 4 year old nephew actually told me that his cupcake was “too beautiful to eat.” 
And then I died of acute cute overload.
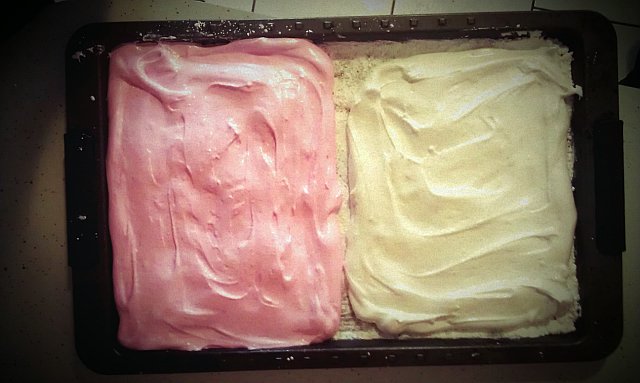
You can also play around with the layering to make other cool creations-
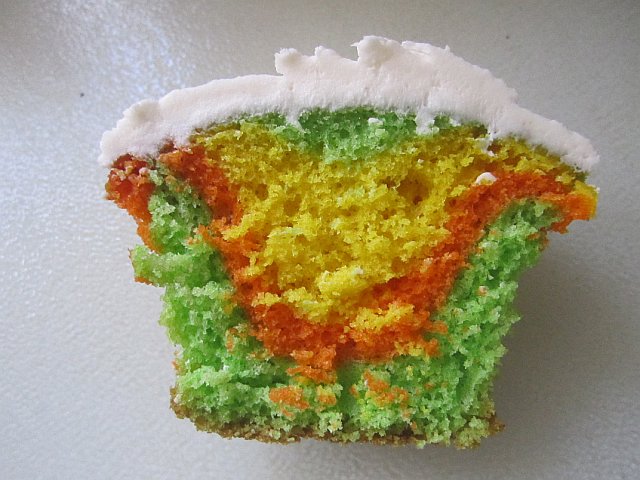
Happy baking!
                                                      dry erase board by yours truly

2

Nacional Dia de los Tortilla Chips

Today, National Tortilla Chip Day, is one of the most revered of the fried food holidays trailing only to National Fried Chicken Day & National Fried Clams Day- both heavy hitters in the fried food scene.

So go out and go crazy! Maybe get yourself some of those American Girl Doll Snack Chips! Go nuts!

0

Quick Fix: Forgetting to Buy Flowers on Valentine’s Day

Whether you forgot to buy flowers this morning and are looking for a quick cover-up or you just wanted to make breakfast in bed for Sweetie, here are two quick ideas that turn regular Valentine’s breakfast-in-bed into something a little more special. 

Instead of just plopping some boring square butter onto the pancakes you’ve lovingly made for your beau this morning, why not cut them into mini hearts and then plop them on your pancakes?

1.

2. 

3. 

Then, using a piece of paper, a skewer (or a chopstick), a marker and some tape, make an adorable note to stick into those delicious pancakes you made.

1. 

2. 

3. 

Viola!
Serve your pancakes on tray with some tea, juice and little paper hearts and now Sweetie thinks you are just the most thoughtful person, going through all that trouble just for them!  You shouldn’t have. 

Happy Valentine’s Day!!  
❤ mandee rae & purdy
0

Shape Up With Pickles WEEK!!!

Jumpin’ Jesus on a pogo stick!  It’s ‘Shape Up With Pickles Week!’  An entire week devoted to pickles!!!…aaaaaaand shaping up with them, whatever that means.

Here’re some pickley treasures from the Etsy-Dot-Com Super Store:

And a print of Miss Pickles by this dude JimBob…..awwwww, hewwo Miss Pickles.
 Miss Pickles print - 'The Original'
I’ll be back when I have something relevant and pickle related to talk about.  Please do the same.

1

Heart Shaped Love: A Valentine Marshmallow Tutorial

What better way to tell your little ones you love them this Valentine’s Day than with these homemade heart-shaped marshmallows?  Making marshmallows from scratch was way less difficult than I thought it was going to be.  They can easily be prepared in under 30 minutes.  
Step 1 To make marshmallows go over to Elizabeth LaBau’s wonderful about.com marshmallow photo tutorial and follow the steps on Pages 1-6.  Then, for Step 7 come back and see me.  (Trust me, this is going to be much easier than trying to follow my directions.)

Step 7 Pour half of your marshmallow mixture onto half of your prepared baking sheet (we didn’t use tinfoil cause we’re rule breakers) and spread using a rubber spatula.

Step 8 Put a few drops of pink food coloring into the remaining half of the mixture and stir until it is a uniform pink.

Step 9 Pour the remaining mixture onto the other half of the sheet and spread out using a spatula.

OPTIONAL
Step 10 Coat marshmallow mixture with sprinkles!

Step 11 The recipe calls for the marshmallows to “sit out for several hours or overnight to fully set up.”  However, because we are horribly impatient and wanted to eat marshmallows NOW we just set ours outside in the snow for about a half an hour and they were fine. 

Step 12 Using heart shaped cookie cutters (metal ones with sharp edges work best) begin cutting out your heart shapes. 

                                                                   hand modeling by Liz.

                                                                 hand modeling by Liv.

Repeat until there are no more hearts to be cut out and you’re left with a delicous pile of marshmallow remnants. 

Step 13 Make some hot chocolate, plop in a couple of marshmallows and make somebody’s day!

2

Fluffernutter, party of two.

If you’ve never had a fluffernutter than this window painting might make no sense to you but I’ll take my chances because here in New England the very mention of Fluff -made right here in Everett, MA- sparks childhood memories that people can’t help but share…whether you like it or not. 
Being from the West Coast I had never heard of a Fluff, let alone a Fluffernutter, until I moved to Boston about 10 years ago.  You’d have thought I’d told people I had never heard of shoes the way they would look at me when I didn’t know what a “fluffernutter” was.  They were outraged at my Fluff-less childhood.

And now I know why!  Fluff and peanut butter were made to be together.  They’re the yin and yang of sandwich components.  And so versatile!  You can have a Fluffernutter for lunch, eat one as a snack or even have one for dessert.  Can balogna and cheese do that?
 

If you’ve never had a Fluffernutter go make one right now.  They’re delicious.  And if you can’t buy Fluff (not Kraft Marshmallow Cream, mind you, there’s a difference) in your ‘hood then use this handy Fluff-Finder feature to hunt down the closest seller.  And if that doesn’t work, you can get a case delivered right to your door.  May your children never have to go Fluffernutter-less.

For more Fluff related goodness, go to the Union Square Main Street website and check out pictures from their annual ‘What the Fluff?” festival.

Photo credit Jabulani Barber
1

Make Me: PDQ Veggie Pot Pie

Why Don’t You Make Me:
PDQ Veggie Pot Pie
It’s a cold, dreary day in Boston today.  A day that makes you want to slip into some sweatpants, get under a blanket and watch 12-13 hours of daytime TV.  A perfect day for comfort food and I have just the thing, this hearty, meat-free pot pie that takes about 15 minutes to prepare and is muy delicioso! 
Ingredients
  • 2 frozen pie crusts
  • frozen mixed veggies
  • Quorn veggie “chick’n” patties
  • 1/2 an onion
  • mushroom gravy
  • salt n peppa
  • Goya season salt
I got this recipe from my Quick Fix Vegetarian cookbook which is chock full of healthy vegetarian meals that can be ready in under 30 minutes.  In the book this recipe is made in a casserole dish with a pie crust over the top.  The crust is my favorite part of a pot pie so the crust-to-filler ratio isn’t high enough for me that way so I decided to make my pot pie in one pie crust and cover it with a second crust to make a full pie
Either way is fine.  (My way just happens to be better is all.)
To begin,  cook your frozen veggies and add them to one of your frozen pie shells.  Leave the 2nd pie crust out to allow it to thaw. 
Cut and saute 1/2 an onion, add to veggies.
Add “meat”- I used 2 frozen “chik’n” patties from Quorn, microwaved, cut into cubes and added to my dish.
Cover with gravy (1 can), salt & pepper to taste, add Goya season salt if you want and gently fold all ingredients together.

Next, gently peel your now unfrozen 2nd pie crust from the pan and place it on top of the pie.  Press sides together with a fork and cut 3 vents in the top to allow steam to escape.

Pop it in your preheated 350 degree oven -on top of a cookie sheet to catch any overflow- and bake for about 45 minutes or until golden brown and bubbly. 
I’ve never used a store-bought pie crust (God’s honest truth) but they’ve made a believer out of me.  They were flaky, baked up to a perfect golden brown and tasted wonderful.

I shared this pot pie with my non-vegetarian husband and meat eating friend Stephen and were given rave reviews by both!  It’s so hearty and tasty that unless you tell people it’s they probably won’t even know it’s a vegetarian dish. 

So go on, why don’t you make me?
0

Why Don’t You Make Me?: Santa Hat Strawberry Brownie Bites

  
For Christmas I made these adorable santa hat brownie bites that I found over on Erica’s Sweet Tooth.  They’re pretty simple to make, here’s how:
Bake your brownies according to directions, let cool.
 Select a round biscuit cutter
  about the size of your strawberries.  
(Or use a mini-cupcake pan)
 Cut out your brownies.
 Rinse strawberries.
 Cut the tops and a teeny tiny bit of the 
bottom off for the chocolate to settle onto.
Melt your white chocolate and 
scoop into pastry bag with tip.
 FOLLOW THESE DIRECTIONS TO MELT YOUR WHITE CHOCOLATE.  

It’s not the same as melting milk chocolate, I found out the hard way.  Now, pipe some white chocolate on the tip of the waiting strawberry and onto the bottom between the brownie and the fruit and you’ll have little chocolate santa hats!

Hope you have a very Merry Christmas!!