
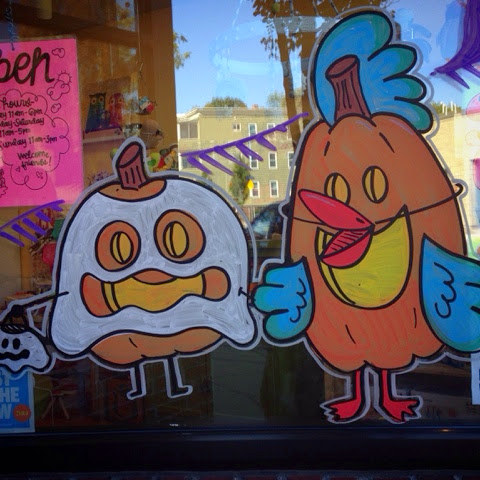
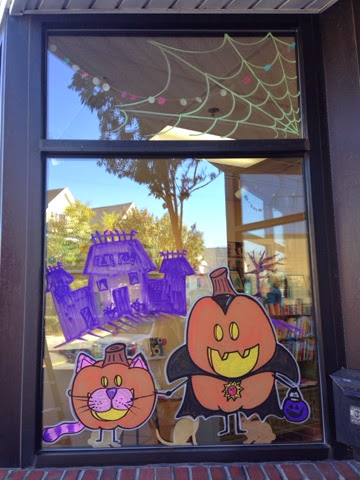
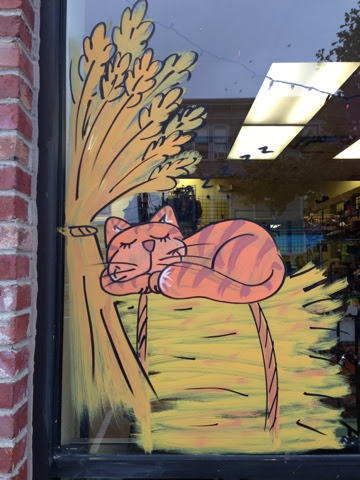
Left side: September window.
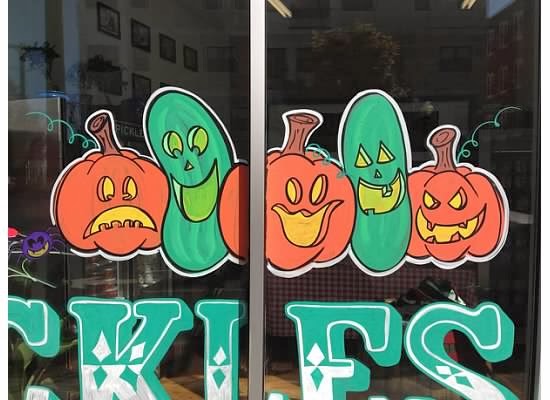
Right side: September window updated for Halloween.
Lazy sounds a little harsh, I prefer “crafty.”

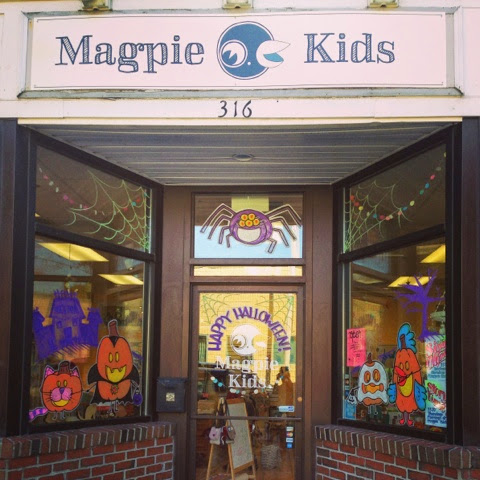
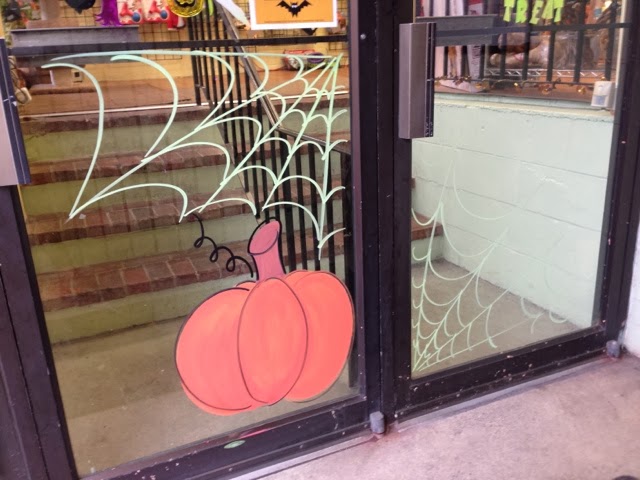
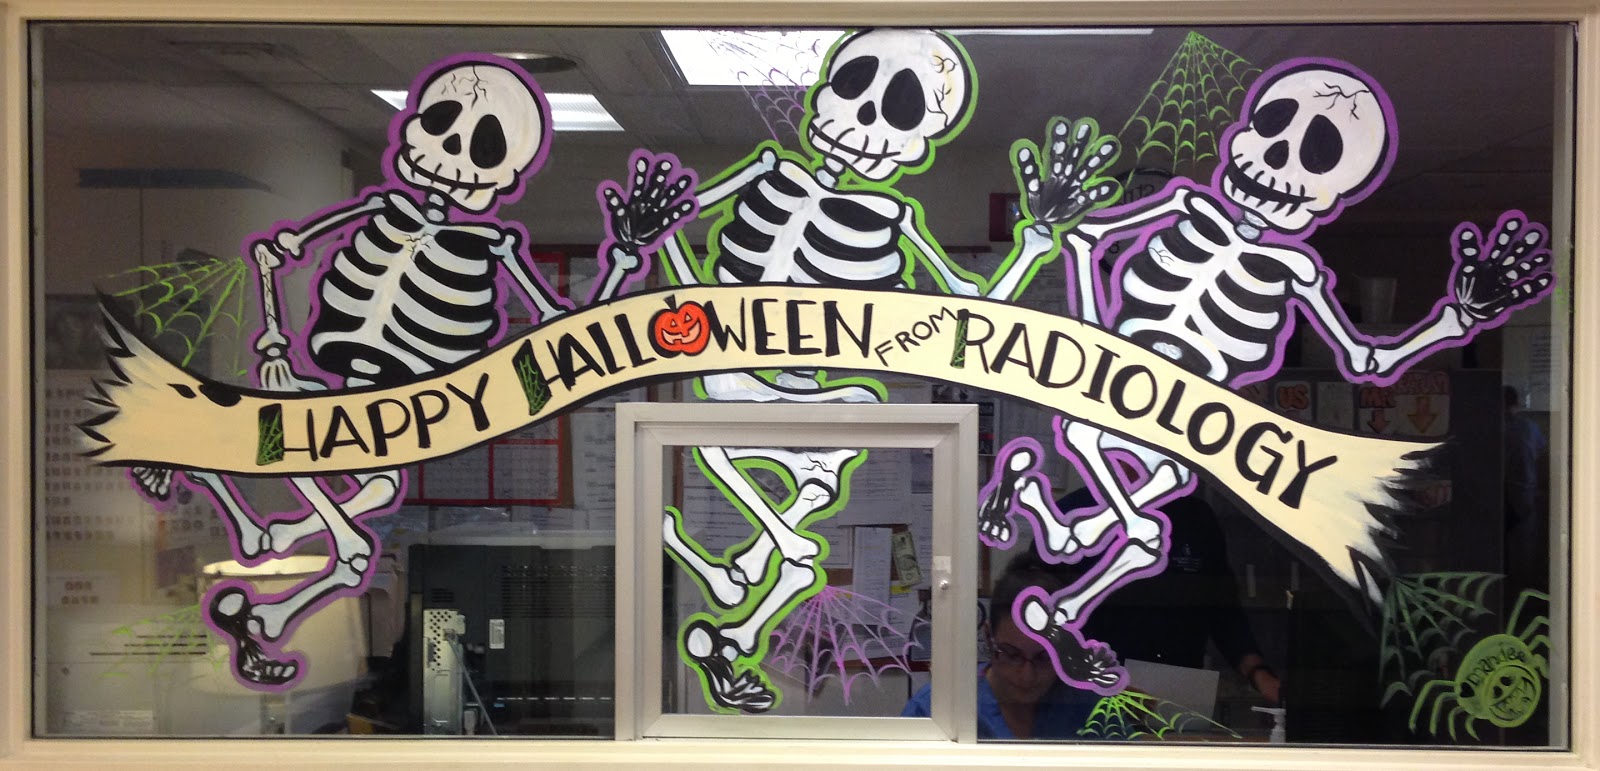
Halloween window painting at Magpie Kids in Somerville, MA.

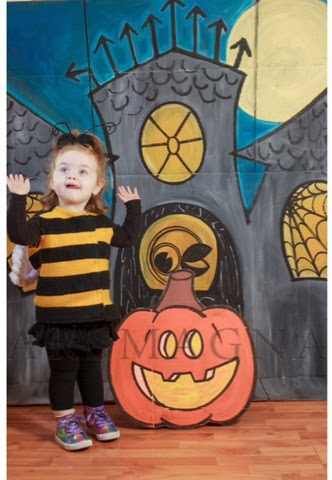
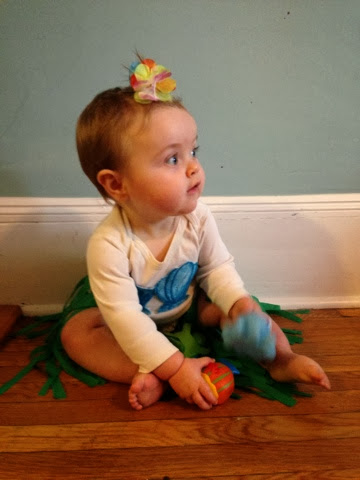
My little busy bee and her ladybug friend.

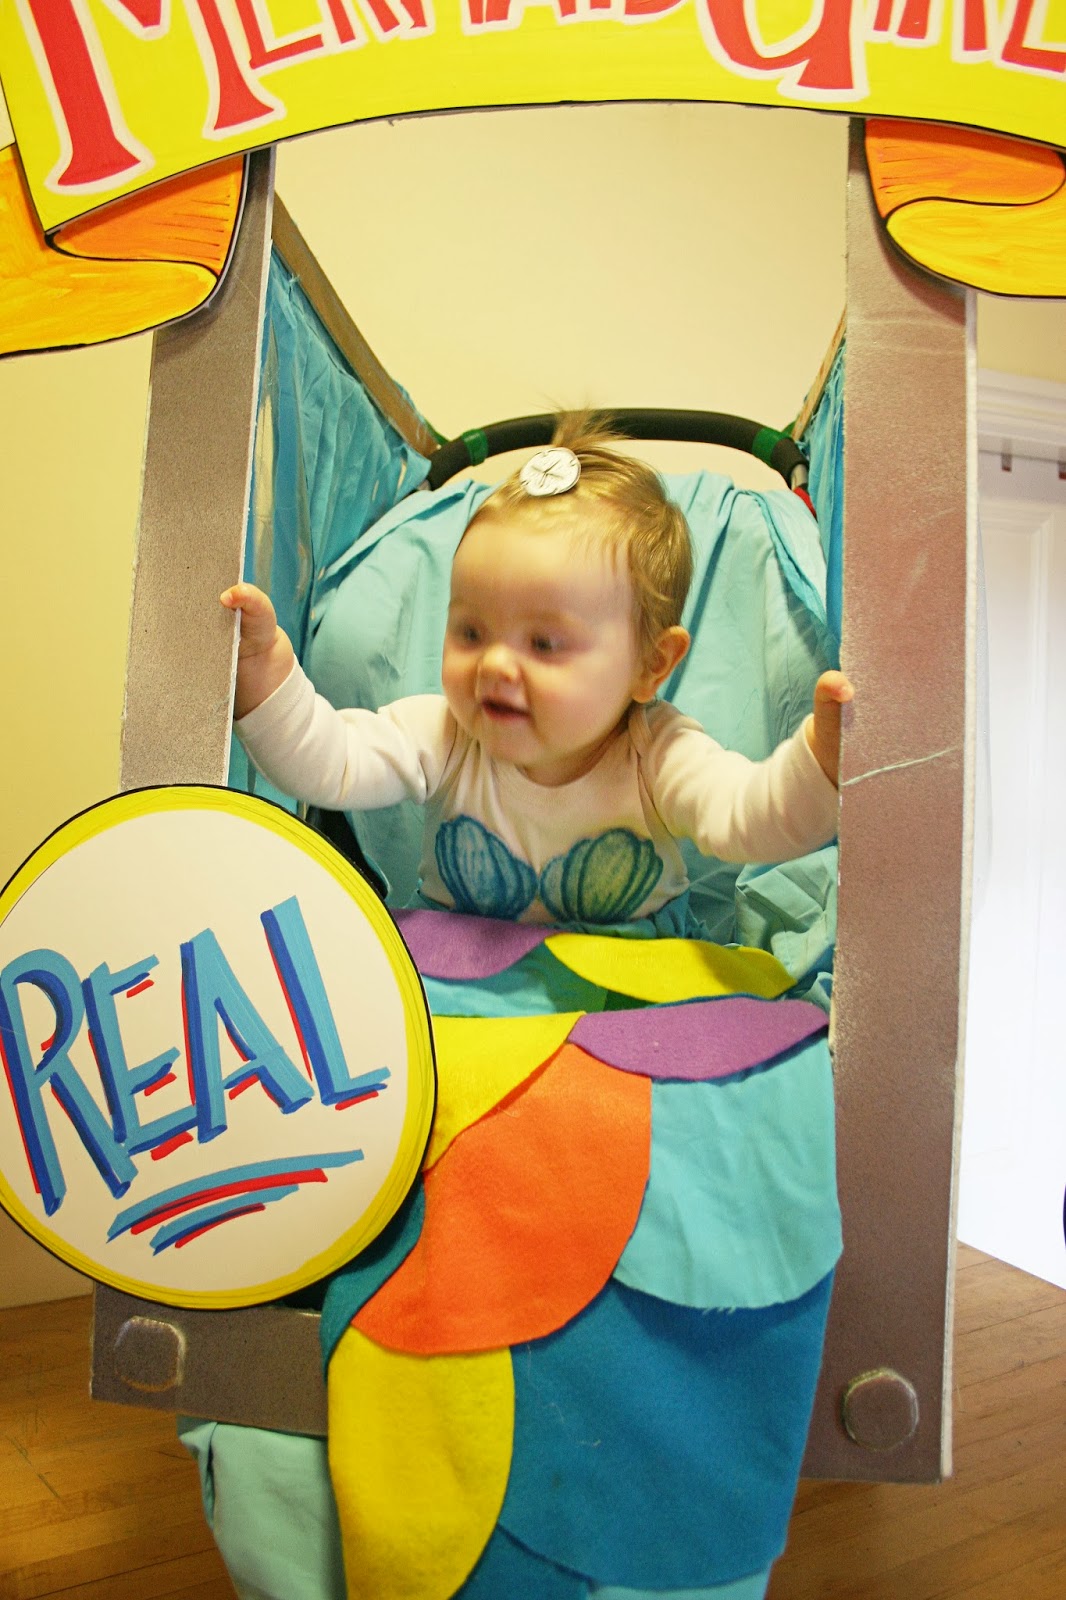
Buggy Bugs giving hugs in front of the photo backdrop I painted for the Halloween Party at Magpie Kids.
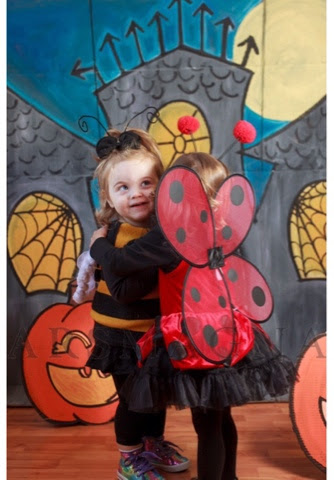
Photo cred: Allana of http://www.arsmagnastudio.com.


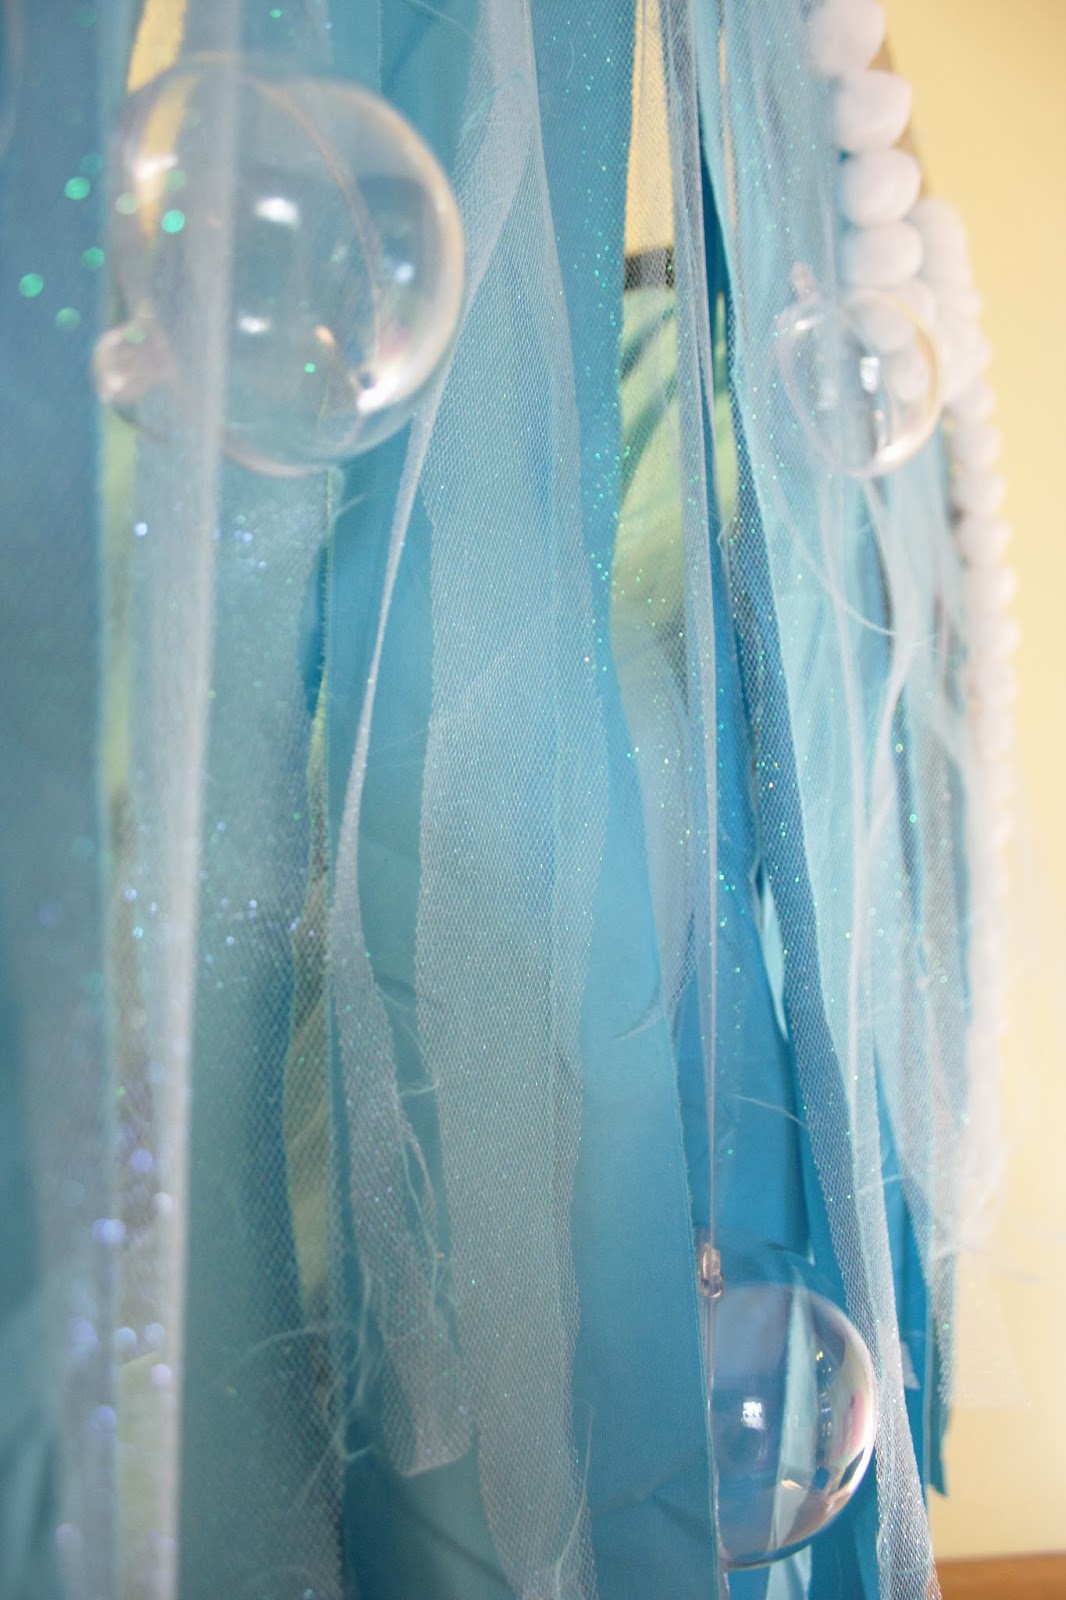

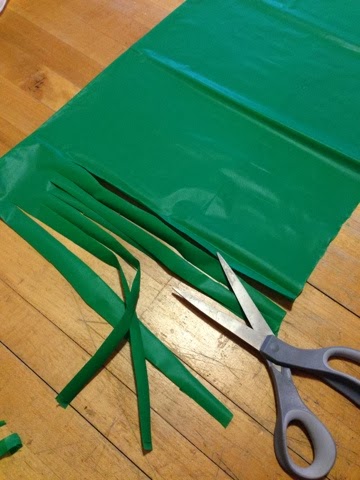
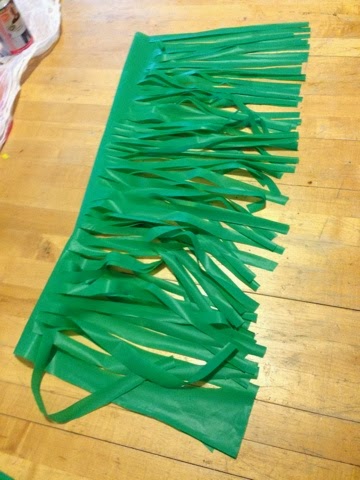
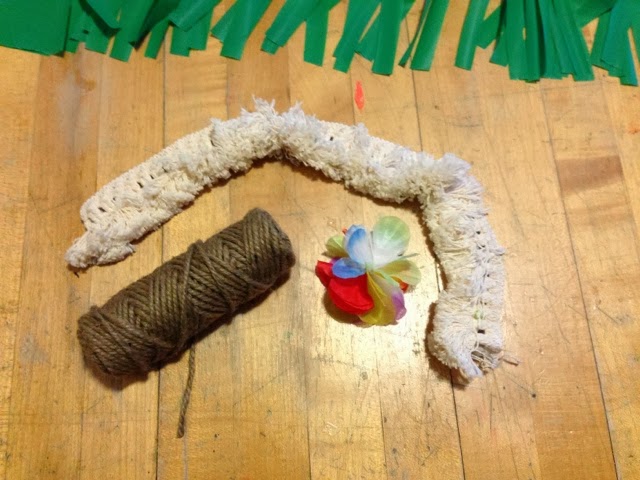

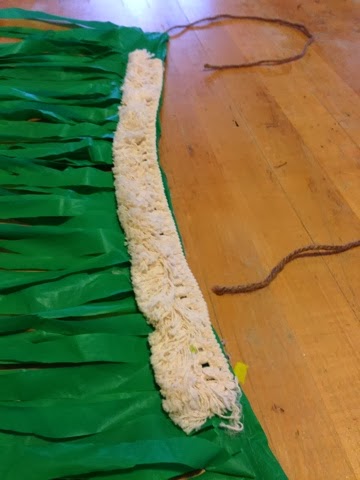
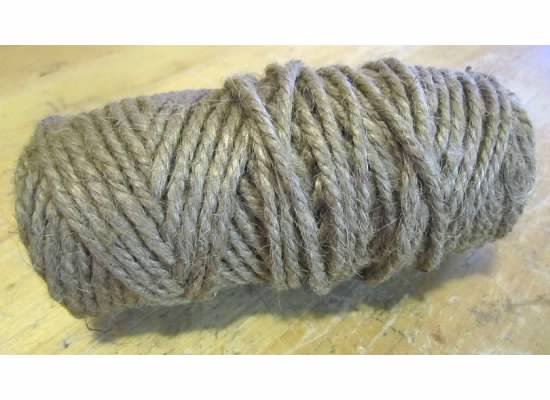
3. Once the fringe is cut grab your rope and fringe if you have some laying around. I had this awesome piece of white fringe/tassles leftover from an old project.


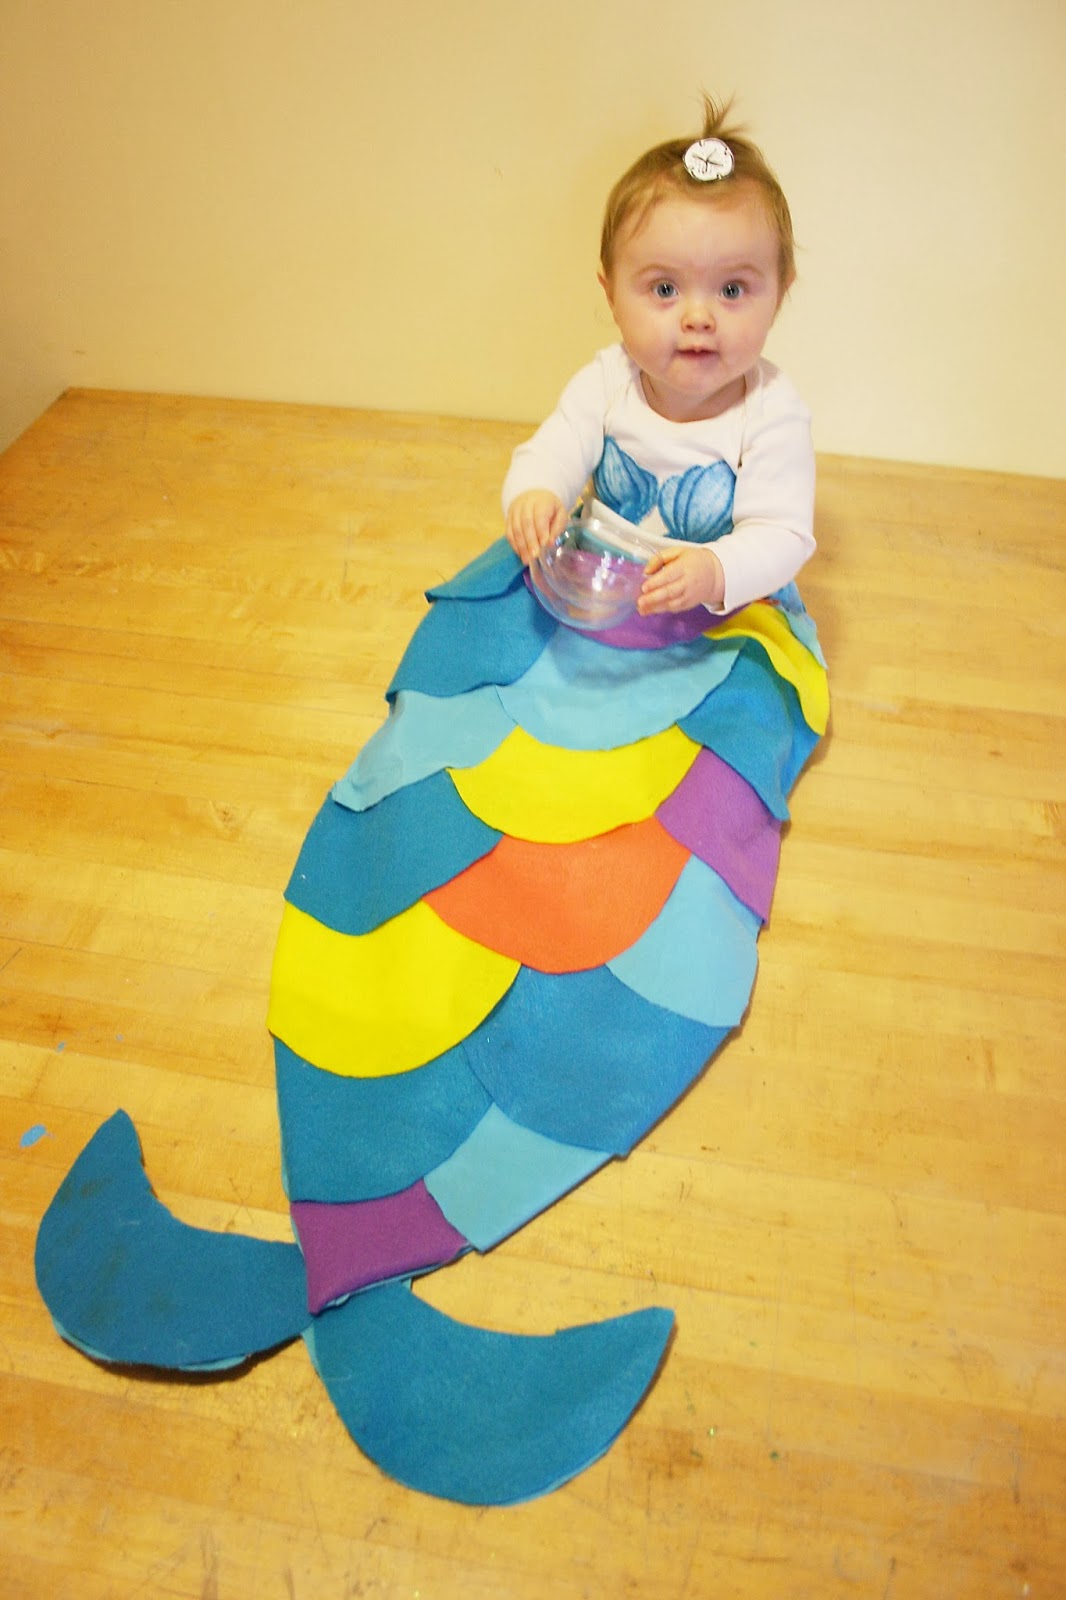
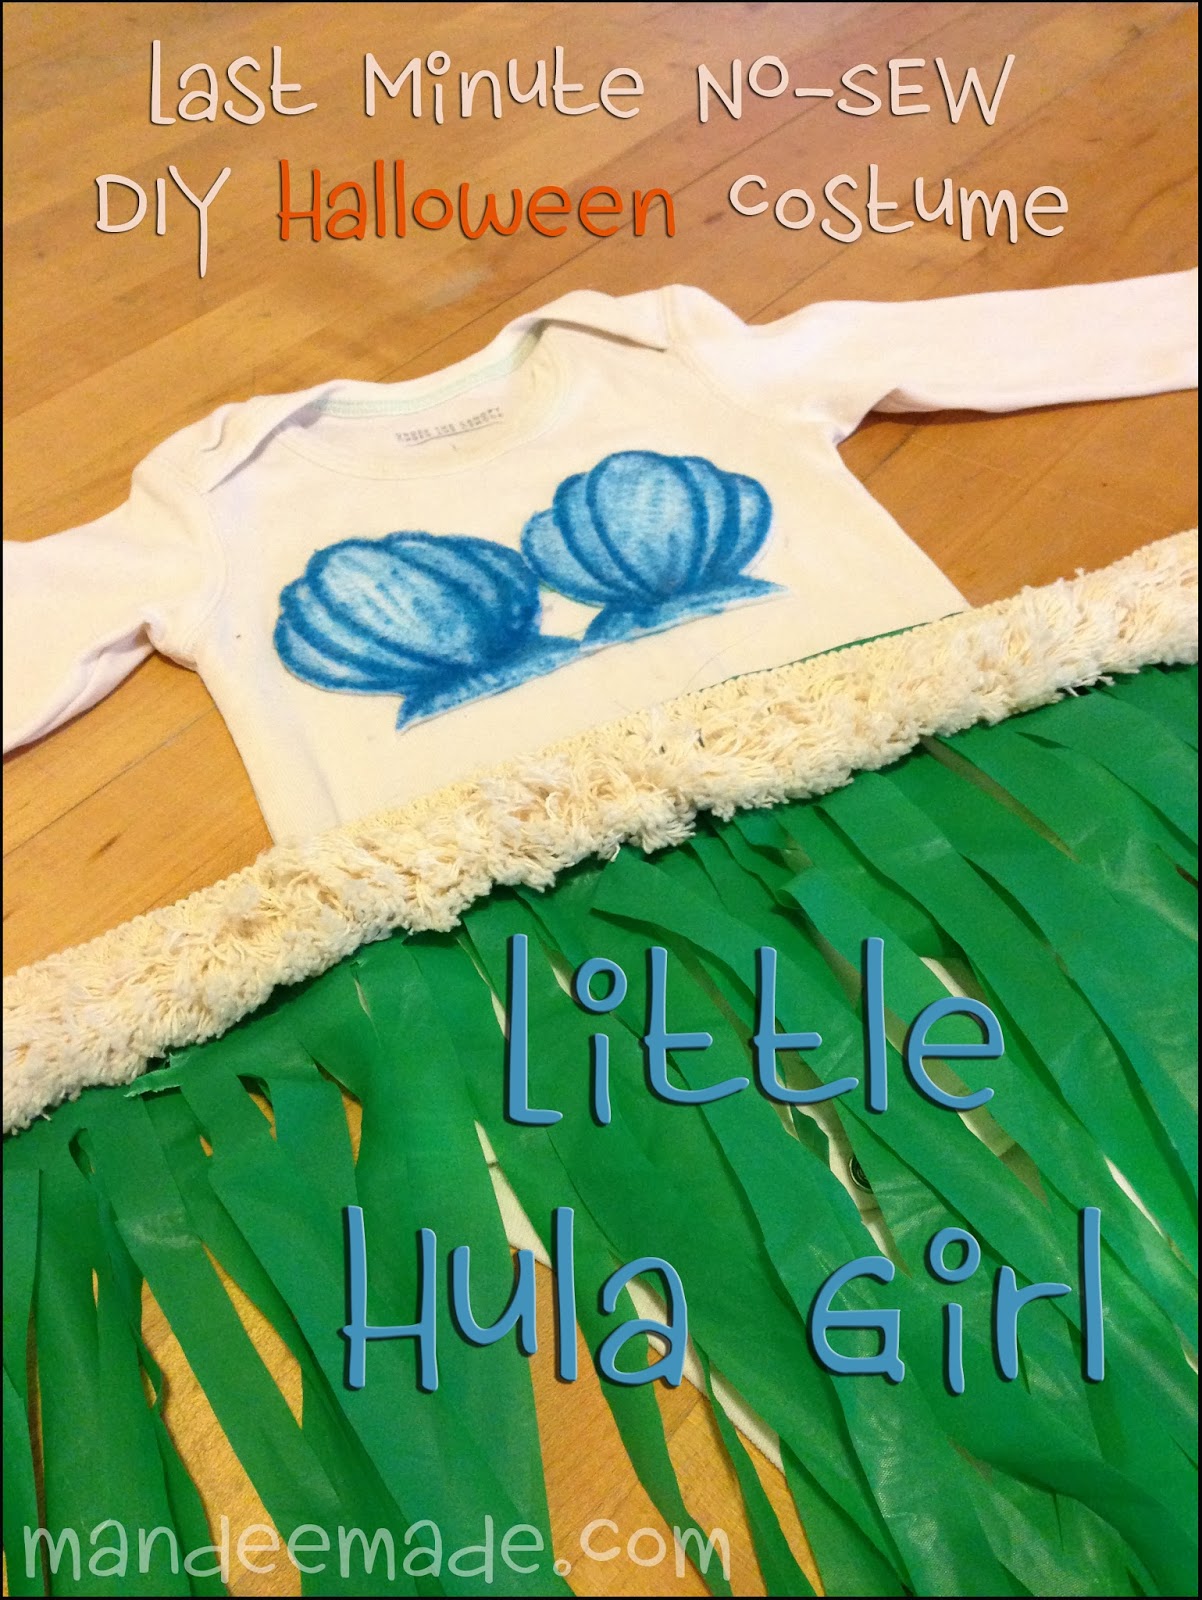
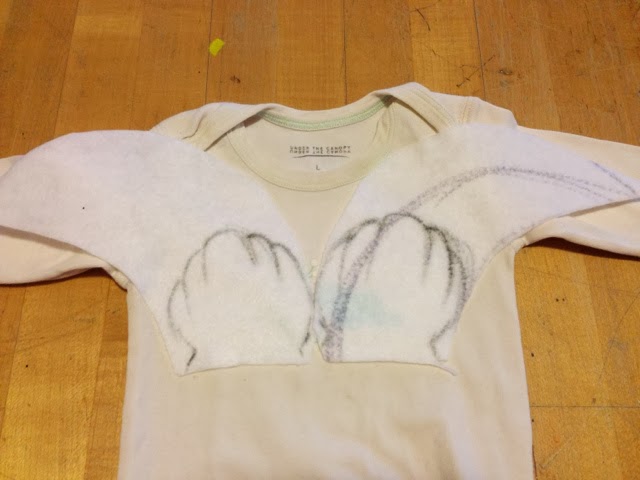
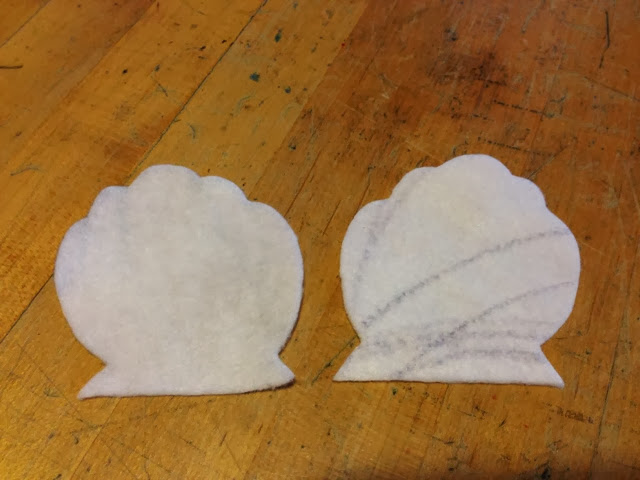
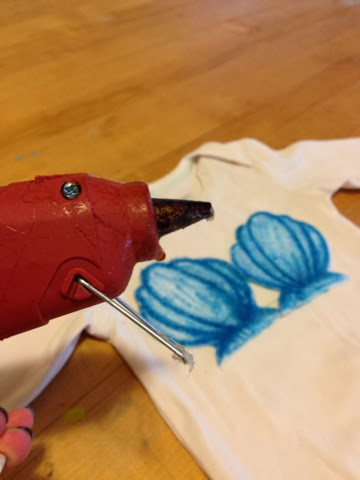
3. Hot glue the shells onto the shirt.


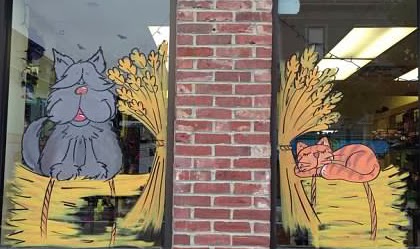

Dennis really has it made in the shade at River Dog and he’s the reason there’s some hay missing under the dog…that’s his perch in there and he needs to be able to see out. It’s important work he does over there.


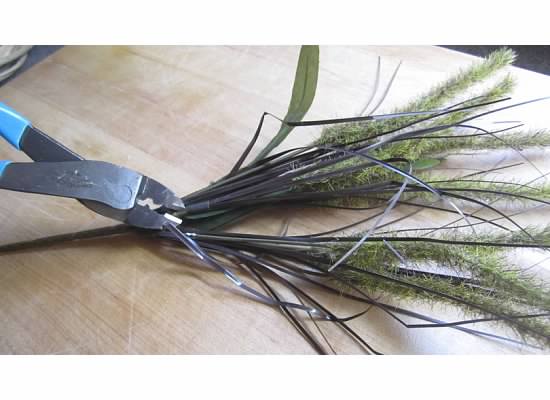
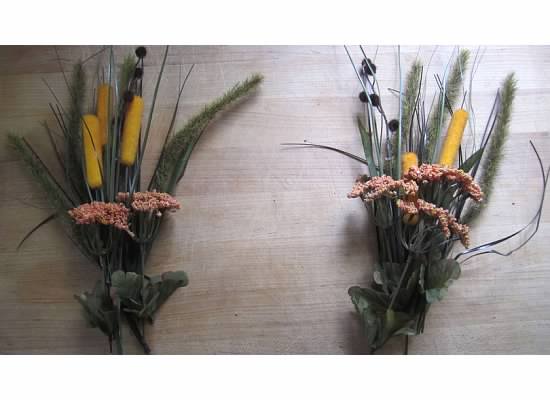
Next, arrange your 3 bouquets of fall foliage and begin snipping them off of the main branch with your wire cutters. Arrange the new seperate pieces so that you have 2 equal bouquets (if you plan on making 2 wreaths…which I did because I have a double front door.)


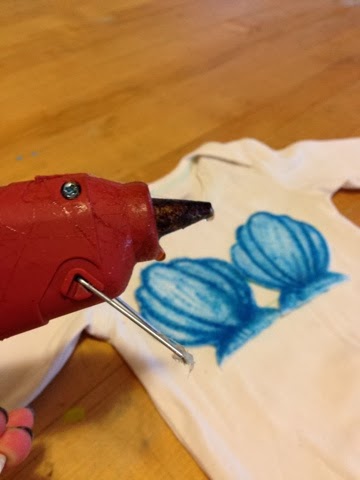
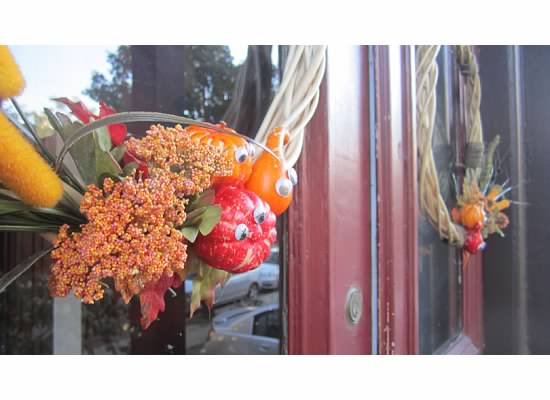
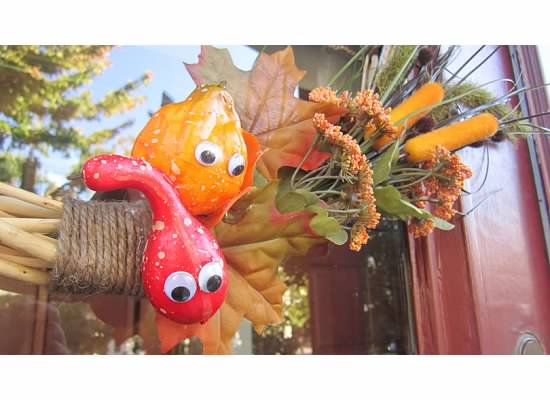
Take your freshly googelied squashes and arrange them at the base of your fallin’ foliage until you are satisfied and hot glue them into place.
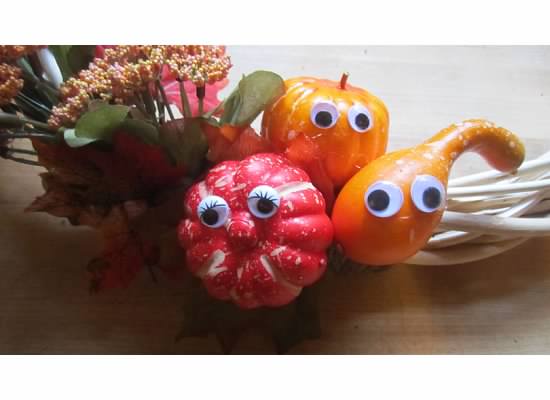

**Note: my squashes are made of styrofoam which means they basically melt when the come in contact with hot glue. Turn your glue gun to the lowest setting if you have that option or put the glue on the wreath first and allow it to cool for about 3-4 seconds before placing your squash so that it doesn’t turn into a puddle.**


