Makeover Monday (Tuesday Edition):
The Great Credenza Makeover of 2012
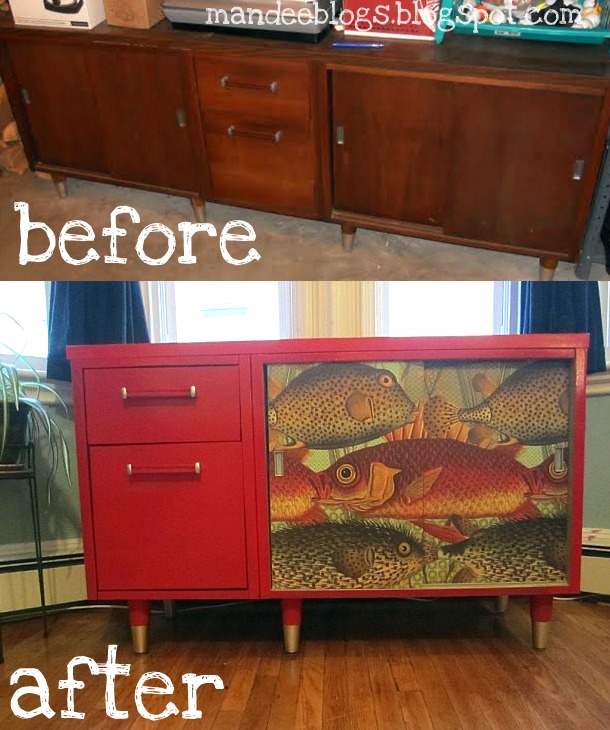
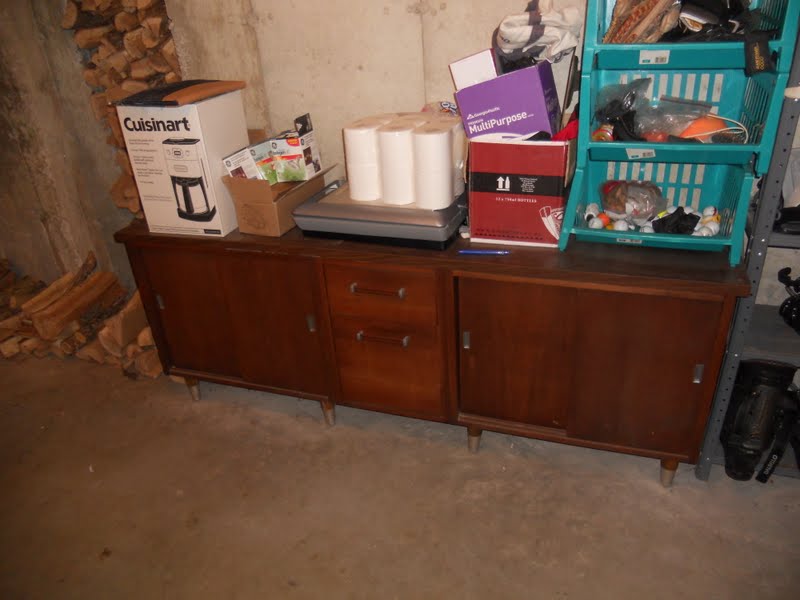
Last Thursday, on my daily trip around Craigslist, I found this beautiful 1960’s style credenza living in the garage of the nicest seller in the history of Craigslist for $25 bucks!
The drawers and the sliding doors turned out to be the only real wood on it. The rest of it, as far as I can tell, is made of cement mixed with whatever the heaviest thing on earth is. Seriously, this thing weighs a ton. Luckily my wonderful (and hilarious!) friend Zach was nice enough to throw on some sweat pants and go pick it up with me. Thanks Zach! (Sorry you had to wear sweat pants to class.)
We got it in the house as far as the living room where it had to stay because Zach had to go to class (in sweats) and, as I may have mentioned, this thing weighs at least 300lbs (and I can only bench press 275) so I can’t move it alone. Living room it is. I began to unscrew the legs…there were 7. Interesting.
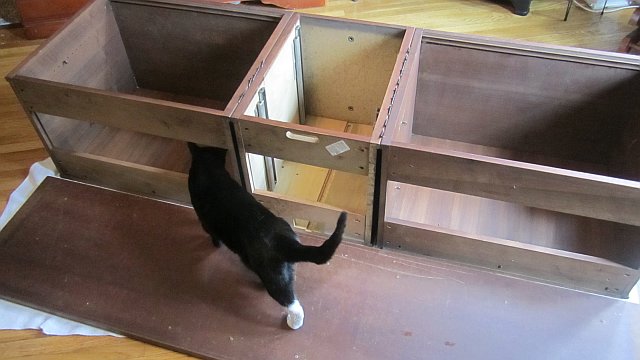
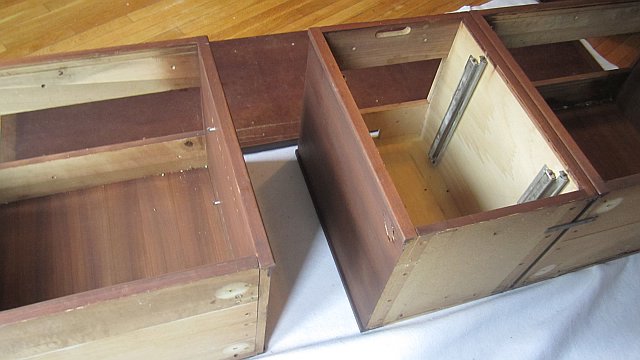
While it was flipped over I realized that the entire thing was 3 separate pieces connected by 2 brackets and the common top. I unscrewed the brackets and top, had it quickly inspected by Fonzie and the pieces came right apart. I love it so much as one piece but at 8′ long I have nowhere the entire unit would even fit.
Plus, now that they’re separate I can actually move the pieces all by my lonesome. Holler!
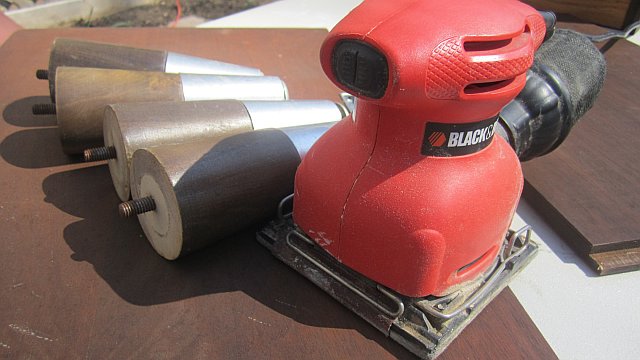
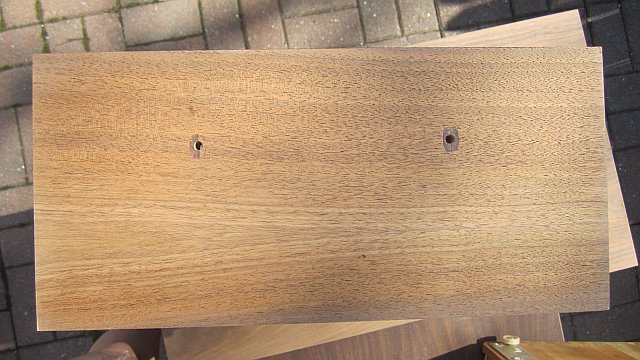
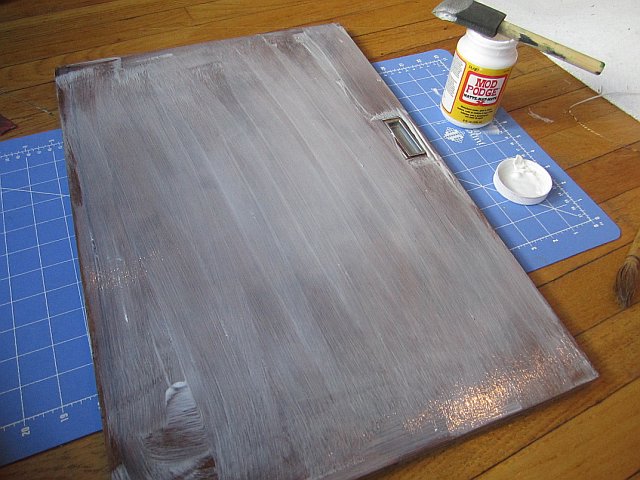
I sanded everything- doors, drawers, legs, etc.
And primed them with Zinsser. This was my first time using Zinsser and I love it! It dried really fast and covered everything.
I painted the outer parts of the credenza (here after 1 coat) with Rustoleum ‘Gloss Sunrise Red’. I chose the Rustoleum because I wanted a high shine and I loved this perfect color red. The inside was painted flat ‘Olivewood’ grey.
Now for the doors. I decided not to prime the doors, just sand them mostly because I didn’t want to tape around that little metal handle bit. Also cause I just didn’t think they needed it.
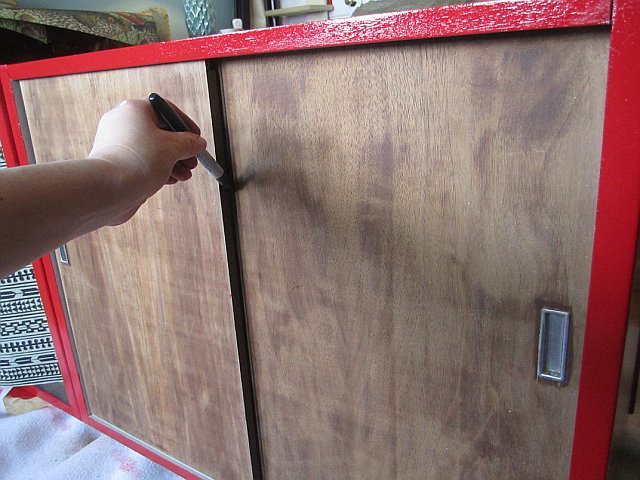
I put the doors in the credenza where they’ll eventually live and traced the line where they overlap.
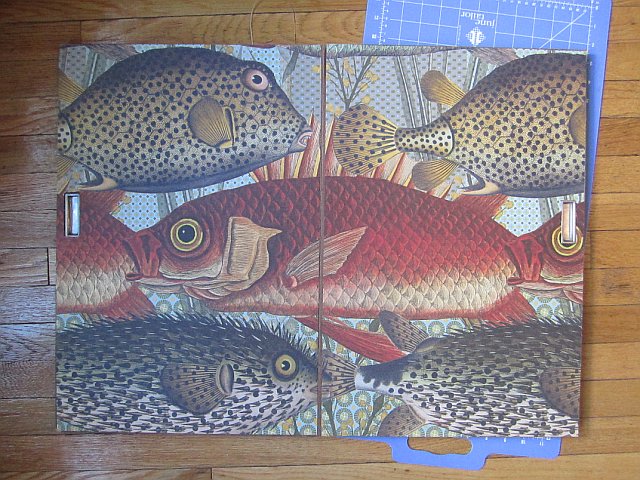
Next I laid my doors on the amazing decorative paper I’m using to cover them and cut around their outline using an X-acto knife. Using the line we drew on the second door I allowed for a little bit of overlap so that the image would appear as one piece when the doors are closed.
Once you’re happy with your paper placement Mod Podge it into place. Cover the entire surface with Mod Podge, lay your paper down and smooth out any air bubbles. Be sure to work quick, this stuff dries fast. When it’s in place, cover the entire surface with Mod Podge. (It’s a good idea to use M.P. Hard Coat for this project.)
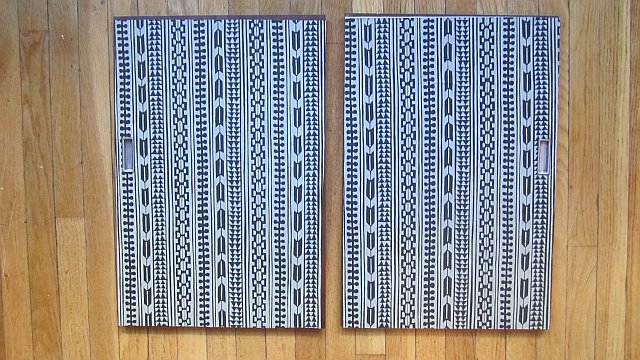
At first the glue will be cloudy but never fear, it will dry to a beautifully clear finish in no time. I chose a matte finish and also decided to cover the second set of doors with a 2nd paper option because I just couldn’t pick one.
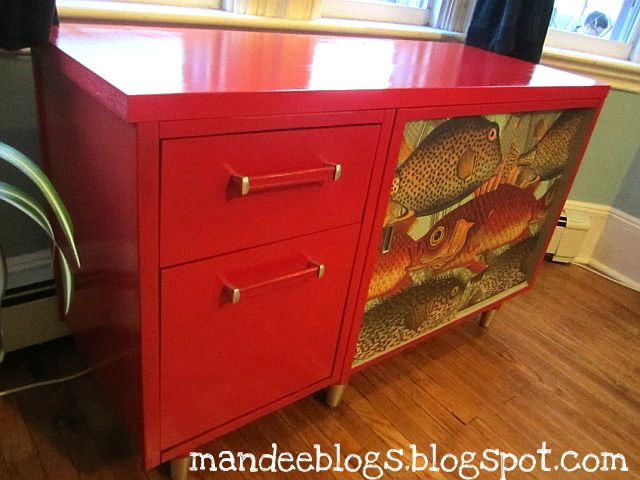
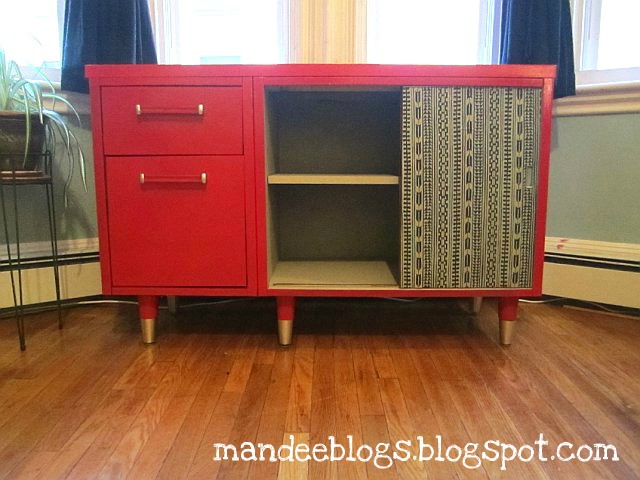
I put the top back on, screwed on the legs and slid the doors in and the results are a sophisticated yet playful piece of furniture that I absolutely adore. I cannot wait to fill it with carp…I mean crap.
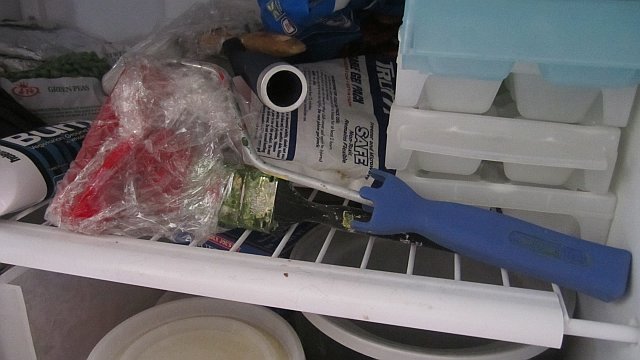
***TIP from my Mom***
Instead of wasting time cleaning paintbrushes that you’re just going to use again for the second coat, wrap them in plastic wrap or a grocery bag and pop ’em in the freezer until you’re ready for the next coat of paint. This way you only have to wash your brushes once at the end of the project which will help seriously reduce the desire to just abandon the project halfway through because washing paint rollers is such a gigantic paint in the a**. Thanks Lady!

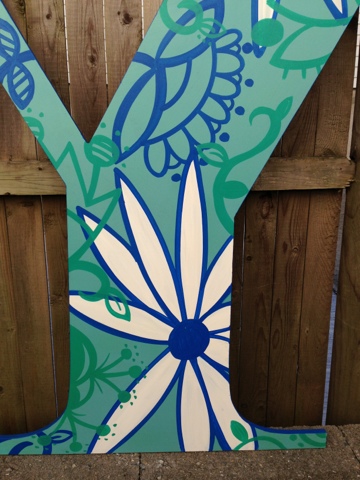
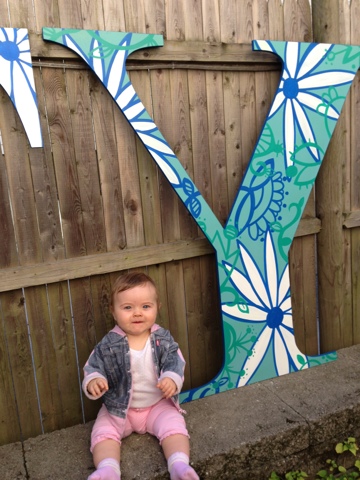
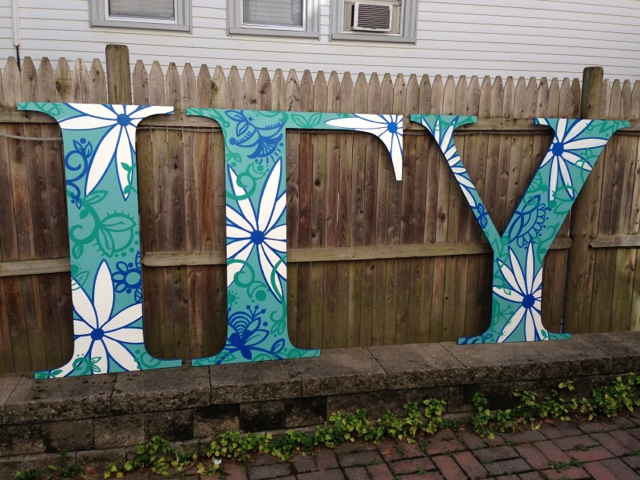
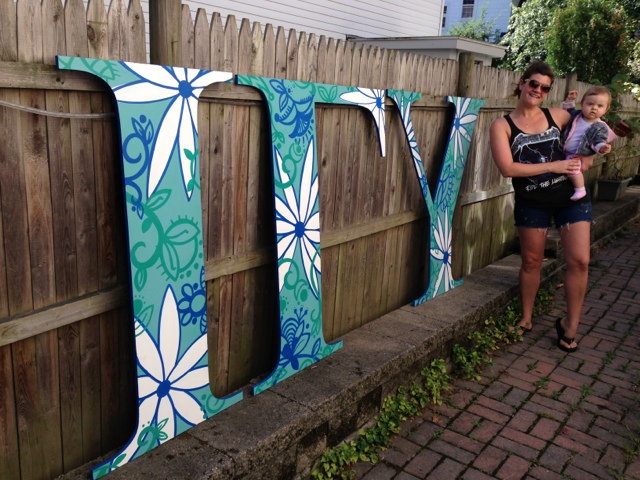
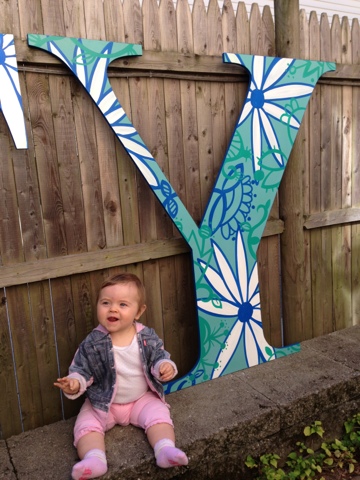
 Ok, maybe I didn’t actually join a sorority BUT I did paint some FOUR FOOT TALL lawn letters for one! The super nice ladies of Ioma Gamma Upsilon at U-Mass Amherst contacted me to customize their new letters and I couldn’t wait. It’s probably the most unique (read: weirdest) request I’ve had to date so I was obviously all about it.


