
Fall window painting at my real job, BIDMC, Boston, MA.
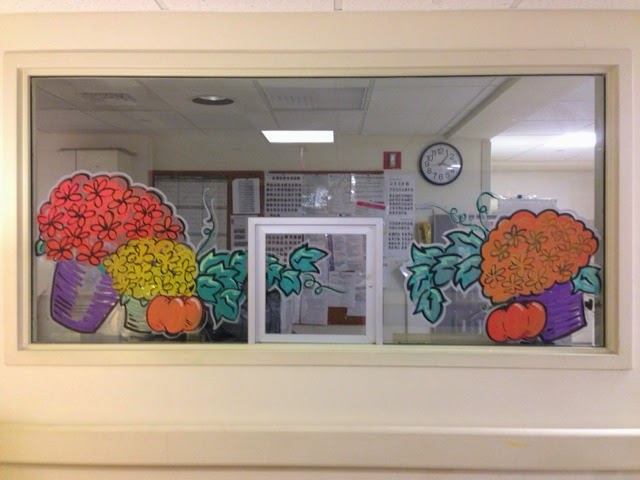


*Photo bomb by Lauren.

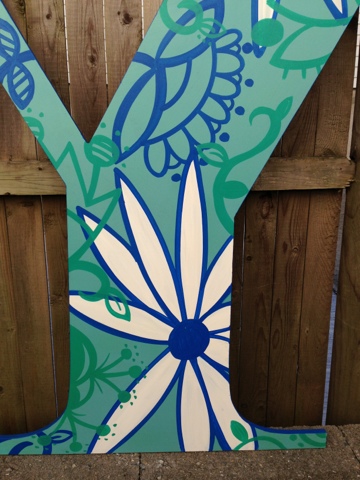
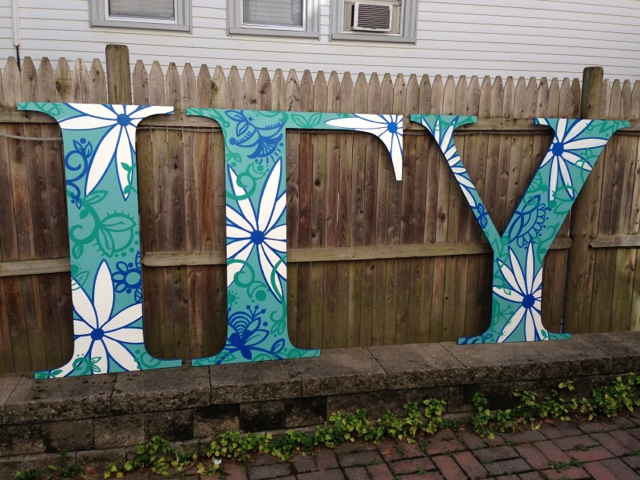
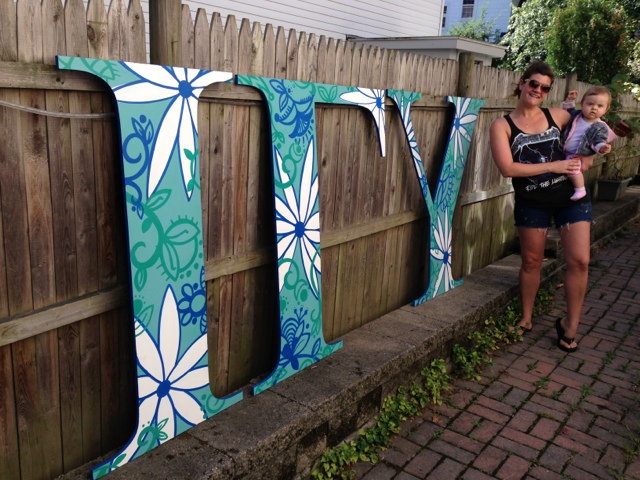
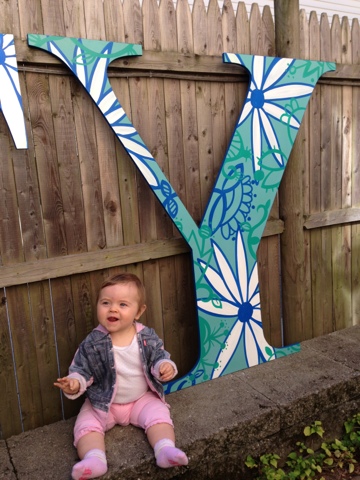
 Ok, maybe I didn’t actually join a sorority BUT I did paint some FOUR FOOT TALL lawn letters for one! The super nice ladies of Ioma Gamma Upsilon at U-Mass Amherst contacted me to customize their new letters and I couldn’t wait. It’s probably the most unique (read: weirdest) request I’ve had to date so I was obviously all about it.


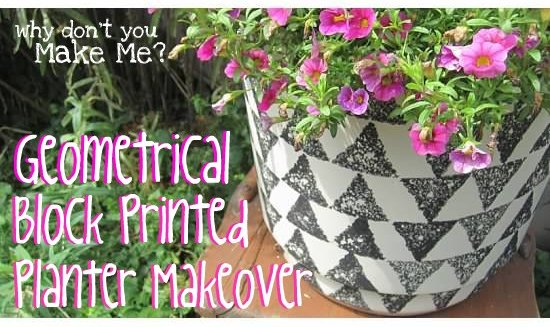
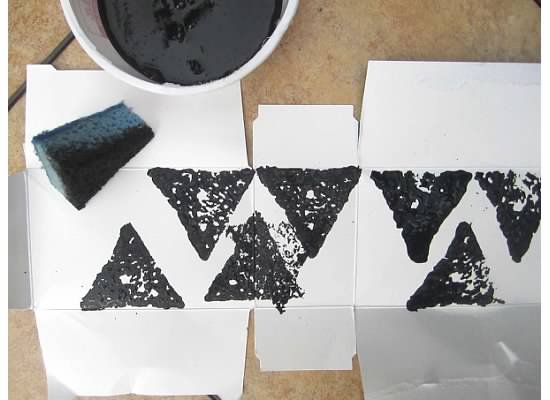
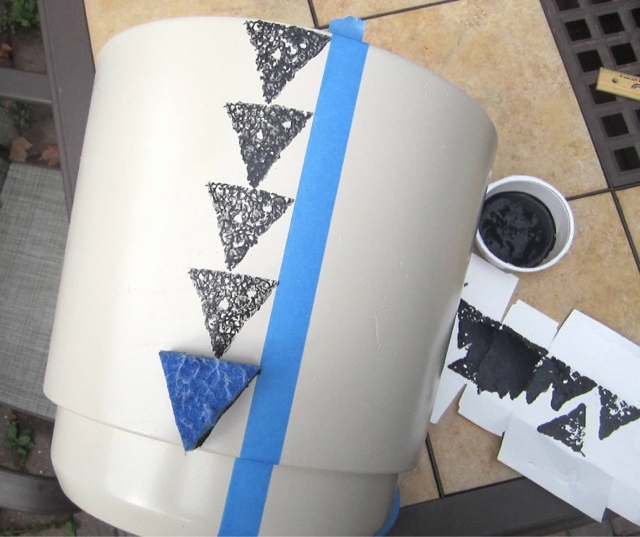
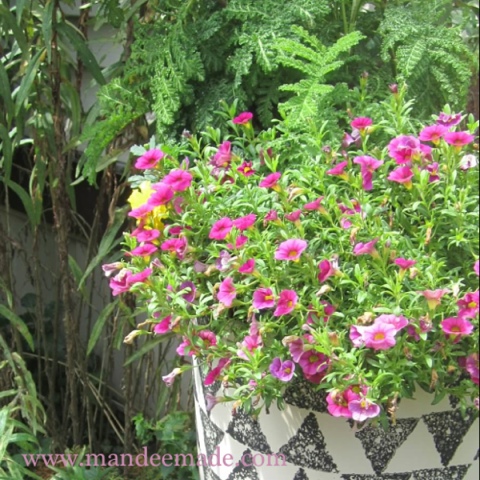
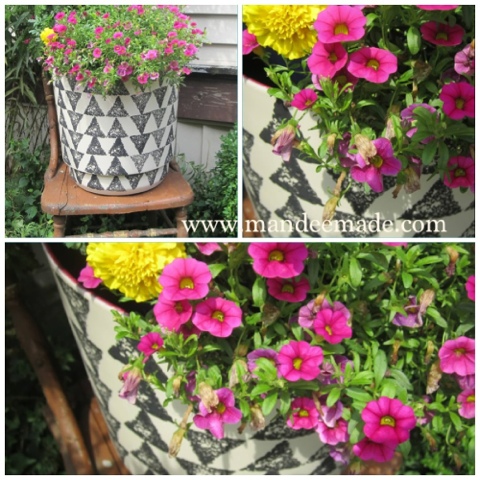
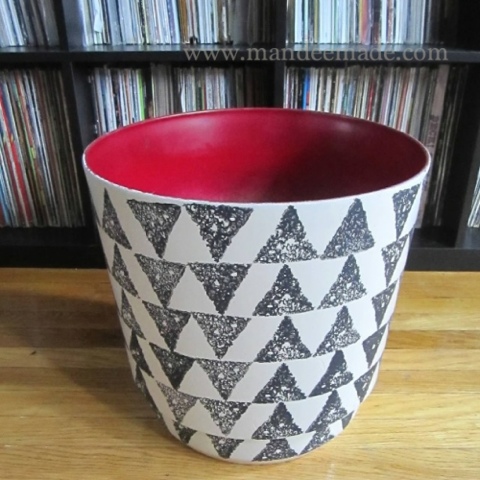 I made this beautiful block printed planter first thing this planting season and then forgot to share it. This essentially means it never happened at all and all of my priming and painting and sponge cutting was for not. So I’m posting it now, just in time for the end of planting season. Luckily, I think it’s going to look just as lovely stuffed full of Mums and tall grasses as it looked chock full of petunias.
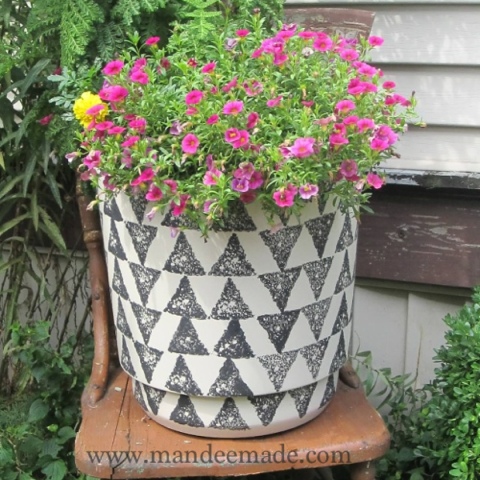


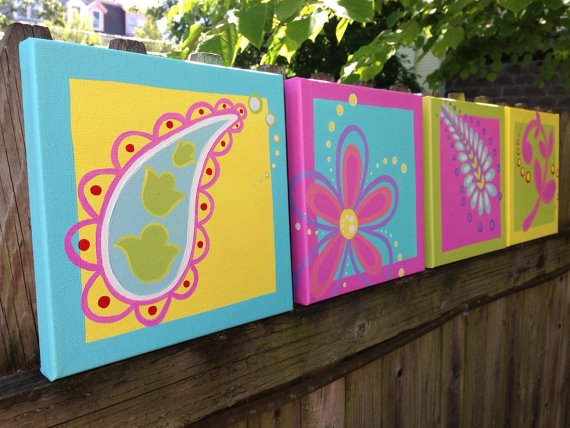
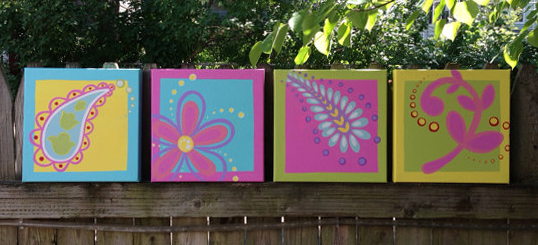
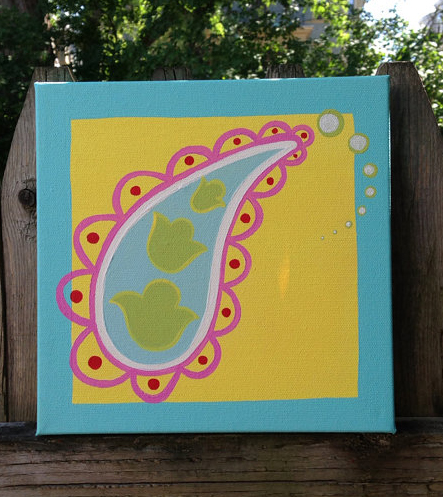
These paisley paintings were done for a little lady’s room inspired by the lampshade her Mom bought at PBK from the Tera Paisley Collection.

All of the designs mimic the style of the fabric but are completely original to match the overall color-scheme of bright pinks, purples, greens and blues in her room.


Apple picking is a sure sign of better things to come. Things like sweaters and leggings and tights and boots and scarves! I love dressing for fall ALMOST as much as I love punkin flavored beverages and punkin flavored foods. Almost.

I wish I could give Fall a big squeeze to show it how much I missed it. Like this guy with his apple.


I accidentally broke my favorite purple pot (aka my only purple pot) and just couldn’t bear to throw it out. I considered gluing it back together but some of the pieces shattered so there would be holes all over it and the dirt would fall out. Then I considered smashing it into little pieces and making some sort of mosaic out of it but then I remembered that I don’t like mosaics. (No offense if that’s your thing, it’s just not for me.) I also thought about taking a bite out of it like the girls on that TV show but my heart’s just not in it.
The only thing left was to fix it and figure out a way to cover the crack and make it super adorable- and I did just that.
Here’s how:
For this project you will need the following items:
Start off by washing your broken pot in hot soapy water. **Careful to not burn and/or cut yourself!!** This will remove any oils or dirt from the pot and make the epoxy hold better.
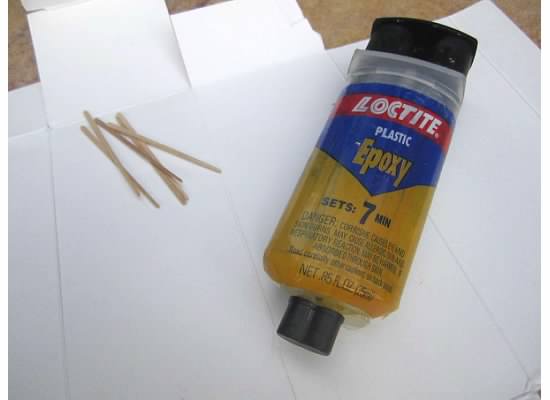
Next, mix your epoxy and add a generous amount to the break in your pot. You should wear gloves during this and work in a well ventilated area, this stuff is smelly. Put your pieces back together.

**You can put globs of the epoxy on since the seam doesn’t need to be beautiful because we’ll be covering the whole thing with twine. Smear the extra epoxy around with a toothpick after putting the pieces back together to make a water-tight seal.


Now you’re ready to start wrapping your newly fixed pot in twine. I turned my pot over and started from the bottom.

Begin by gluing the end of the twine to your pot and start wrapping, gluing the twine to the pot as you go.

I put a dot of hot glue about every 3-5″ on the entire pot. This string’s not going anywhere!!


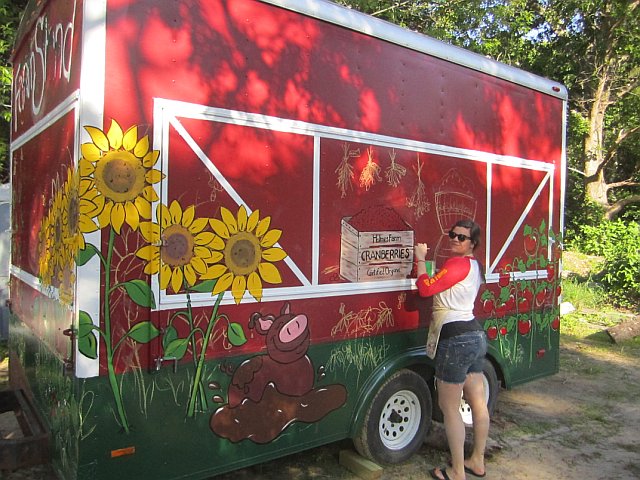
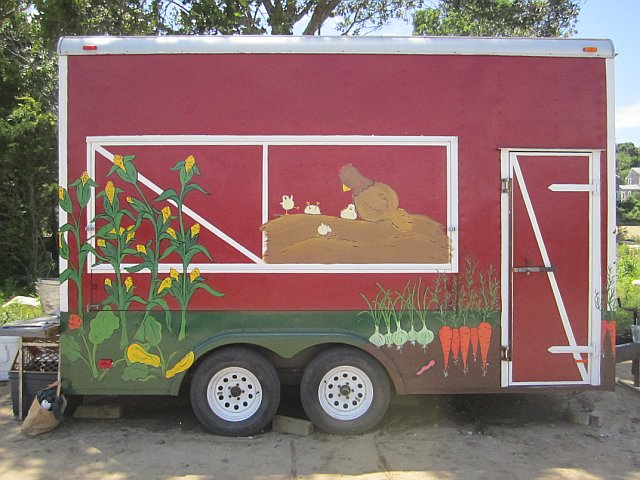
There are 2 ways to see the trailer in action- you can either go directly to Holmes Farm on Saturdays and support their farm stand or catch them at the Plymouth Farmer’s Market every Thursday at Plymouth Plantation.
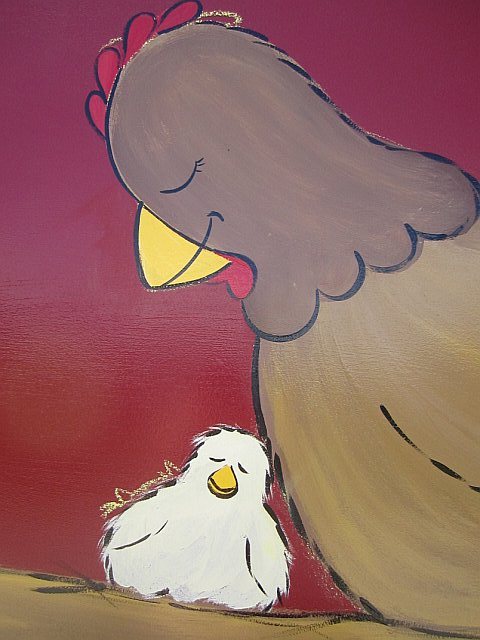
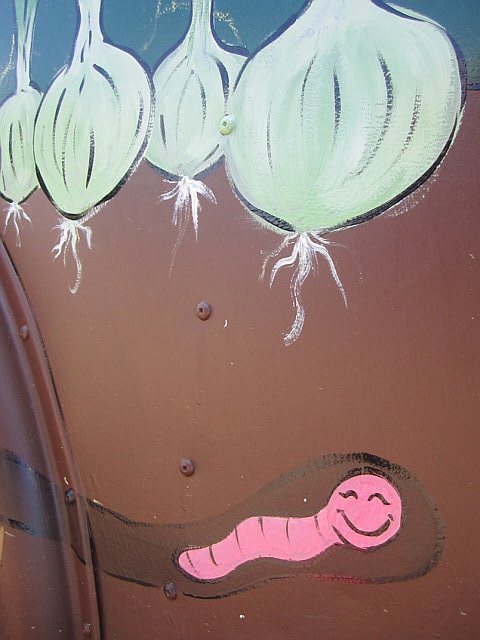


My very talented friend and gardener, Jennifer McCabe, recently started a blog (follow her here) and just announced that she’ll be selling her handmade Hypertufa Pots at Scrub Oak in Nantucket starting June 10th.

Hypertufa pots are lightweight pots made of a cement & peat moss mixture. They’re durable like cement, lightweight like a regular pot and make beautiful additions to gardens, porches or table displays. Jennifer’s Tufa pots are all one of a kind, shaped by hand and cured to withstand the elements. You can also learn to make your own tufa pots from Jennifer herself during workshops she’s leading at the Nantucket Garden Festival, July 25th & 26th. Contact Jennifer for more information or to sign up for a class.

With limited space in my small city yard every inch counts so each Spring I am faced with a decision: do I want pretty flowers or a functioning vegetable garden? I envision myself having friends over for dinner and quickly running outside with my schears to an adorable, and lovingly attended to, little vegetable garden- I’d grab fresh herbs for the potatoes, pluck some peppers and lettuce for the salad and maybe bring in some grape tomatoes for my friends to snack on before dinner. They just love that. Then, after dinner we’d all get in my spaceship and go visit Unitron, the home of the last living unicorn. In other words, it’s not going to happen.
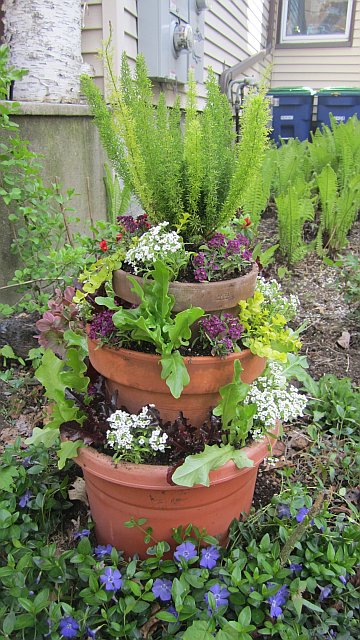
What did happen however is this- a triple-decker half veggie/half flower tower of compromise. I’m taking baby steps to becoming the world’s best hostess by growing only the greens to my future salads and I still have room for flowers!
Here’s how I did it:
First, I invited Liz over who did everything. (This was an important step because Liz is wicked good at this stuff and because I have a cast on my right arm up to my elbow right now.)
Next, we took pots from the pot graveyard on the side of my house and selected 3 in decending sizes. (These don’t have to match perfectly, as you can see.)

Pick a sunny spot in your garden to place the biggest pot- we nestled ours right into this Vinca Minor- and fill with soil until just below the top.
Add a small dowel or bamboo rod into the largest pot and thread themiddle pot onto it burying the pot about an inch into the soil of the largest pot. 
Then trim the dowel until about 3-4″ is showing to be inserted into the smallest pot.
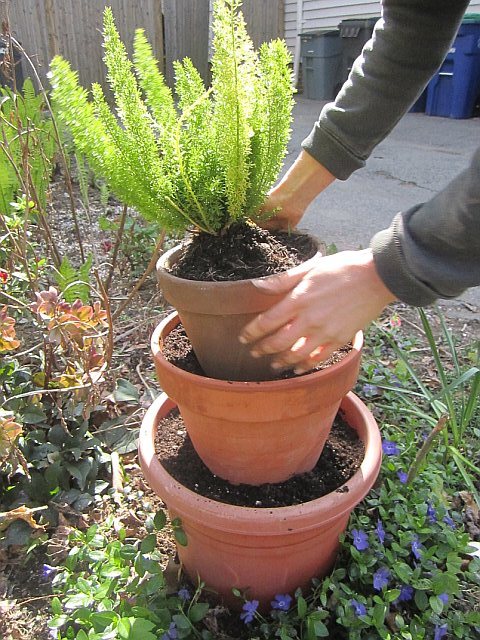
And finally, you are ready to plant your Garden of Compromise. Liz and I decided on some green lettuce, purple lettuce, white & purple flowers, 2 small cascading plants and topped the whole thing off with a ponytail fern.

Thanks Liz!! ❤ ❤ ❤

