0

Hay Girl! New Fall Window at River Dog!

Here is the new Fall window over at River Dog in Union Square- a furry little Scotty and his cat.

If this guy were a real dude I would be all over him!  With his adorable emo hair swoop and fat feet…we’d be buddies.  He’s seen on the window keeping Dennis the sleeping shop cat company.

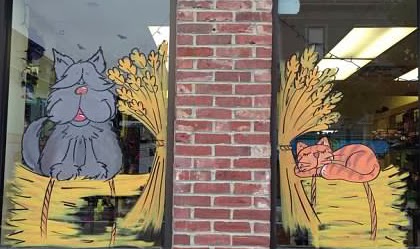
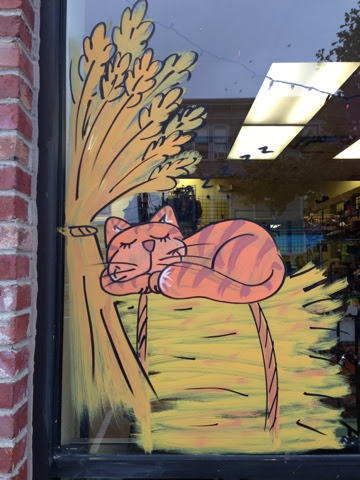
Dennis really has it made in the shade at River Dog and he’s the reason there’s some hay missing under the dog…that’s his perch in there and he needs to be able to see out.  It’s important work he does over there.

And because it’s Halloween and I just couldn’t resist…here’s a pumpkin with some spiderwebs on the front door.  Spooooooky!
Stop by River Dog on Oct. 20th to enter your dog in their costume contest!!  More details on their facebook page. Good luck!!
1

Riverdog Doggy Daycare: Window Painting

Liz and I painted the window over at Riverdog Doggy Daycare in Union Square last week.
  
Below is what the window looked like before….wahhhh-wahhhhh.  
(That’s the sound of something sad and lackluster.)  
We did a big Bernese Mountain Dog and dozens of little pink flowers to celebrate the arrival of Spring.  

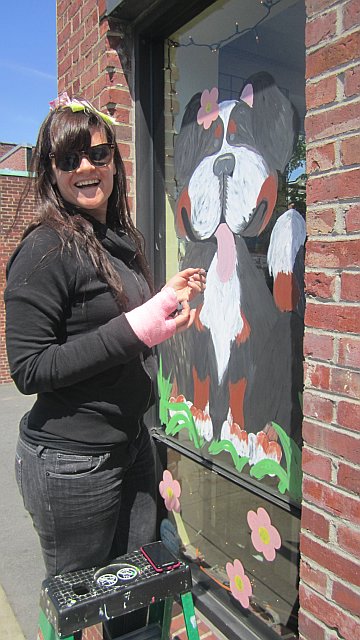
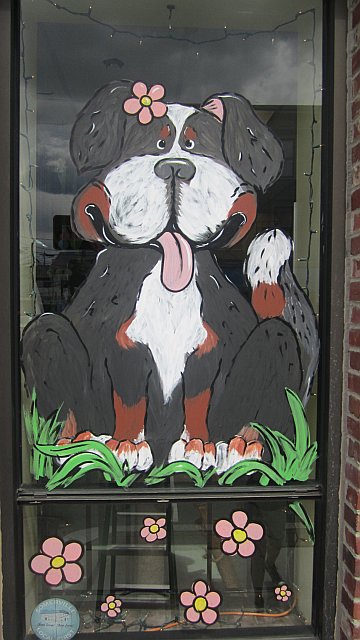
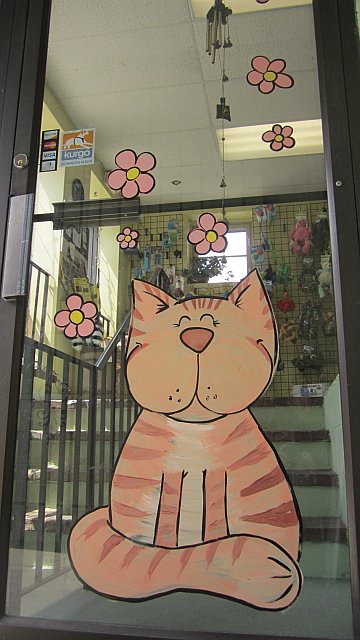
And we also had to pay homage to Riverdog’s River-Cat, Dennis, the friendliest cat I’ve ever met and the shop’s unofficial mascot.  Dennis alone is reason enough to stop by the shop for a visit. 

Go check it out if you’re in the neighborhood and tell ’em Mandee sent you!
0

Before & After: the Painting Process

Makeover shows, be them human or residential, are a major weakness of mine.  Mostly because I love a good before-and-after picture.  I love seeing a neglected little kitchen in Iowa that hasn’t been updated since Reagan was in office be turned into a gormet cookery fit for the White House.  It’s so satisfying to see the design come to life and the before-and-after shot at the end is what makes it all come together.

The same is true for paintings.  Whenever I’m asked to do a custom painting I always start with a sketch to make sure the customer and I are on the same page.  Once the drawing is approved, I get ‘er painted up and no many how many times I go through the process I still love seeing the before and after shot at the end.    

For instance, you can go from hand-colored sketch to nice looking piece of art (if I do say so myself):

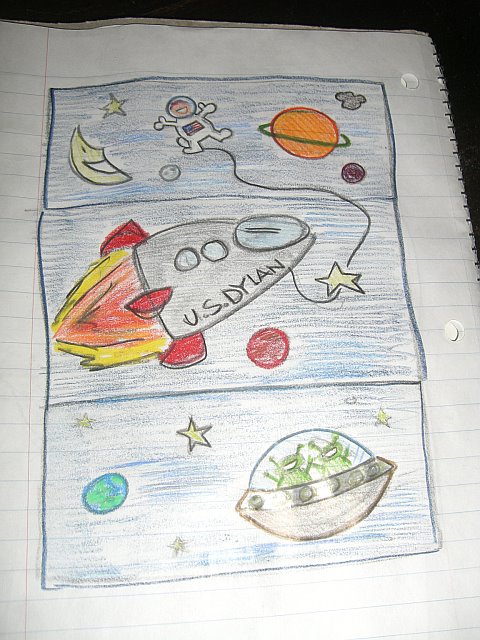
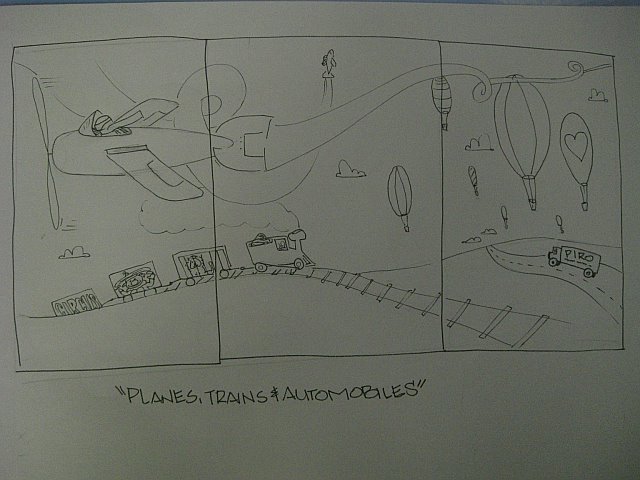
From an idea in a notebook to a wall-sized triptych that is now the highlight of Lil’ Dillon’s room.  

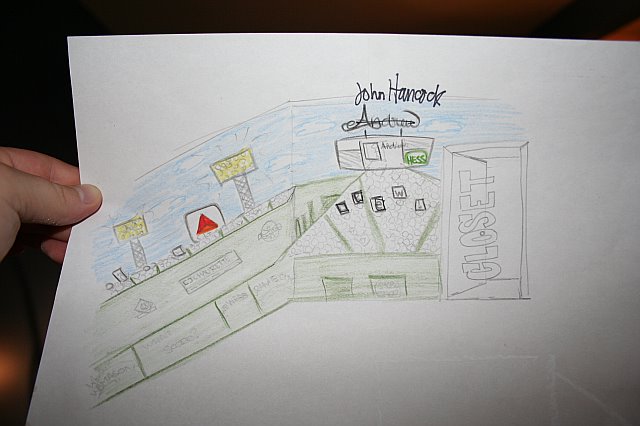
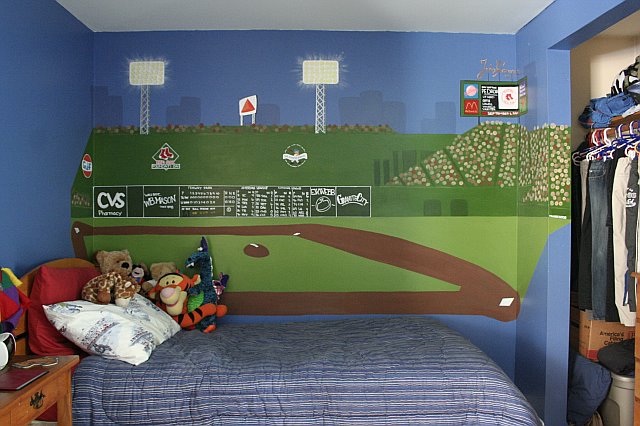
From a basic scribble to a full-blown stadium.

From outline to outstanding….ya, I just said that.  
Click HERE to see more before-and-afters.  

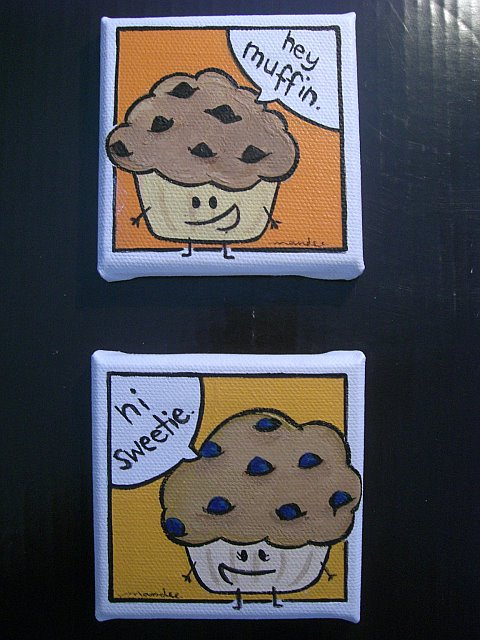
And feel free to email me if you have an idea for a painting…or if you just want to talk about muffins. 
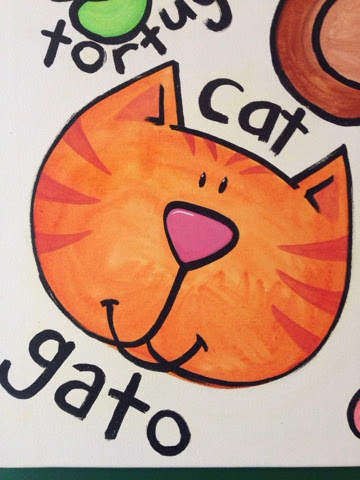
0

25 Cent Word!: Anthropomorphic

I learned a new word- anthropomorphicsuggesting human characteristics for animals or inanimate things, please be prepared for me to throw it around all the time now.  I feel like I just found out about jeans or something.  Like the entire world new there was a word for creepy smilinging vegetalbes, little girls with apple heads and hot dogs with faces happily grilling themselves except me.  It wasn’t until I was using every single adjective in my vocabulary AND both hands trying to describe “those creepy teapots with faces…from the 50’s…shaped like apples…you know?” that my sister-in-law said, “you mean like an anthropomorphic teapot?” 

Gah!  There’s a word for that???  Amazing.

Now would be a great time to check out my brand new Anthropomorphic Label!

0

Fireplace From a Box: Instructables Box Challenge

My cardboard fireplace for the Weekly Make It Challenge on Instructables.com.  This week’s challenge was to make something from a leftover Christmas box. 
Here’s my entry and how I did it:
Step 1.
Get a box.


Step 2.
Draw an upside-down “U” on the front. 
Cut it out using an X-acto knife or scissors (careful dummy!)


Step 3.
Paint faux bricks on box using non-toxic acrylic craft paint. 
Fill in remainder with grey paint (optional).
Step 4.
Draw the outline of a flame on another piece of cardboard and cut it out. 
Step 5. 
Arrange fireplace and flames and decorate inside with red christmas lights for the fire.
Step 6. Enjoy!

Someday I’ll have a real life fireplace until then it’s cardboard and christmas lights for me.

0

Microwave Toe Warmer Upper Tutorial

Here we are, a full week into Winter and not a single flake of snow has fallen in Boston.  So lame.  But, just because it is unseasonably warm, at least by New England standards, that doesn’t mean your sheets aren’t still freezing cold when you put your little footsies in them at night.  (Poor little footsies.)  Remedy that problem by making these quick rice filled, microwavable heat packs to slide under your covers while you brush your teeth to get your sheets all warm and snug-buggly (that’s what my Dad calls it) for your arrival. 
For this project you will need
  • 1/4 yard of muslin, canvas or flannel material
  • 1/4 yard of scrap fabric
  • 4C. white, long grain rice (NOT INSTANT)
  • sewing machine
  • thread
  • scissors
To begin cut 2 equal pieces of your canvas material into 10″x16″ rectangles.
Sew together on 3 sides and fill with 4 cups of uncooked rice.
Sew the 4th side together and you should have something that looks like this.
(No need to make the inside pillow look pretty, this is not a beauty contest.)
Now seperate 1/3 of the rice to one end of the bag and create a fold.
 Sew along this fold to seperate rice and add another seam (and another 1/3 of the rice) another 1/3 way down the bag.  These seams are to keep the rice evenly distributed through the bag.  (Omit if you’re not feelin’ it.)
**Tip: Sewing a bag full of rice is…interesting to say the least.  Elevating the surface next to the sewing machine for the remainder of the bag to rest on helps tremendously.  Also, sewing slooooowly helps too.**
Now trace around the bag onto some scrap material, with about an inch seam allowance, to create the pieces for your removable/washable case.  With the pieces right-side-in, hem the edges that will be your opening and sew the remaining 3 sides together.  Turn right-side-out. 
Microwave bag- with some water to prevent forest fires- for about a minute and a half and slip into case.
Flop onto sleeping husband’s feet and watch the cuddles wash over his face. 
I made a seperate one for sweet little outdoor kitty toes too.
Toasty warm toes on the day after Tuesday.  Terrific!
0

My Outdoor Cat: the Heating Pad

I just got this small animal heating pad for my adopted outside cat Gritsy’s outdoor kitty house.  Grits won’t sit still for a picture so here’s a picture of a bunny from the Cozy Winters website instead.

The heating pad is made specifically for small animals and never gets over 102 degrees.  It has a chew resistant cord and is actually activated by the weight of your pet.  So, when Grits is running around chasing squirrels and getting pet by neighbors, the heating pad remains just a couple of degrees hotter than the air outside.

And it says right on the box that it’s ‘Great for cat houses’.  Grits spent her first night with it last night and she seemed very happy this morning.  Hope this helps you with your own outside cat.

3

Why Don’t You Make Me?: Insulated Outdoor Cat Shelter

Recently my upstairs neighbor’s cat, Grits, decided to move out of the house.  Seems their new baby has left her completely un-impressed.  They tried time and again to get her back inside and a couple of times succeeded…only to have her insist on being let out again.  So, we made her a nice little tent on the front stoop where she’s been living and taking her meals.  (Occupy Somerville)  We assumed she’d come in when Winter got here.  No dice.  So now, with the weather getting dangerously cold outside here in New England, today’s project could actually be a life saver.  (I’ll be adding that to my resume` now of course: Mandee Rae- crafter, painter, conversationalist, life saver.)

I saw this project on animal lover’s Paul & Dru Mudsow’s website.  It’s a simple shelter made from 2 Rubbermaid containers, here is my experience with it.

To start you’ll need:

  • 1- 18 gallon storage bin ($6.99)
  • 1- 10 gallong storage bin ($5.99)
  • roll of silver bubble style home insulation ($15)
  • outdoor electric heating pad ($35) (optional)
  • glue gun 
  • heat gun or hair dryer
  • exacto knife
  • duct tape
  • a sharpie
  • hay (mine was leftover from a gardening project)

Total: $28 (assuming you have items 5-10 at home) / with heating pad: $63

Begin with 2 regular storage bins with lids,
one should fit comfortably inside the other.
Draw a semi-circle big enough for your cat about 6″ up from the bottom of the outside bin.  The hole needs to be high to keep the shelter from flooding.
Heat the area to be cut with a hair dryer.  I used the heat gun I have from an embossing project earlier in the year it worked beautifully.

When the area is heated up, cut around your line with an exacto knife or other sharp knife.  
**Careful!  The knife will slice through the plastic quickly now that it’s soft.**

Add about an inch of hay to the bottom of the outside bin to fill in any ridges the insulation might miss.  Hay is an excellent natural insulator.

Next, cut a piece of insulation to fit the bottom of the bin leaving enough so that it curves up the sides and leaves no blank spaces.  

I put about 4 layers of insulation on the floor to protect Grits from the cold ground.  

Continue insulating until the entire bin is completely covered, leaving space for the door.  I double insulated the outside box using my glue gun to keep it in place on the walls. 
I also added a piece of insulation to the bottom of the smaller bin to fill an indentation so there is no place for cold air to hide.
Now place the smaller bin snugly into the insulated bin.  If it’s not snug add more insulation and/or fill the empty spaces with hay. 

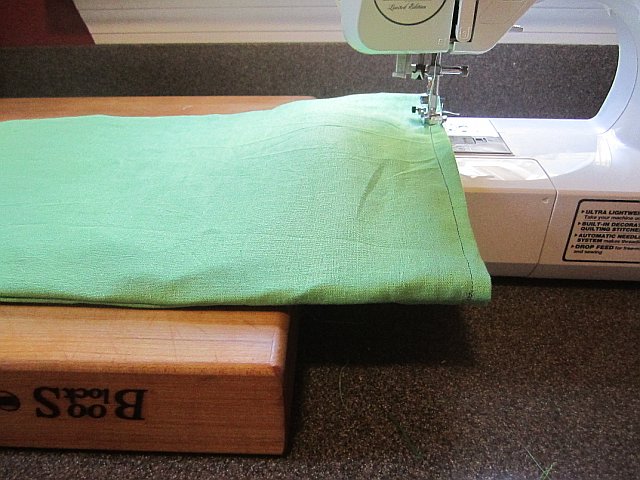
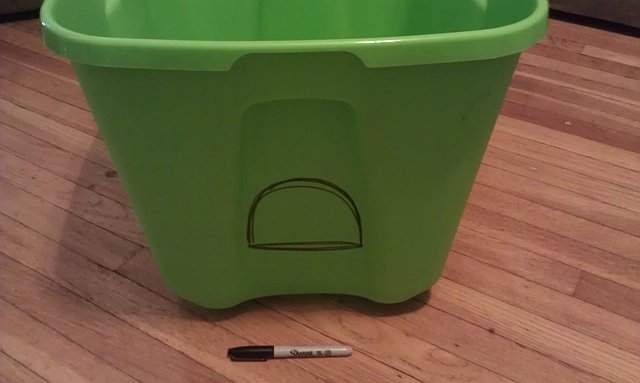
When you have your bins lined up where you want them, trace the hole onto the smaller bin and, using the same techniques as above, cut out the hole.
The resulting space between the 2 bins needs to be sealed to protect Kitty from rough edges and to seal it from drafts.  
 I used duct tape.  
And then, because it’s Christmas, I used some candy cane duct tape I had to make it seasonal.  That part’s optional.

Now you’re ready to make Kitty’s bed.  Lay down about 3 inches of hay in the bottom of the smaller bin for her to make a bed in.  Never use towels for outside cats because they can get wet and freeze!!  Hay doesn’t retain moisture like towels and cats will burrow into it making a nice warm bed.  

I double insulated both lids- heat rises, trap all available heat by having a well insulated roof.
Trace around the lids onto the bubble wrap.  You can write on it with a sharpie.


Then cut them out about an inch smaller than the lid and hot glue them on.

Snap the first lid on to create a water tight seal and then add the larger lid.
After you’ve snapped both lids into place, add a strip of duct tape to the outside bin just to make sure the wind doesn’t blow the lid off.  And you’re done!  
The cat’s body heat will fill up the space and keep it warm all night.  I plan to add a flap door after she is completely comfortable going in through her candy cane entrance.  And now Ms. Grits will be warm, safe and dry all winter.    
**TIP** I sprinkled some cat nip on the hay to get Ms. Grits to go in there originally.  Now that she knows it’s safe and sound she goes in whenever she’s chilly.  
****UPDATE!**** Grits loves her heating pad!