
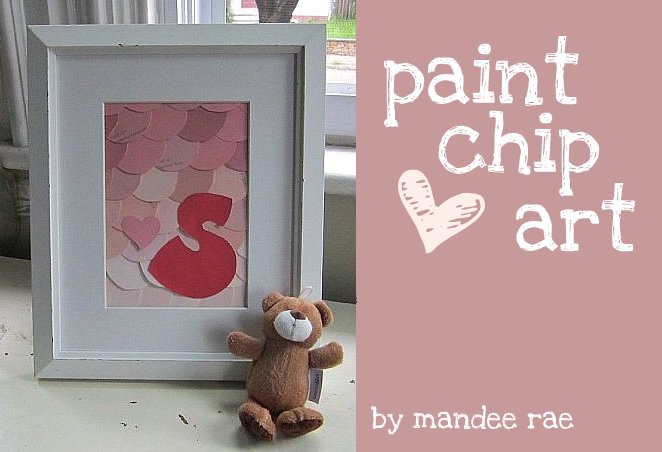
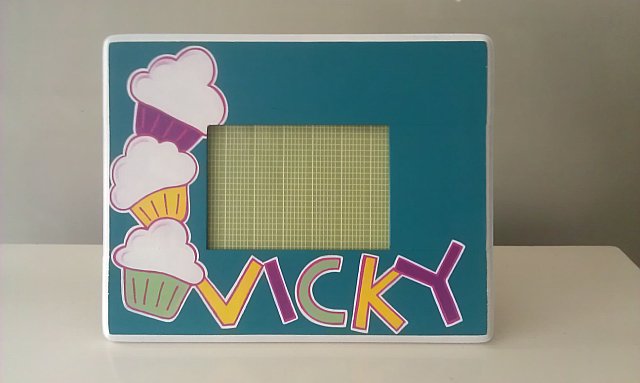
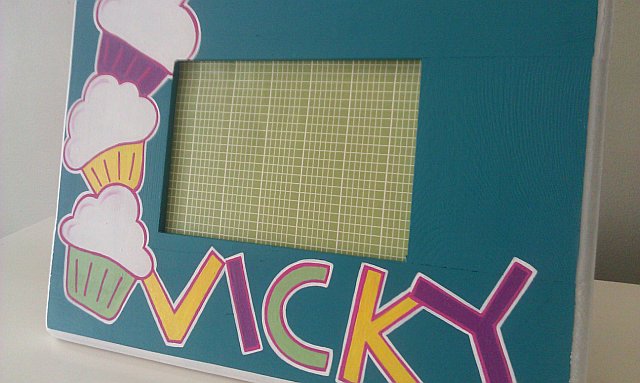
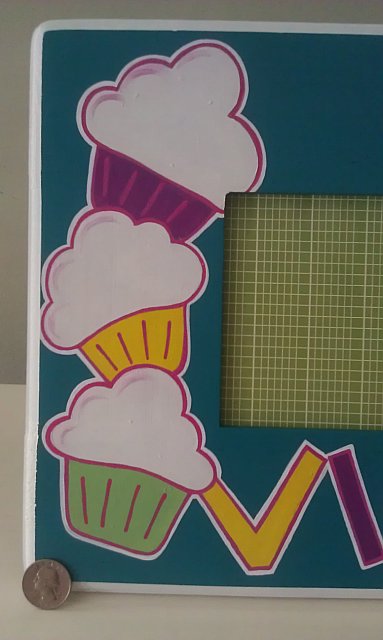
New picture frame for Sofia. Contact me for one of your own. Makes a great Christmas present.

New picture frame for Sofia. Contact me for one of your own. Makes a great Christmas present.
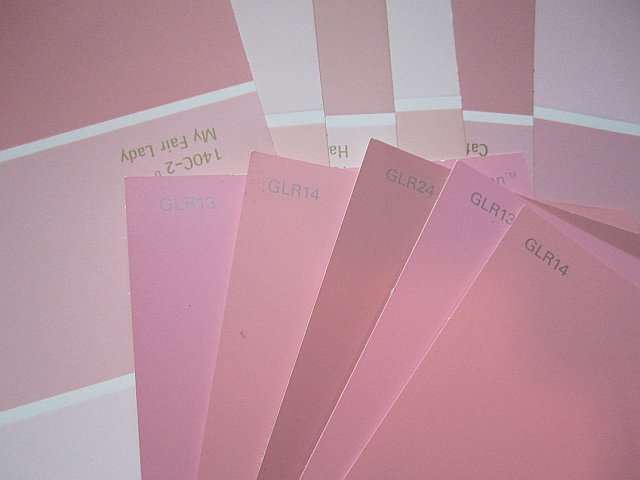
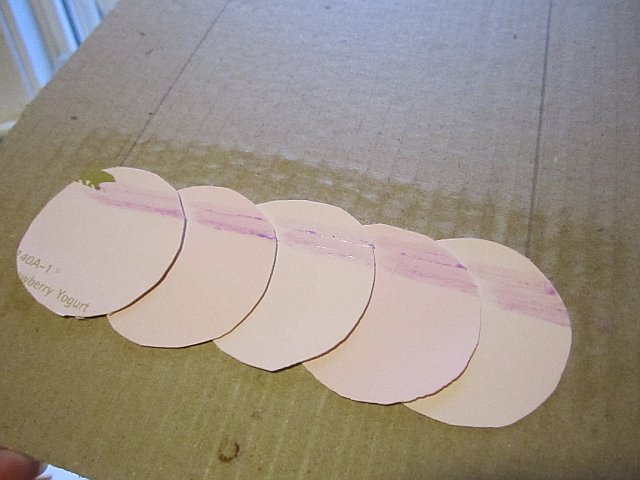
Next, find a small circular object to outline onto the paint chips to utilize as much of the colored area as possible- I used a small roll of tape- and cut out your circles.

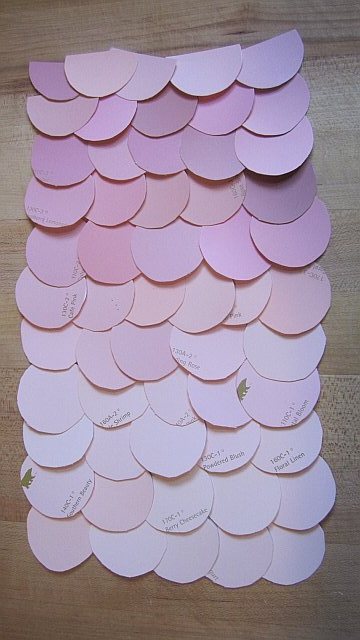
Experiment with the layout of your circles until you have ’em just how you want ’em.
Prepare your frame– I got this white matted frame for $5.99 at the Christmas Tree Shop by my house- the frame has some dings in it but I’m writing them off as “shabby chic.”

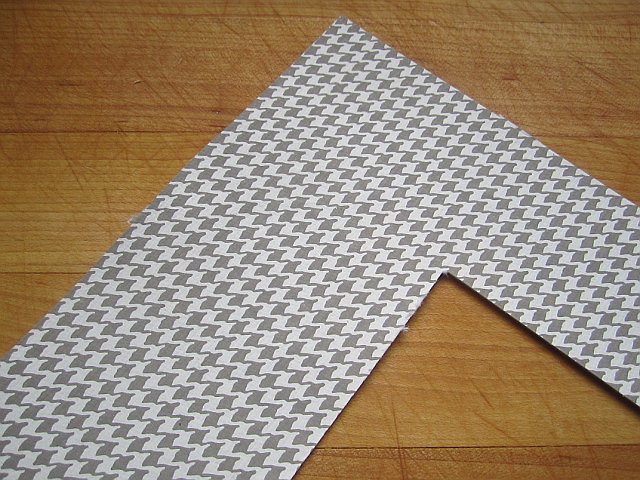
Remove the mat and backing from the frame and outline the opening of the mat directly onto the cardboard backing.

Now, starting and the bottom and beginning with the lightest layer, glue the circles to the cardboard using a glue stick. The second layer should overlap the first slightly and the circles should become progressively darker towards the top of the cardboard.

Cut out the letter, glue it into place wherever your little heart desires and presto- you’re an artist.


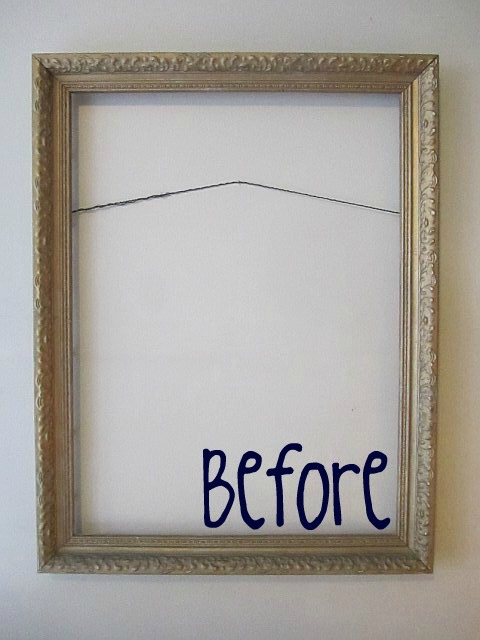
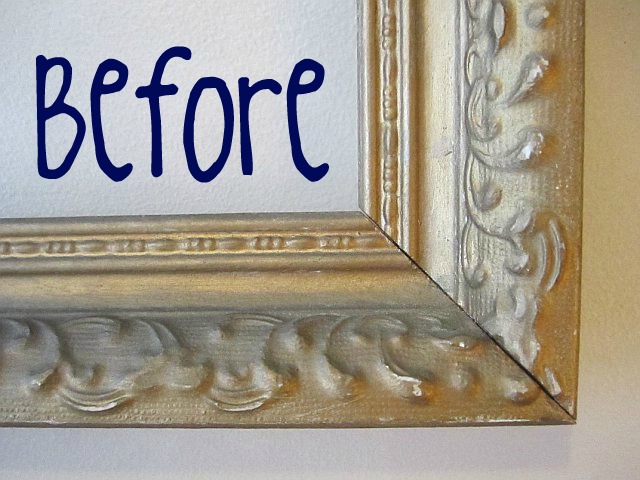
I tried my hand at gold leafing last night for the first time ever and I loved it. It took this already beautiful- but dull- vintage ornate frame bought at Brimfield this past August and gave it a drag queen makeover.

It’s worth it though ’cause look how pretty:


It’s not really a game, it just rhymed so I went with it. Sorry I mislead you but as long as I have you here, look!
These frames- for cheerleading sisters Faith & Lylah- have been shipped off and by now should be wrapped and waiting patiently under the tree for Christmas morning. 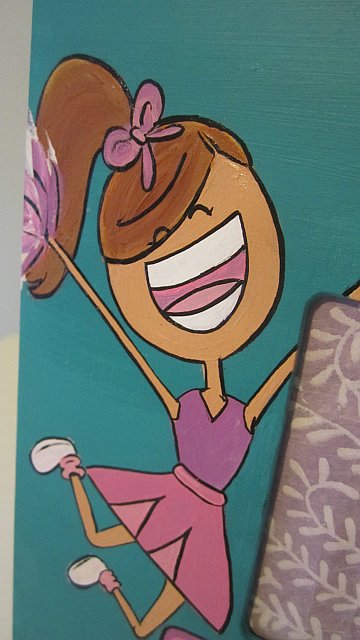 Which is more than I can say for myself because I can’t wait for the girls to see them. Their Nonnie (aka Gramma) assured me that Faith & Layla are going to LOVE their frames and now, though I’ve never even met them, I am so excited for them to open their gifts!


It’s not weird if I invite myself over Christmas morning to watch them unwrap them, is it? I’ll only stay for a little bit. Just until my french toast is gone. Maybe they’ll do a cheer with my name in it!! Oh man, this is going to be the best Christmas EVER!!

