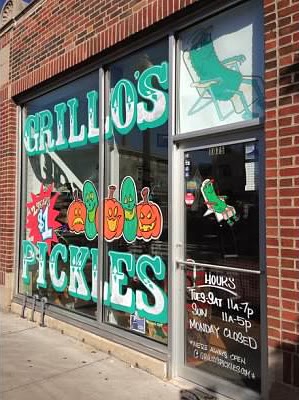
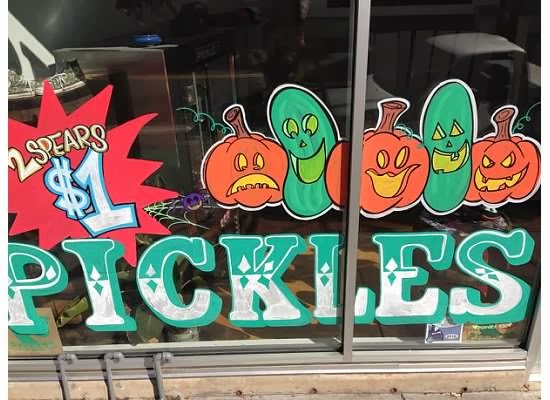
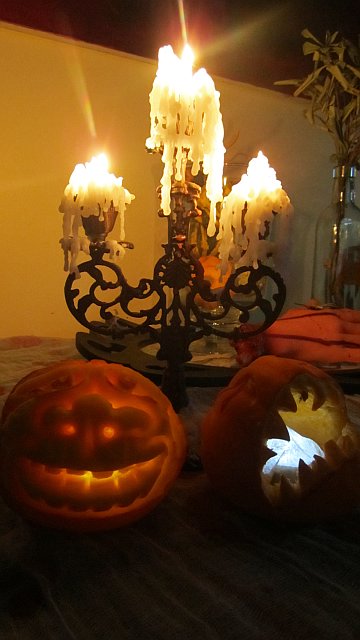
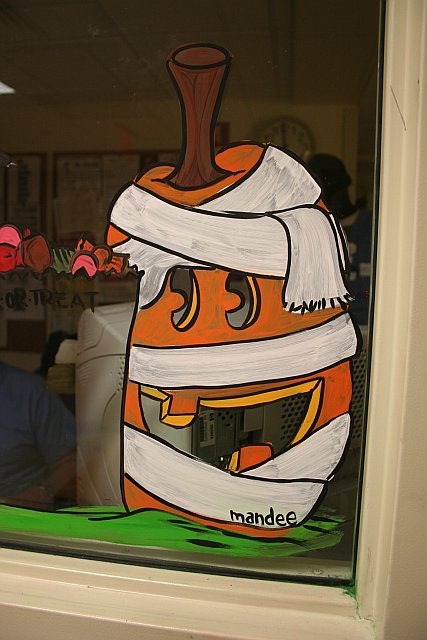
Halloween window at the pickle store. 
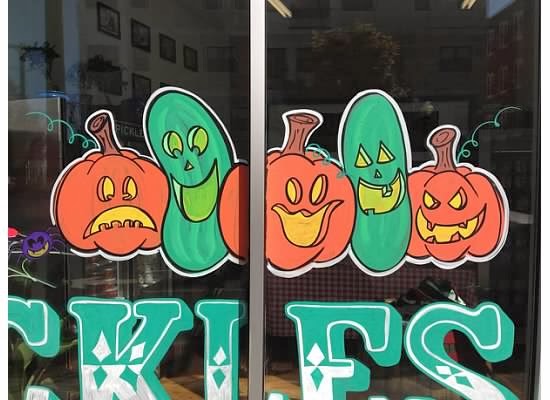
Jack-o-lanterns are notoriously fearful of spiders. The other pumpkins and pickles have no sympathy for the little fella though. So rude.


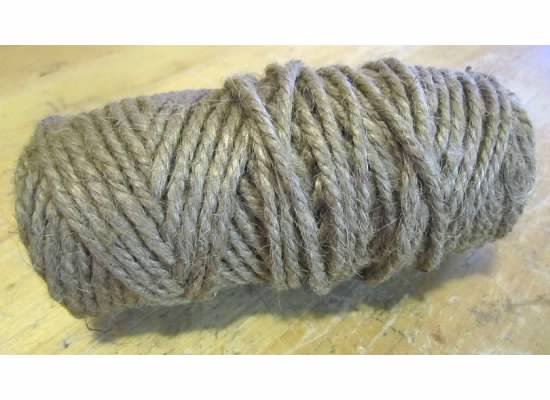

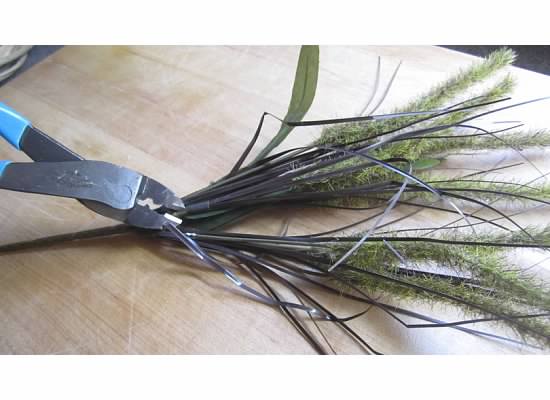
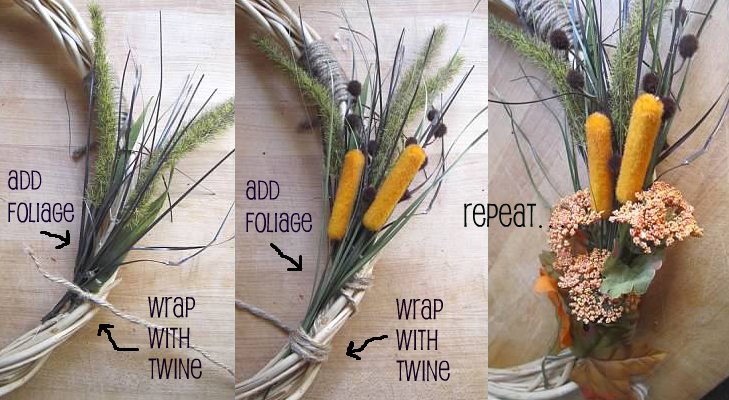
Next, arrange your 3 bouquets of fall foliage and begin snipping them off of the main branch with your wire cutters. Arrange the new seperate pieces so that you have 2 equal bouquets (if you plan on making 2 wreaths…which I did because I have a double front door.)

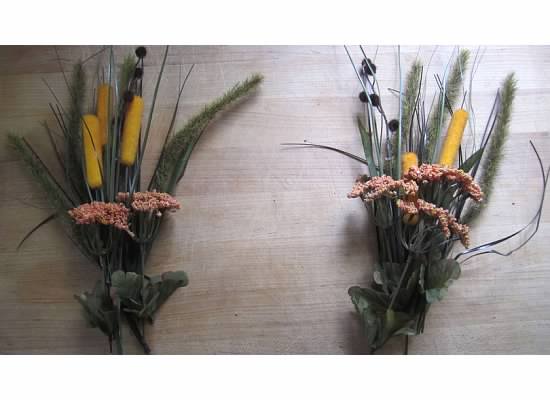


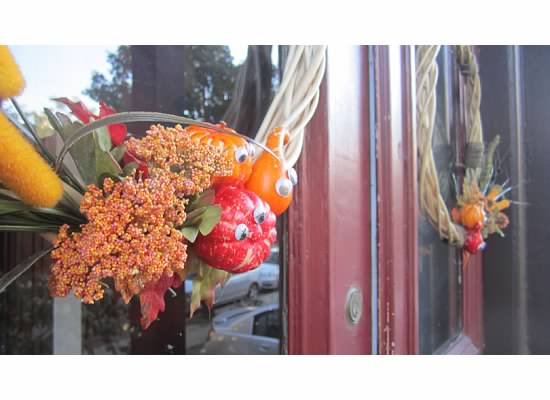
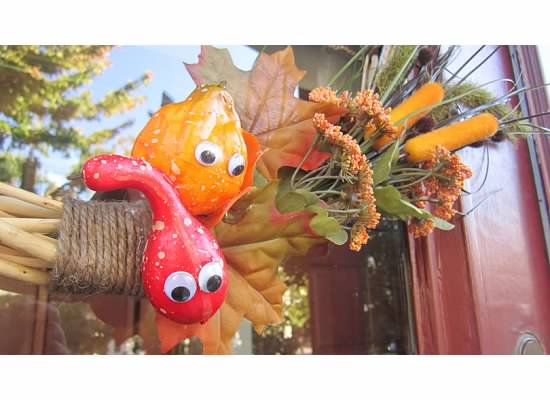
Take your freshly googelied squashes and arrange them at the base of your fallin’ foliage until you are satisfied and hot glue them into place.
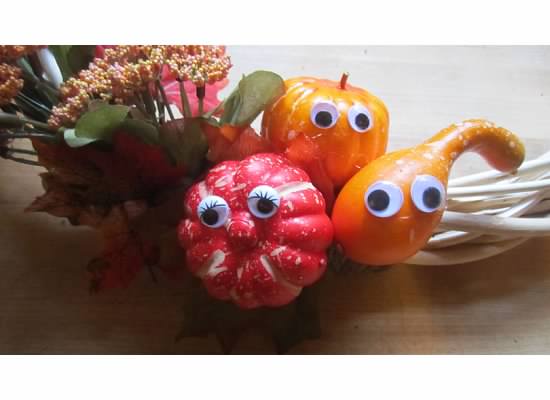

**Note: my squashes are made of styrofoam which means they basically melt when the come in contact with hot glue. Turn your glue gun to the lowest setting if you have that option or put the glue on the wreath first and allow it to cool for about 3-4 seconds before placing your squash so that it doesn’t turn into a puddle.**


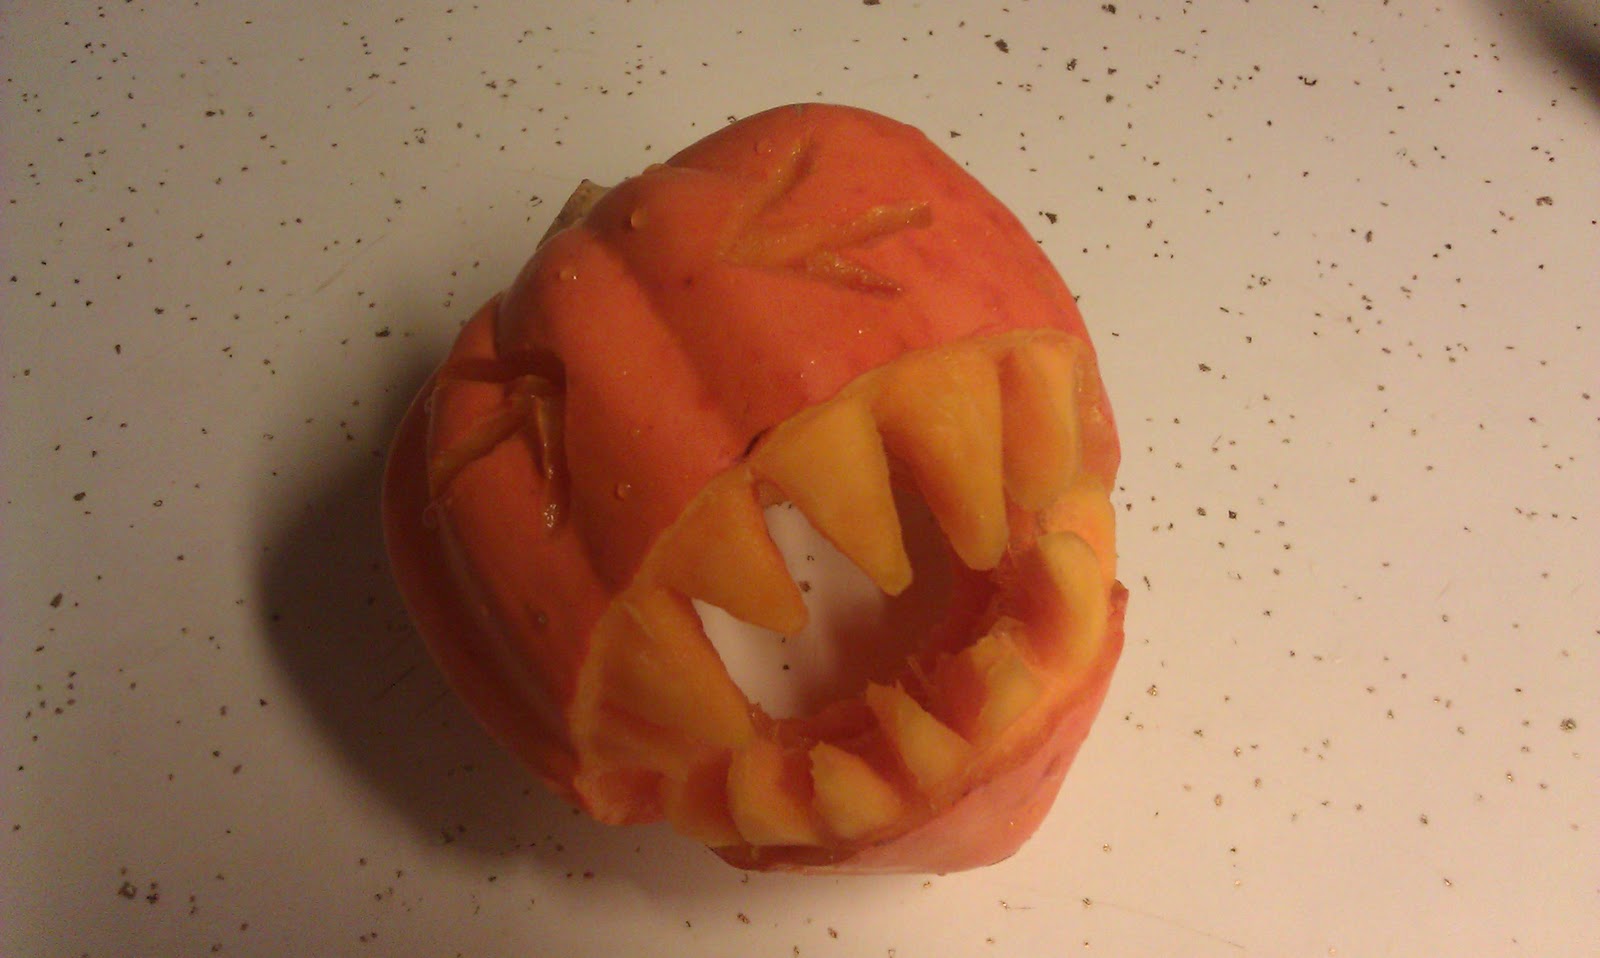
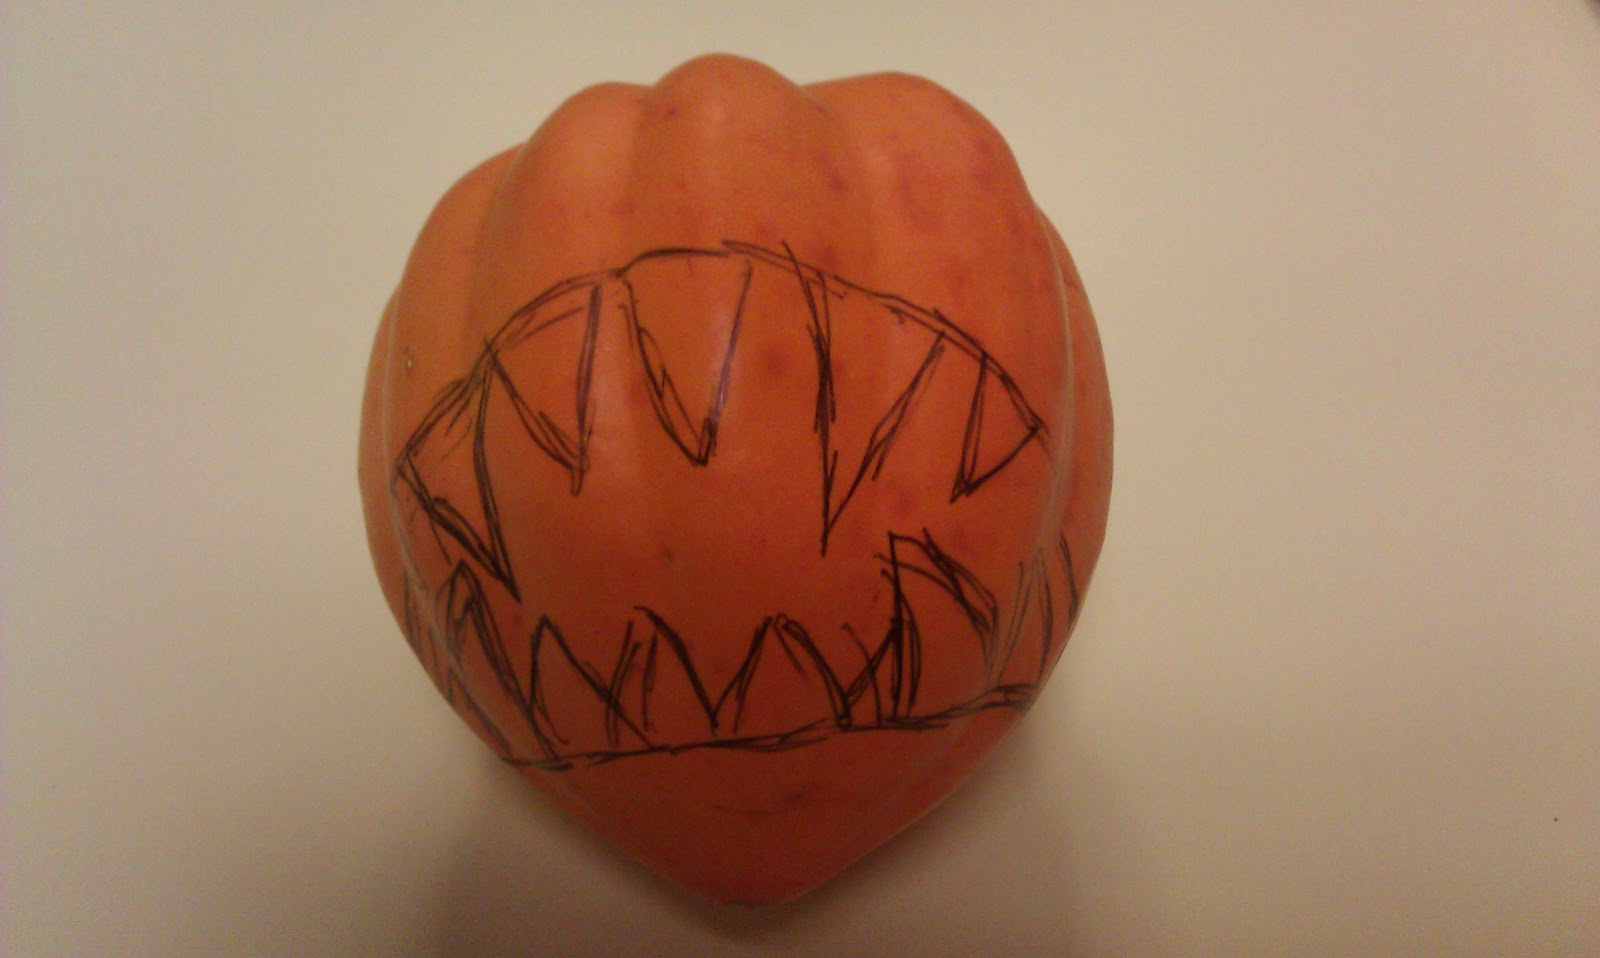
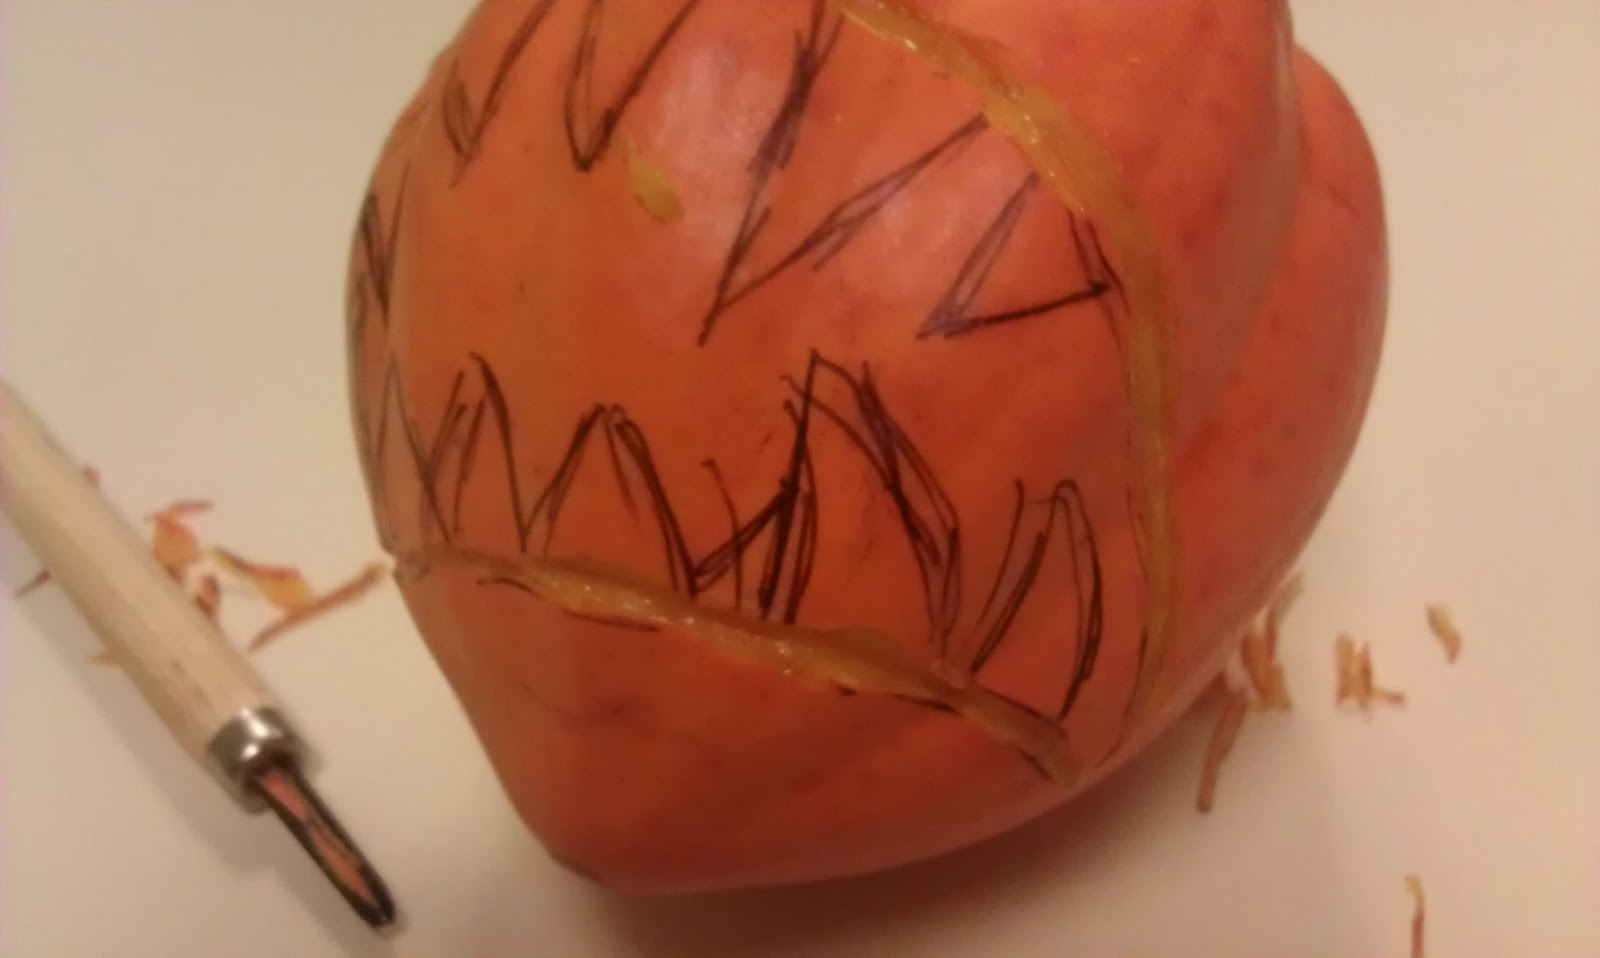
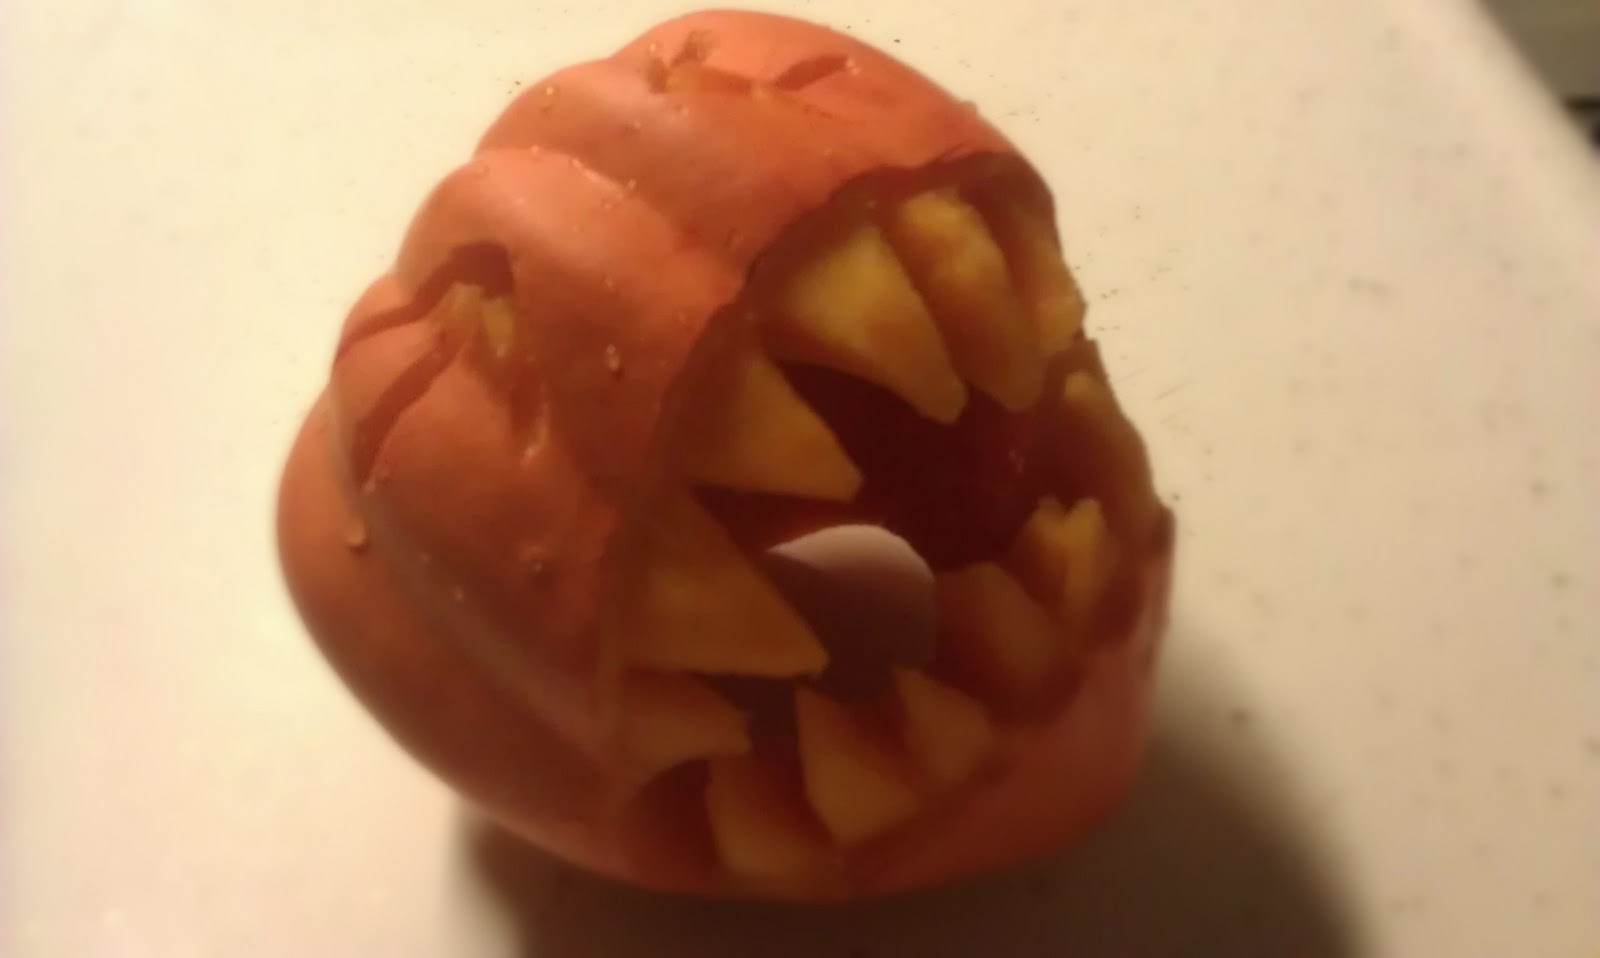
Don’t rot your teeth out!
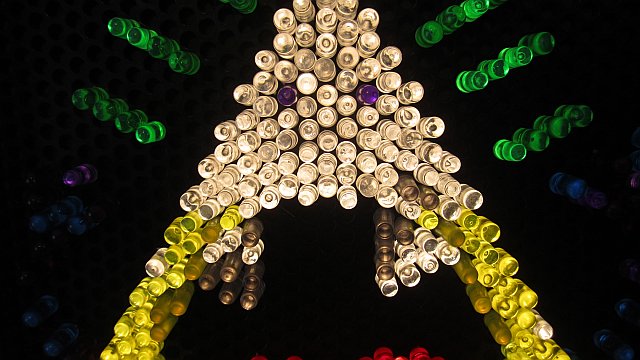
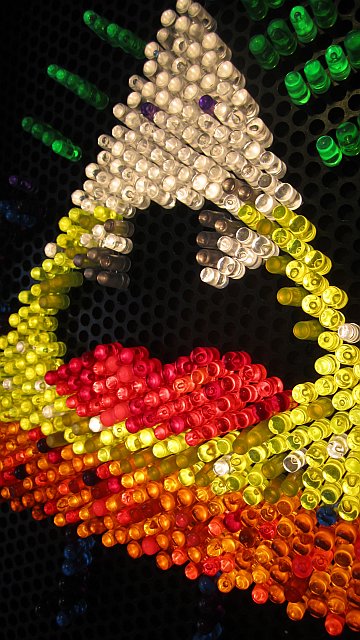
I made this candy corn monster on my LiteBrite (leftover from my weddin’) to celebrate today’s holiday, which as I’m sure you’re all aware, is National Candy Corn Day.

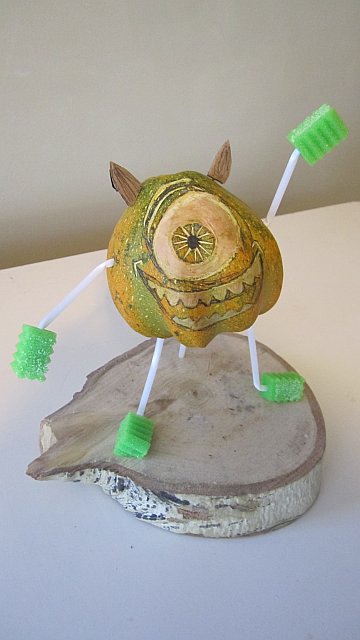
Here he is next to real life Mike Wazowski. They could be cousins!
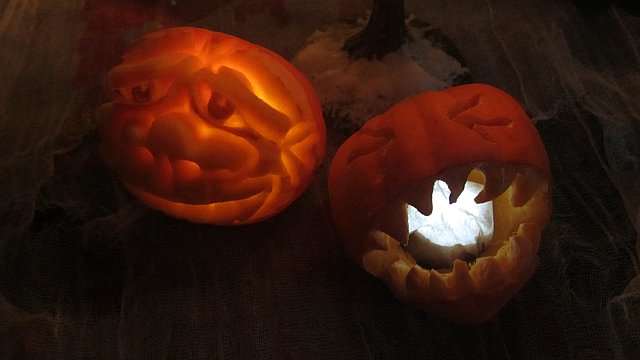

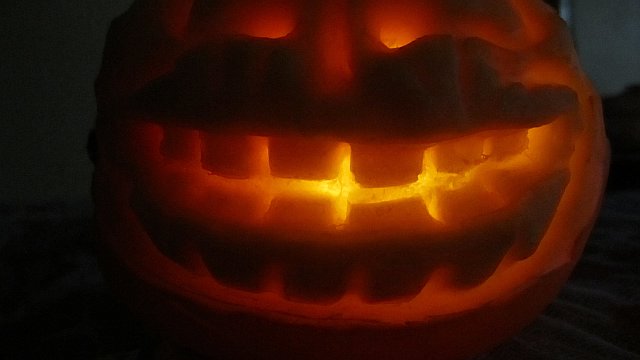
I’ve never attempted to sculpt a pumpkin, I generally just carve a 2-D face and call it a day but I was feeling particuarly ambitious, motivated by a mystery prize from work, and wanted to try my hand at sculpting my gourd this year.


Stay tuned for the Pumpkin Carving Contest (this Friday the 28th) entry and results!
Happy National Pumpkin Day of America!!!


