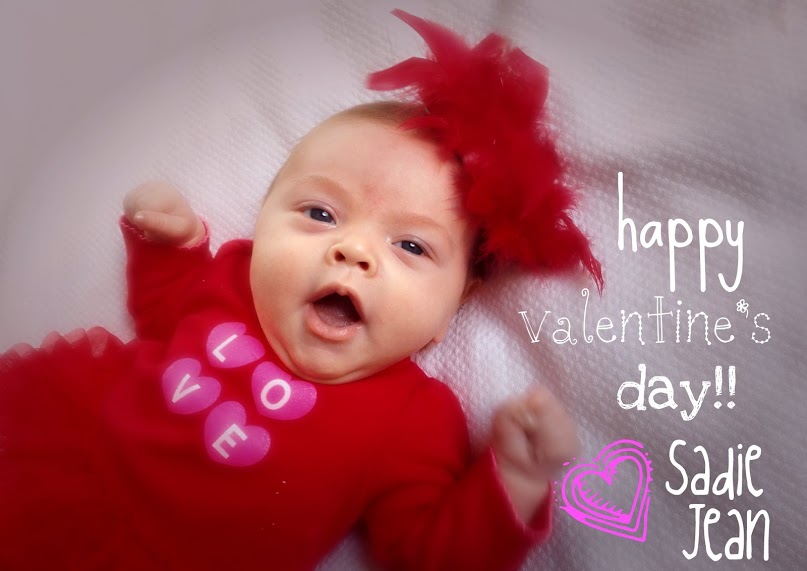
the best thing about parenthood? PHOTOSHOOTS!!!
because every infant needs a feather fascinator.
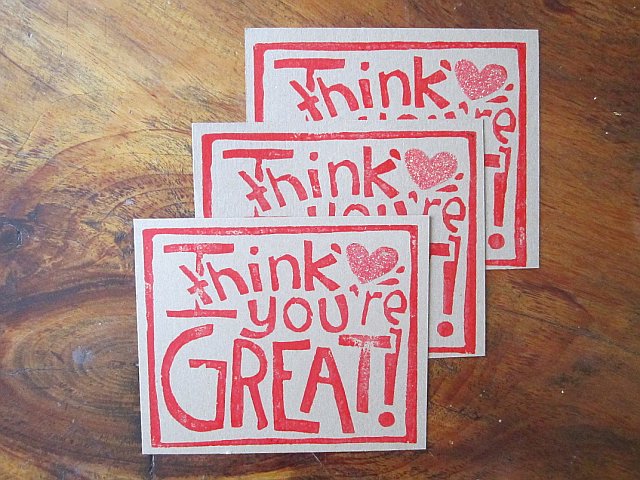
happy valentine’s day!!!


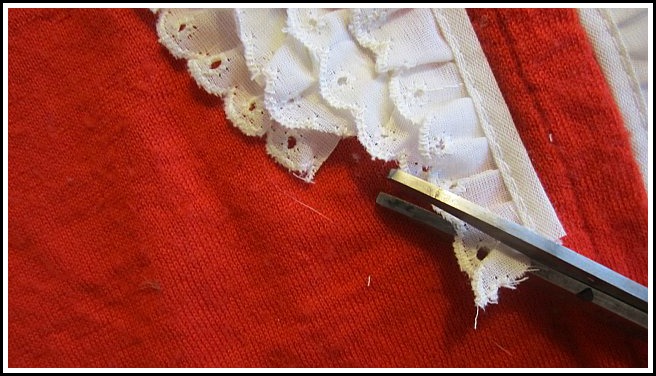
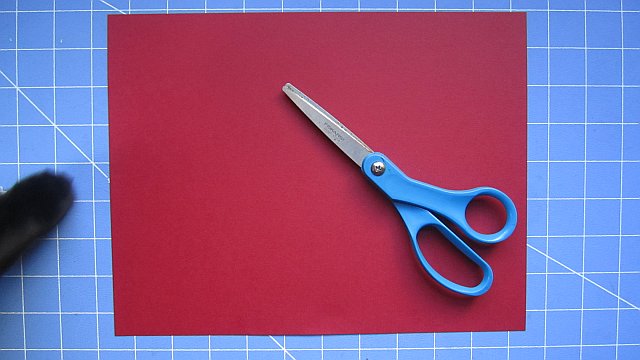
For this project you will need:


364 days left until next Valentine’s day.
I’m so on top of things.
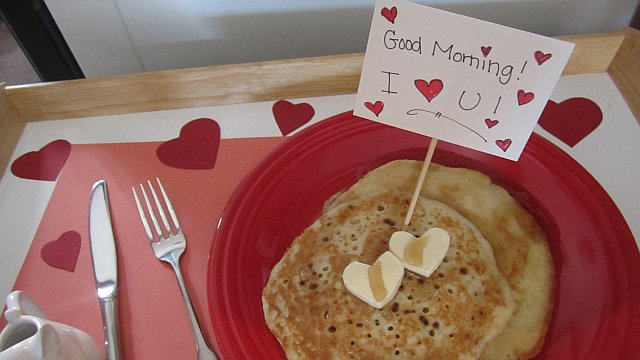
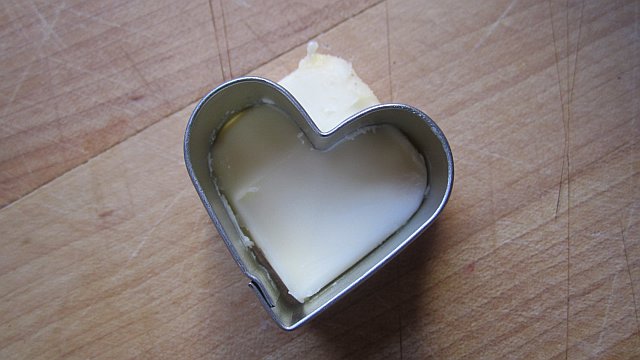
Instead of just plopping some boring square butter onto the pancakes you’ve lovingly made for your beau this morning, why not cut them into mini hearts and then plop them on your pancakes?


Then, using a piece of paper, a skewer (or a chopstick), a marker and some tape, make an adorable note to stick into those delicious pancakes you made.


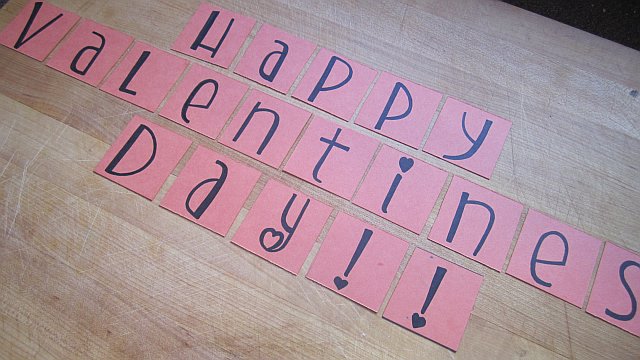
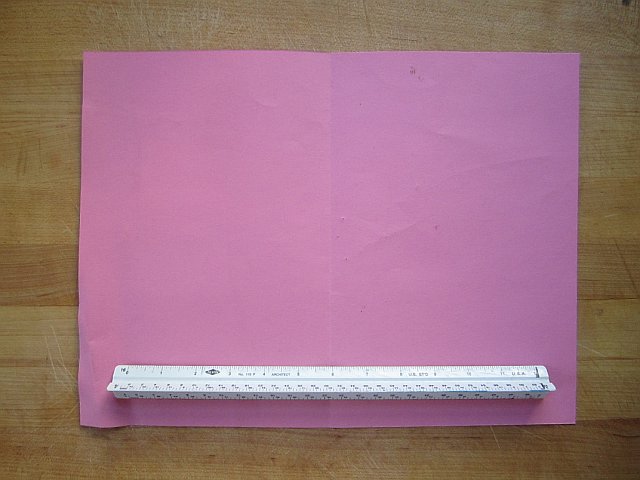
To begin: seperate pink paper into 20 equal pieces and cut out.


Then write “HAPPY VALENTINE’S DAY!” giving each letter their own square.

Now cut red paper into rectangles about the size of a stick of gum.

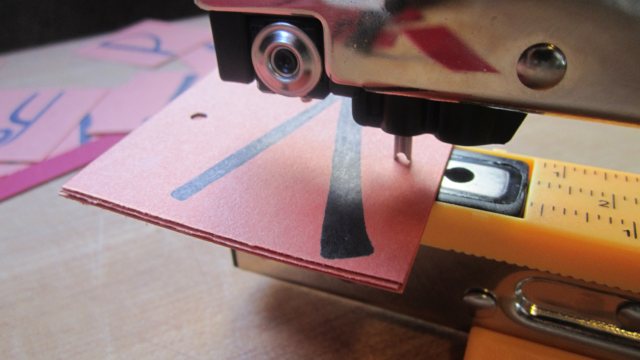
Using your hole punch, make a hole on either side of each letter and on either side of the red strips of paper.
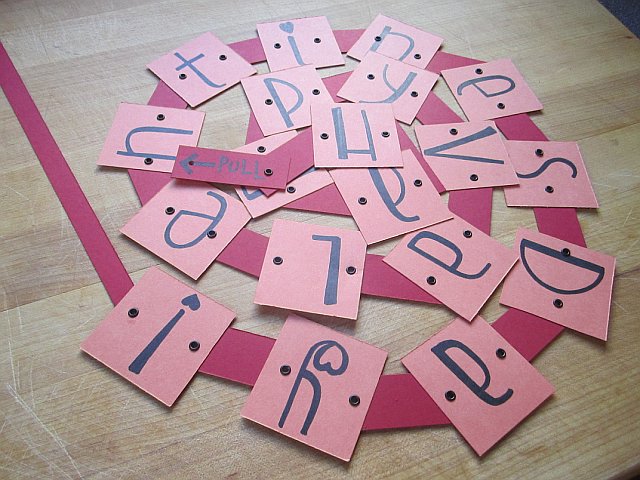
Use the red strips to connect the letters.
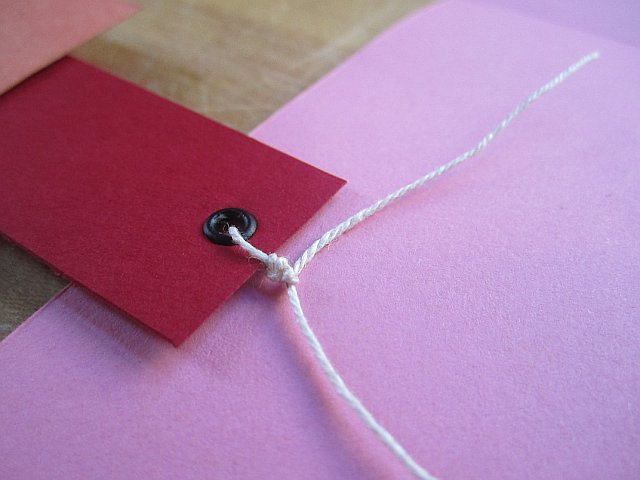
Lay a pink square on top of a red strip, align the holes, insert a grommet & squish using a grommet squisher.


Repeat until you’ve used all your letters and add a PULL tab on the left hand side in front of the ‘H’.


Next, make the envelope using a pink piece of paper about 12″x14″.


Now comes the most difficult part of this card, fold the letters on top of each other without getting them tangled so that they come easily out of the card via the PULL tab. Begin with the “y” and zig-zag the rest of the letters keeping the next letter on top until they all fit in the envelope. To get this right I had to fold and pull about 4 times. Trial and mulitple errors.

Then, using your red embroidery floss and embroidery needle, sew the envelope shut being careful not to sew any of the letters to the envelope!

The thread adds a cute decorative element and is actually much easier than gluing the envelope shut and risking getting any of the letters stuck in it. Remember to leave a space on the left hand side for the letters to come out.


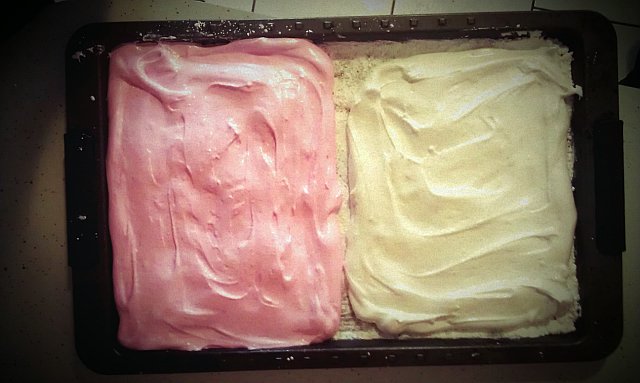
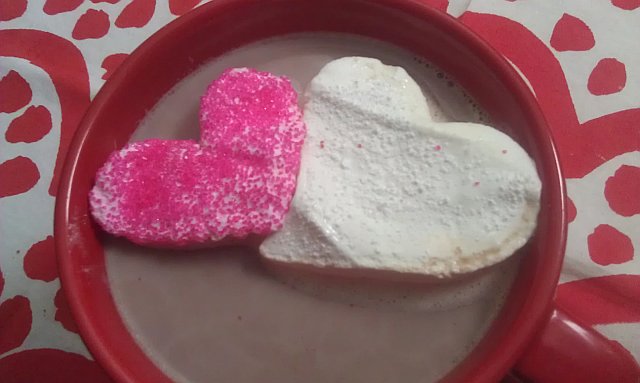
Step 7 Pour half of your marshmallow mixture onto half of your prepared baking sheet (we didn’t use tinfoil cause we’re rule breakers) and spread using a rubber spatula.
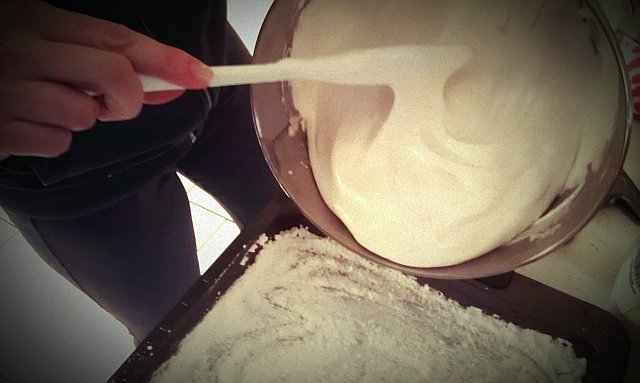
Step 8 Put a few drops of pink food coloring into the remaining half of the mixture and stir until it is a uniform pink.


Step 9 Pour the remaining mixture onto the other half of the sheet and spread out using a spatula.

OPTIONAL
Step 10 Coat marshmallow mixture with sprinkles!
Step 11 The recipe calls for the marshmallows to “sit out for several hours or overnight to fully set up.” However, because we are horribly impatient and wanted to eat marshmallows NOW we just set ours outside in the snow for about a half an hour and they were fine.
Step 12 Using heart shaped cookie cutters (metal ones with sharp edges work best) begin cutting out your heart shapes.


Repeat until there are no more hearts to be cut out and you’re left with a delicous pile of marshmallow remnants.


Step 13 Make some hot chocolate, plop in a couple of marshmallows and make somebody’s day!


And now I know why! Fluff and peanut butter were made to be together. They’re the yin and yang of sandwich components. And so versatile! You can have a Fluffernutter for lunch, eat one as a snack or even have one for dessert. Can balogna and cheese do that?


If you’ve never had a Fluffernutter go make one right now. They’re delicious. And if you can’t buy Fluff (not Kraft Marshmallow Cream, mind you, there’s a difference) in your ‘hood then use this handy Fluff-Finder feature to hunt down the closest seller. And if that doesn’t work, you can get a case delivered right to your door. May your children never have to go Fluffernutter-less.
For more Fluff related goodness, go to the Union Square Main Street website and check out pictures from their annual ‘What the Fluff?” festival.
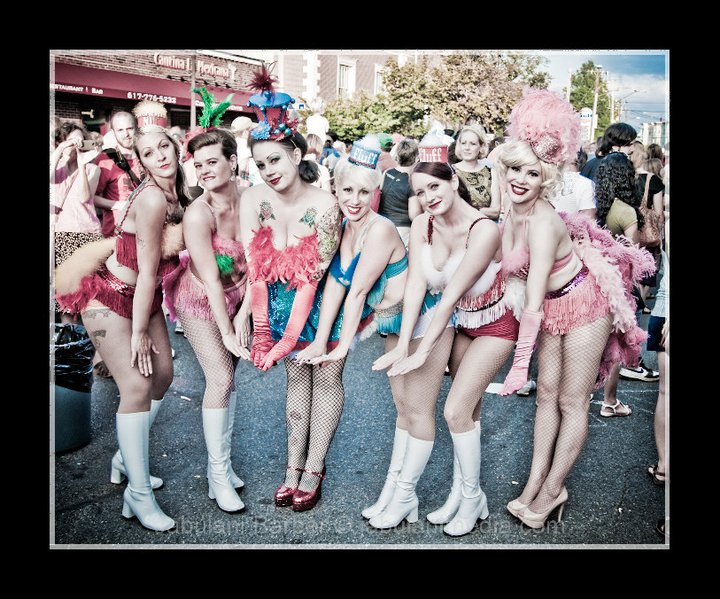 Photo credit Jabulani Barber
|


(I’m the first to admit this is not a terribly useful super power but it’s the only one I’ve got so please try to act impressed.)


Continue to carve until you’re happy with your image.

Next, prepare your brayer. I don’t have a brayer so I used this small paint roller that I have. Using some cardboard as your surface add some acrylic paint and roll it until your roller/brayer is evenly covered.

Then roll the paint onto your carved block until it is also evenly covered.

Now, rather than picking up your block and trying to set it down on your printing surface, bring your printing surface to your block.

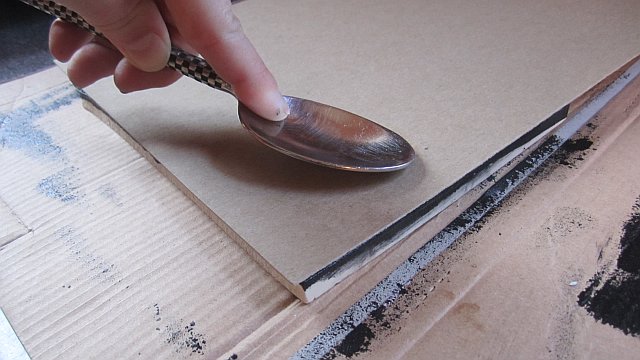
Lay the paper down on top of the freshly inked surface and using the backside of a spoon, rub the back of the paper to burnish the image onto the paper.


For an added touch, add glue to the heart,

and coat in Glitter, obviously.


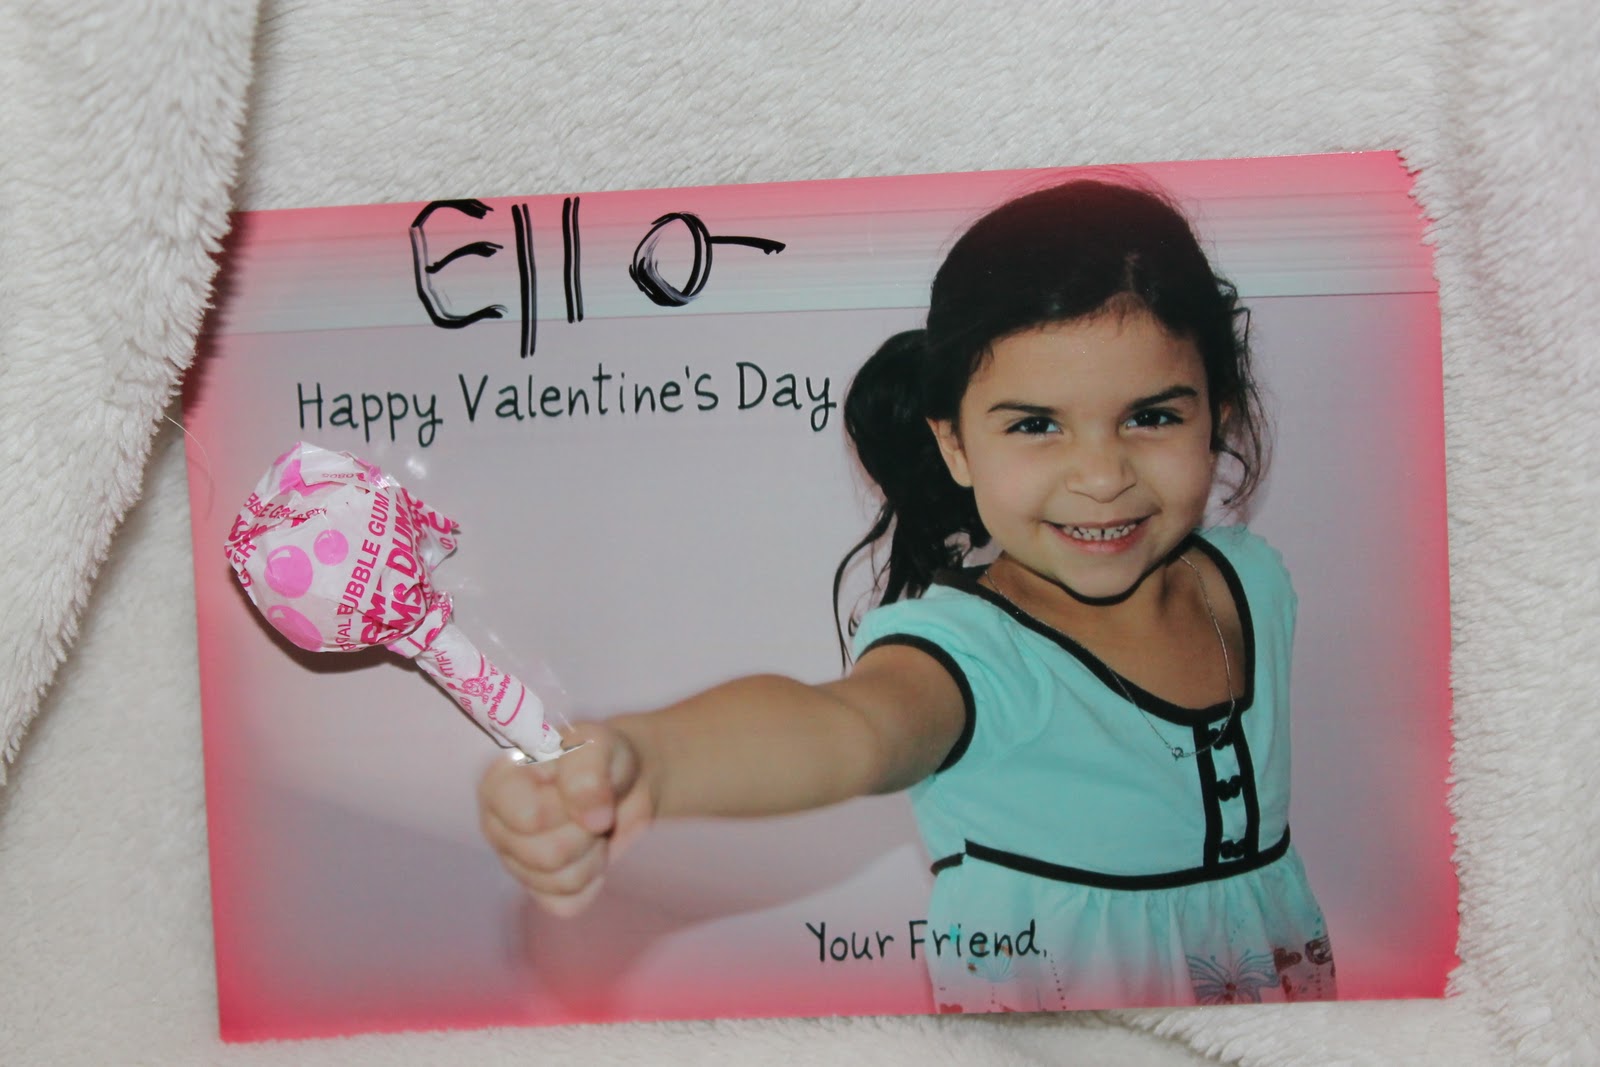
I made an executive decision earlier this week- I am going to hold off doing Valentine’s related crafts and having Valentine’s related freak-outs over crafts until this Saturday (the official 1-month countdown to V-Day). That was until Karen & Ella (not their first time here) sent me this adorable DIY Valentine that they made to give to Ella’s classmates and I realized that everyone else is already elbow-deep in Conversational Hearts and I’m still putting Christmas away.
So now I’ve veto’d my own executive decision and decided to grab cupid by the horns and get my Valentine’s on. Starting with this:
From Karen:
So here is how you make the super cute DIY Valentine’s Cay Cards. First find a super cute kid, most parents think thier kid is the cutest, if so, then go with them. If not, I have one you can borrow. Next, get your camera ready. Have your little cutie stand up against a wall and extend their arm toward the camera while making a fist. Snap away. Try to stay focused on the face. You would rather the hand slightly blurred and not the face. Download your pic to your computer and then upload to picnik.com. Here is where the fun takes place. Add borders, hearts, etc. I kept it simple. I wrote “Happy Valentine’s Day” toward the top and “your friend,” toward the bottom. I left out my daughters name because I let her add it with a sharpie to make it more personal. Send the pics to your local CVS. I bought a bag of dum dums. Slice a tiny slit over the fist and insert you pop. Place a piece of tape on the back side. You can add the adhesive card stock to the back to firm up the card but I left it as is to save on the cost. FYI- I also tried blow pops but they were too big. Also worth noting, when adding text to you pic on picnik-don’t add to very top or sides. My sisters first round cut off part of the letters, I made some adjustments and lowered the text and they came out perfect.
Here is where I first saw this fun idea.
So cute! Thanks for sharing Karen!!